Wednesday, December 12th, 2012

Trevor’s Quick Illustrator Tip – Duplicate, Drag, and repeat

When you need to make a duplicate of an object without copying and pasting it you can do so. With the object selected hold down Alt as you click and drag to where you want the copied object to go. To do it again without having to click and drag, press Ctrl + D on a PC or Command + D on a Mac – it’s the command to repeat the previous action. Repeat as often as required.

Helen Bradley

Tuesday, November 20th, 2012

Photoshop – Understanding Smart Objects

Smart Objects are a great tool for working with images in Photoshop but did you know there are two ways to make copies of them. One way you duplicate the Smart Object so every instance of it will always be the same image and the other way you copy the Smart Object but unlink it so you can change out one image without changing the other.

Also make sure to watch my video on Smart Objects here.

Here’s how it works: Start with a new Photoshop document and add an image as a Smart Object – my favorite way to do this is to choose File > Place and place the image inside the file.  This gives you one image as a Smart Object in the Layers palette. Now, the first way to duplicate a Smart Object is to right click and choose Duplicate Layer. This makes an exact copy of the layer so anything you do with the Smart Object on this layer will be done to both layers. Here I double clicked on one of the layer thumbnails and opened the actual image on that layer. I converted it to black and white then closed and saved it and this is what I have now in Photoshop. The two Smart Object layers are both changed. The alternative is to right click the Smart Object layer and choose New Smart Object via Copy. You get the same result as the earlier option with one exception – the two images are separate and they can be altered individually. Here I did the same alteration as before, only this time the image on the top layer is changed an not the one on the bottom layer. If desired you can change the image on the layer. To do this, click the layer to select it and choose Layer > Smart Objects > Replace Contents. Locate a different image to use, click it and click Place. Here I have resized the placed image so you can see they are different. If I had done this with the Duplicate layer then both images would be replaced. Which of these options you use really depends on what you want to do with the image. Sometimes  you want two of the same image, sometimes not.

Helen Bradley

Monday, February 15th, 2010

Step 2 Photo-editing workflow – Duplicate the image


Save the image with a new name before you begin to make sure you never overwrite the original.

There is nothing worse than destroying an original image by being just a little careless. You will never do this if you don’t work on your originals.

So, before you begin any fix, open your photo in your photo editing software and save the image giving it a new file name. This ensures you do not overwrite the existing image when you save the file later on and ensures you’ll always have your original image.

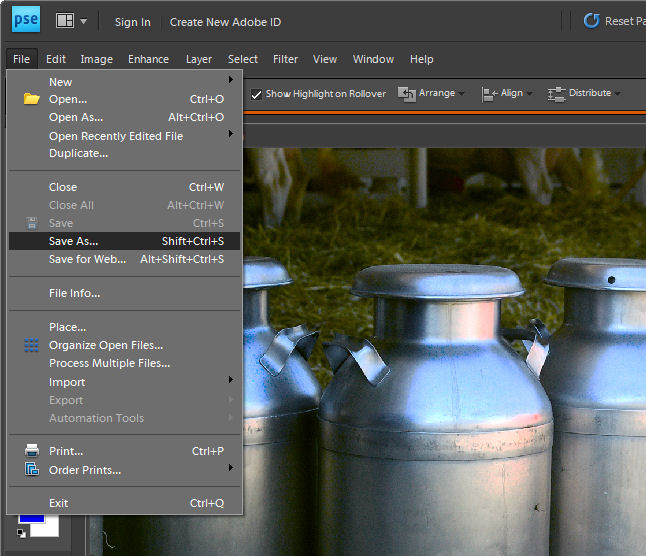
To do this, choose File > Save As and give the image a new name. Check the title bar of the image window to ensure you are now working on the saved copy not the original. If not, close the original image and open the copy before continuing.

Helen Bradley