Monday, November 19th, 2007

Graffiti de Paris

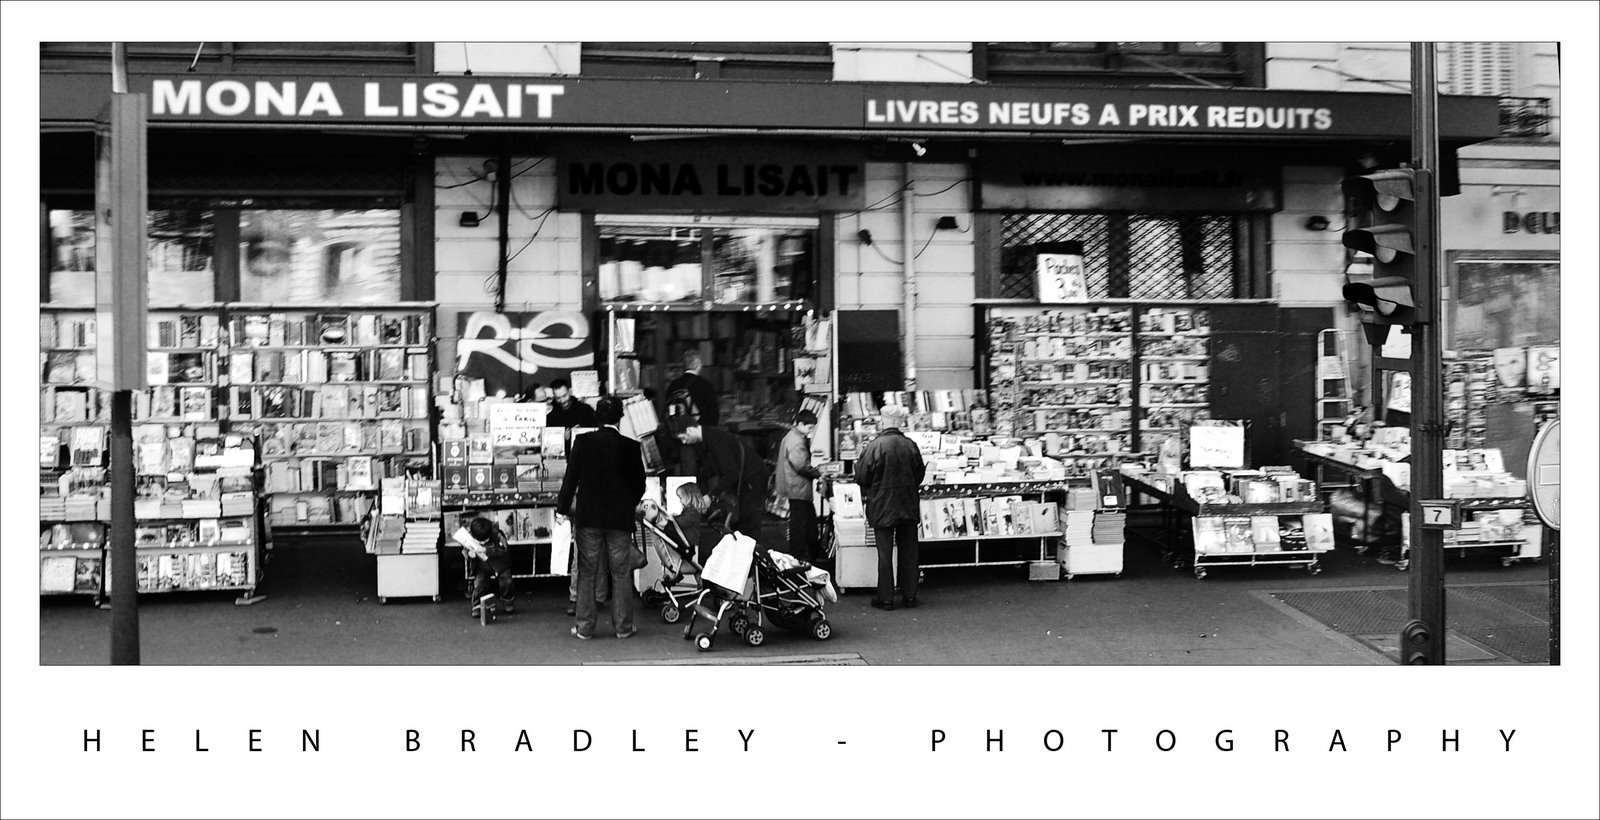
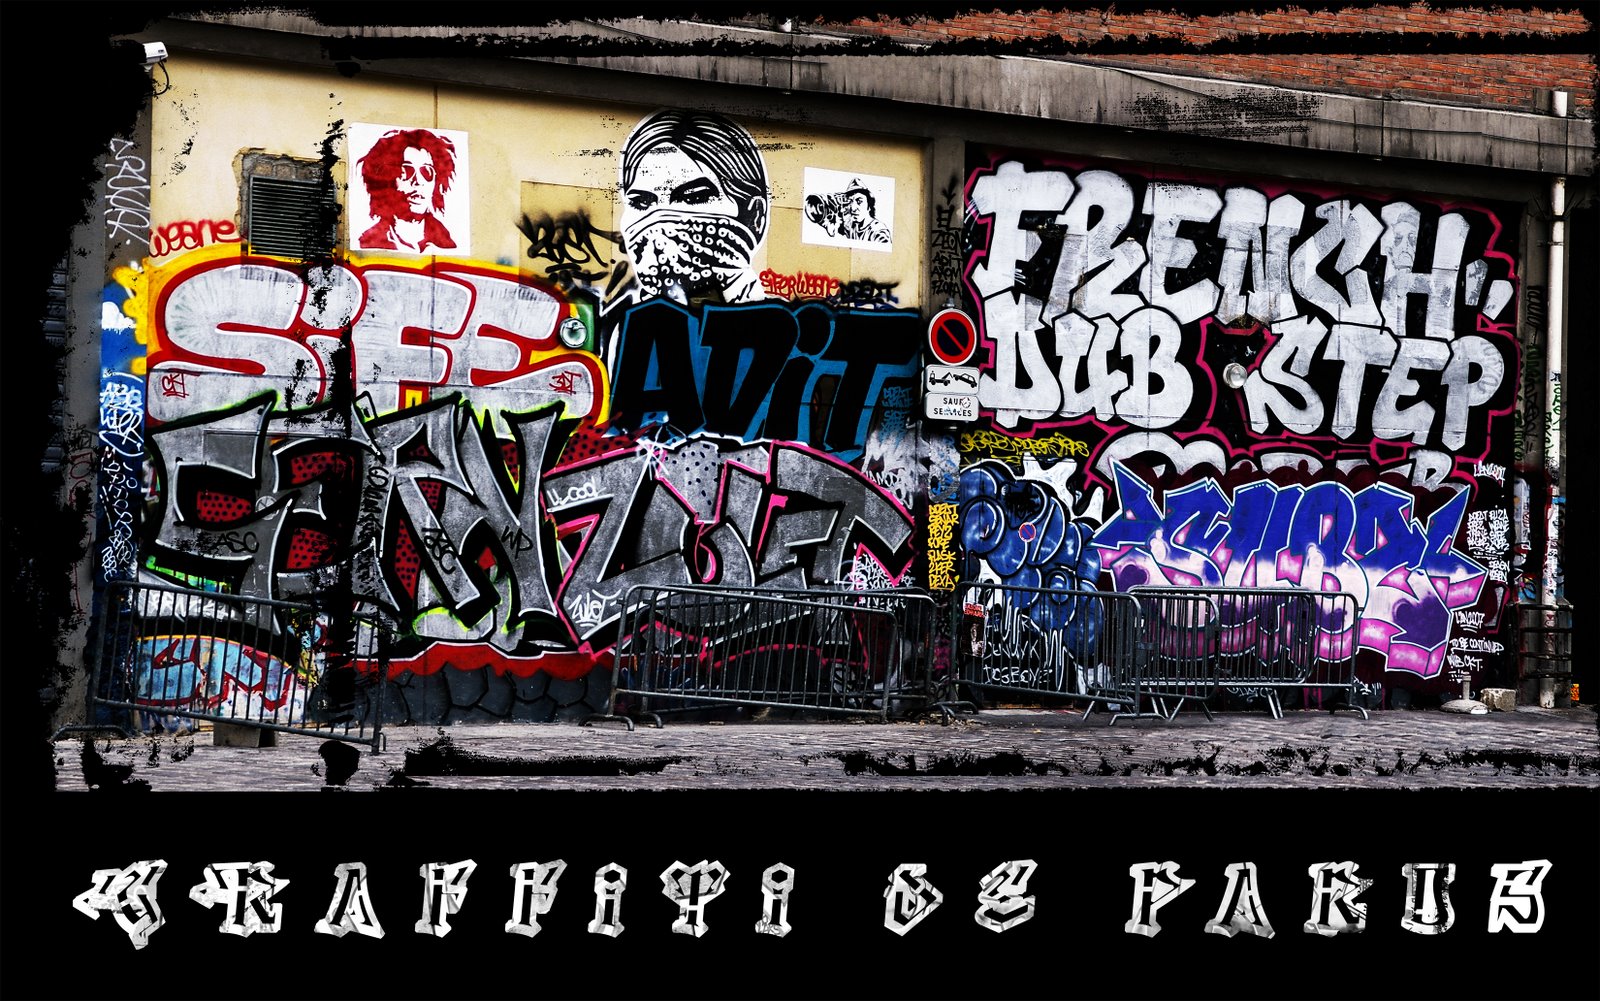
I was looking for an image to put on a t-shirt for a friend for Christmas. Let’s say, he’s a bit out there and pretty just won’t cut it.

I had two good photos of this graffiti covered wall so the Photoshop Automate > Photomerge tool put them together into a panorama. I used the clone and copy and paste to put back the missing bits as it was shot from a moving boat – a far cry from the ideal for shooting a panorama.

Color fix was an issue. I needed a channel to blend back into the image to boost the color and contrast. Problem was, the red killed the blue and the blue killed the red. Solution was to use both.

Duplicate the background layer twice. Select the first copy, choose Image > Apply Image and apply the red channel to the image. Then use the second copy and apply the blue channel to the image. Use the lighten blend mode on the top layer to blend the two together. You can use a Layer mask on the top layer if necessary to bring back detail from the layer underneath.

The grunge details are an image/edge from a set of grunge images from Graphic Authority applied as a layer mask with a black background layer put behind everything.

Helen Bradley

Saturday, November 17th, 2007

Paste to a layer mask

Ok, here’s the dilemna. You have two images open in Photoshop and you want to add one image as a layer mask into the other.

One solution is to copy the first image, then switch to the second. Click the layer mask and switch to the Channels palette. The layer mask appears as a channel. Select the channel’s visibility icon to make it visible, select the channel to make it active, and click Edit, Paste. Deselect its visiblity, reselect the RGB channel to make that one active, switch back to your Layers palette and the pasted selection is in your layer mask. This solution has the advantage that the copied/pasted piece doesn’t have to be the same size as the layer mask.

The alternate solution if the two images are the same size, is to use Apply Image. Select the target layer mask, choose Image, Apply Image and, as the Source, select the image to copy from, the layer to copy and click Ok. Now the selected layer (or the merged source) is pasted into the Layer Mask.

Two alternatives, the second is easier to use but it does require two same size images.

Helen Bradley

Friday, November 9th, 2007

Rooftops in the rain – Brighton

When I was in Brighton we had one beautiful summer like Sunday when everyone was walking along the beach and it was all so gorgeous and then, next day, it rained cats and dogs.

Here’s a photo I took from my hotel room window across the roofs of Brighton the day it rained. I don’t think the windows of the Queens Hotel had been washed since good ol’ Queen Vic gave her name to the hotel so they were pretty interesting to shoot through and, of course, they only opened 6in from the bottom so shooting through the gap was impossible.

The original was flat and lifeless as one might expect. A Levels adjustment is a great starting point for a photo like this. Simply choose Layers, New Adjustment Layer and then choose Levels. Drag the little triangle sliders in from the left and the right till they are just under the places where the chart data begins and ends. This darkens the darks and lightens the lights and instantly boosts the tonal range in the image and gives it more contrast and life. The middle slider handles the midtones so you can drag it to the right or left as required for your image.

For the rest of this image I worked hard to get the colour and detail back. The cream buildings in the background were treated independently of everything else as they just kept getting lost in every solution I tried. Masks are great for this, fix one part of the image with adjustment layers, then hide the adjustment layer and work with another one focusing on the other part of the image. Then, use the mask on each adjustment layer to paint in or remove the fix from areas of the image. When I want most of the fix I just paint in black over the areas that I don’t want the fix to be applied to. When I only want little bits affected by the mask, I fill the mask with black (white reveals, black conceals), then paint with a low opacity, soft white brush to bring back the fix in the small areas that it is needed.

I also used the Selected Color adjustment on this image, I’ll talk more about it in a future blog post.

Helen Bradley

Wednesday, November 7th, 2007

Photoshp CS3: Copy a Layer Mask

Often you’ll need to copy a layer mask from one layer to another so you can mask out the same area on two layers. I do this when I mask the hightlights highlights in an image to protect them from being blown out.

Copying a layer mask doesn’t look easy or intuitive – there’s no menu command for it. However it can be done very simply. Hold the Alt and Control keys at the same time and drag the layer mask from one layer and drop it onto another. If there is already a layer mask on that second layer you’ll be prompted to replace it, answer Yes to the prompt.

Helen Bradley

Wednesday, November 7th, 2007

In-cell charting in Excel 2007

For a long time Excel users have wanted a way to plot a bar showing the relative magnitude of a range of numbers without having to resort to a chart or complex formulas to do this.

Now, with Excel 2007 this feature is now built in and dead easy to use. To try it out, first type a series of numbers in a column, then select the series. Click the Home tab and click the Conditional Formatting button.

Select Data Bars and then select the color of the bar to use. The relative length of each colored bar indicates the relative value of the number in that cell.

There is one caution, however. All values – even very small values will be given a minimum bar length of 10% so they can be seen – so, use this feature as a guide and not an accurate measure.

Helen Bradley

Monday, November 5th, 2007

Viewing Long Formulas – Excel 2007

If you’ve ever created a very long formula in Excel 2003 you’ll know that it is difficult to see and to edit it – it simply is too big for the formula bar.

In Excel 2007 the problem is resolved, you can make the formula bar as big as you need it to be. Simply drag down on the bottom edge of the formula bar using your mouse, and it becomes as large as you need it to be.

Helen Bradley

Friday, November 2nd, 2007

Any Justification, Any Line

When Microsoft Word first included the Click and Type option it helped a lot of new users who couldn’t work out how to type anywhere on the page.

For those of us used to using WordPerfect 5.1 it solved another problem entirely. It lets you include left and right aligned text on the same line. Double click at the left margin of one line and type a word – it aligns to the left. Now, on the same line, double click at the right margin and type a word – it is right aligned – both pieces of text align and work independently of each other. It’s something you couldn’t do easily without this tool.

Helen Bradley

Friday, November 2nd, 2007

Mona Lisait, Paris

This bookshop in Paris is so wonderful jammed as it is with books and people browsing. It just begged to be converted to black and white. There’s even a small child in the foreground who is banging away at a book on the pavement. You can double click the image to enlarge it to see him.

Of course, you need to look closely too to see Mona Lisa herself in the photo.

Helen Bradley

Thursday, November 1st, 2007

Brighton Pier No. 3

I fell in love with Brighton and Brighton Pier. The day I had to photograph it the rain nearly put an end to my photoshoot. However, I managed to get some great images. This is of the pier looking back to Brighton, the only real colour is in the life preservers and I love that you can see some of the Brighton buildings through the water pouring down the window. The repeated elements really work in this image.

The photo needed a bit of a levels adjustment, I use this to punch the contrast up a bit more than I get from the camera. The crop makes the image look so much more interesting than the size that it came out of the camera.

Helen Bradley

Page 2 of 212