Photoshop has a huge range of shortcut keys for speeding up your day. Here are my ten best shortcut keys that I suggest you add to your Photoshop toolkit:
Find the sizing handles
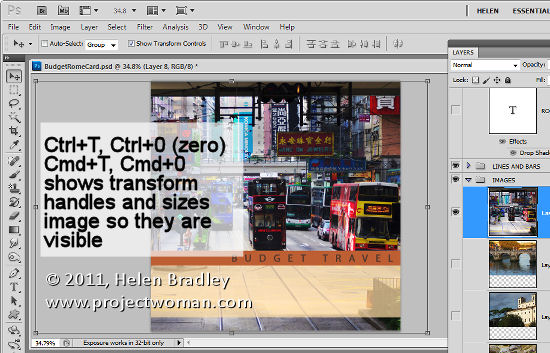
When you paste a layer or selection into a Photoshop image – if it is larger than the current image it can be difficult to find the sizing handles.
To find them, press Ctrl + T, then Ctrl + 0 (zero) or on the Mac – Command + T, Command + 0. This selects Transform and sizes the image inside the window so you can see the sizing handles.
Flatten layers but keep them too
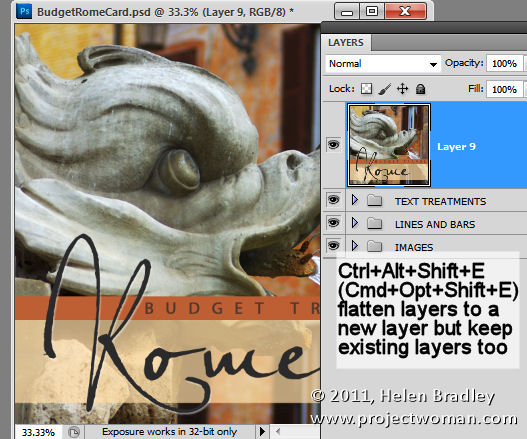
Sometimes you need, for example, to flatten the layers in an image to sharpen the result but you don’t want to get rid of the layers either. Here’s how to have your cake and eat it too (or more accurately, flatten your layers and keep them too).
Add a new empty layer to the top of the layer stack, click in it and press Ctrl + Alt + Shift + E (Command + Option + Shift +E on the Mac). This adds a flattened version of the image to the new layer but leaves the layers intact too.
Fill a layer
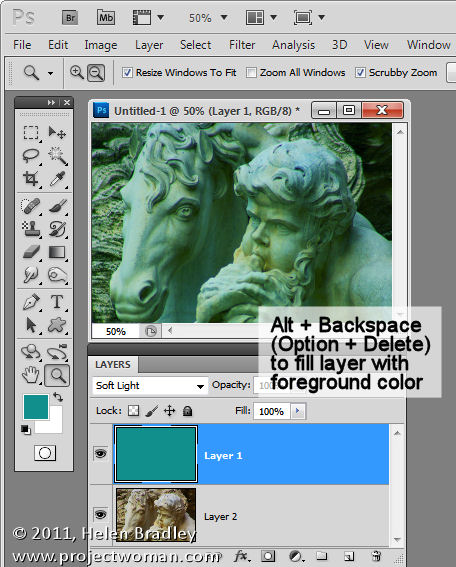
To fill an empty layer with the current foreground or background color use Alt + Delete or Option + Backspace on the Mac to fill the layer with the Foreground color or Ctrl + Delete or Command + Backspace on the Mac or to fill with the Background color.
Select a color from the image
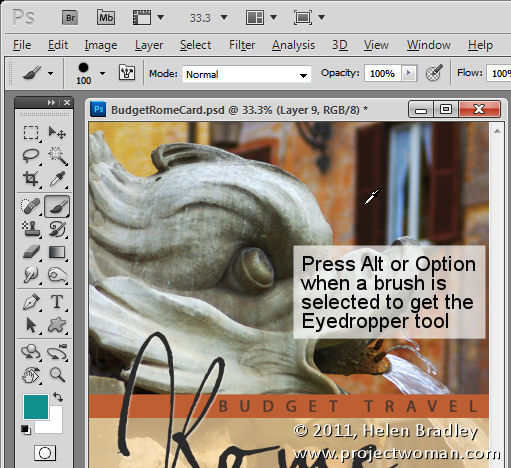
When you’re working with a Photoshop brush and you want to sample a color from the image, instead of clicking the Eyedropper tool and then the Brush tool again, you can do it with a keystroke.
Hold the Alt the key (Option on the Mac) to switch temporarily to the Eyedropper tool and click to select a new foreground color. Let go the Alt/Option key to return to the brush.
Move a selection
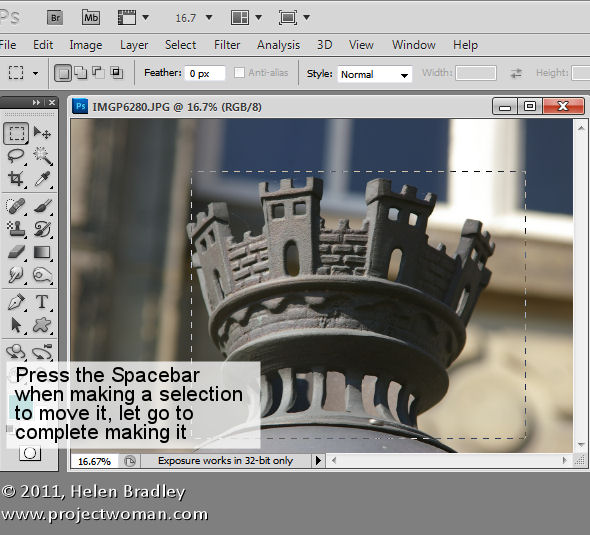
Moving a selection is notoriously cumbersome without this keystroke: to move a selection while you are still drawing it, press and hold the Spacebar. Continue to hold the it while you move the selection and let it go when the selection is in the correct place.
Adjusting brush size
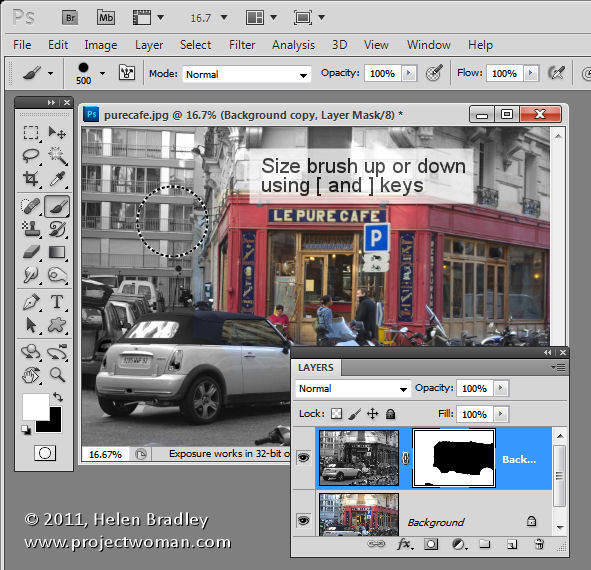
When you’re using a brush as an eraser, to paint with or in any tool that uses brushes, you can size the brush up or down using the [ and ] keys on the keyboard. In Photoshop CS5, you can hold the Alt key and the right mouse button (on the Mac use the Control + Option keys) and drag up to increase or decrease brush hardness and drag left and right to size the brush.
Scrubby sliders
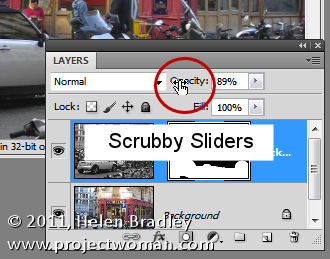
Not technically a keystroke but a “must know” tool are scrubby sliders. In Photoshop CS3, and later, most options in most dialogs that can be adjusted using a slider can also be adjusted using a scrubby slider. Scrubby sliders appear as a hand with a pointing finger icon when you hold your mouse over the slider name. Drag on the name to adjust the slider value.
Zoom and Move with dialogs open
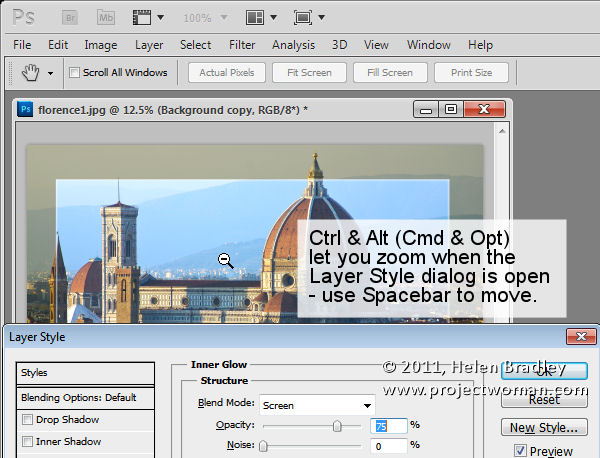
When a dialog such as the Layer Style dialog is open you can access the Zoom and Move tools by using Ctrl (Command on the Mac) to zoom in and Alt (Option on the Mac) to zoom out of the document. Use the spacebar to access the Hand tool to move the document around.
Hidden tools
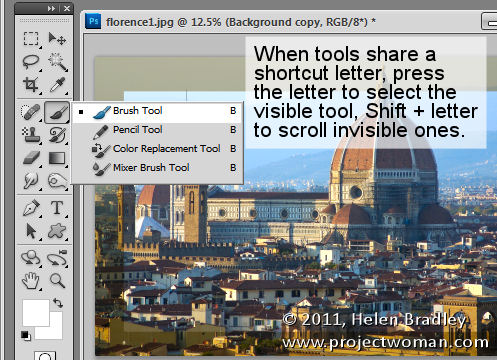
Tools that share a tool palette position and a shortcut keystroke letter can be easily selected using the keystroke letter. So, for example, to access the Mixer Brush which shares a tool position with the Brush tool and if the Mixer Brush is hidden, press B to get the Brush tool. The press Shift + B until the Mixer Brush appears. In a similar way press M to get the Rectangular Marquee tool and Shift + M to get the Elliptical Marquee tool.
Precise and crosshair cursors
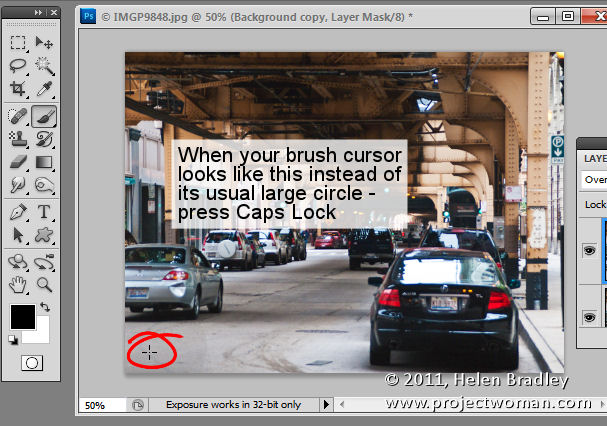
Finally, not so much a keyboard shortcut as something that can go horribly wrong – pressing the Caps Lock key switches the Brush cursor into precise mode. This is a small crosshair cursor and hides the actual size of the brush. To return to the regular normal or standard brush tip, press the Caps Lock key again.
If I were helping a new user learn Photoshop, these are ten keystrokes I’d be teaching them. Do you agree or what keystrokes do you think are the most important to learn in Photoshop?
Helen Bradley
