Tuesday, February 22nd, 2011

Photography – why you should use a polarizer

Polarizer.jpg

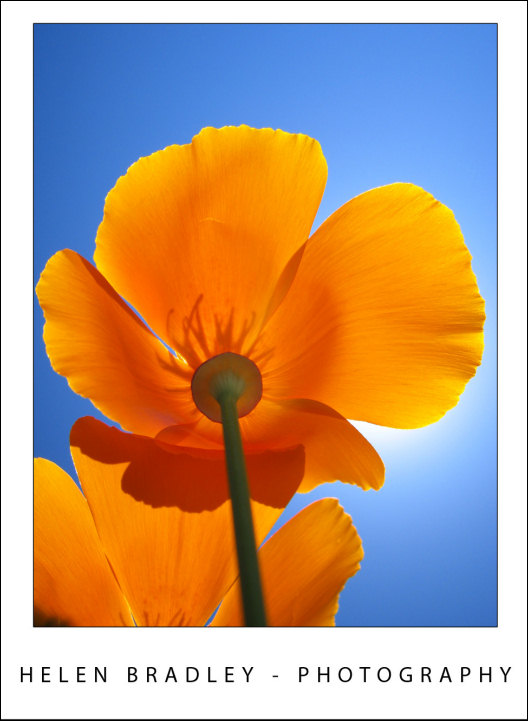
Using a polarizing filter on your camera’s lens ensures crisp blue skies and saturated colours even as here, when shooting into the sun.

You may have already noticed that you can encounter problems you’re capturing photos in very bright sunlight. On the beach, for example, you may find your camera exposes for the lighter areas leaving the remainder of your photograph underexposed and very dark.

In bright sunlight you can benefit from using a Polarizing Filter over the lens of your camera. These filters are obtainable for most DSLR cameras and simply screw onto the lens.

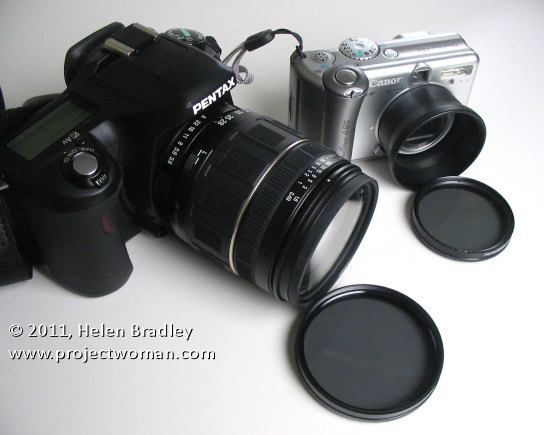
For a point and shoot camera you’ll need to determine if it can take a polarizing filter either on a bracket that screws into the camera’s tripod mount or, in some cases using a special adaptor called a tele converter that screws over the lens and that has a screw mount for the filter.

Image showing a polarizing filter for a dslr and one for a point and shoot which uses a tele converter to mount it

How to buy

When purchasing a polarizing filter for a digital camera you will generally want to purchase a circular polarizer. The other option is a linear polarizer – however circular polarizers are typically recommended for cameras that meter through the lens (TTL) which is what a digital SLR does.

When using your polarizing filter notice it has a marker on it that you can use as a reference point for adjusting it. Look through the viewfinder and turn the filter slowly. As you do this you will notice that the preview will change.

At some point of the rotation it may have no effect at all and at other points it will have an increasingly strong effect. Turn it until you get the effect you are looking for which is good rich color and no washed out skies. When you find the sweet spot go ahead and capture your photo.

A polarizing filter will give you better colour saturation and brighter, bluer skies. It’s also a good filter for photographing things under water from above the water surface such as a tropical reef or seaweed because it cuts out the sun’s reflection on the water surface allowing you to capture the underwater detail.

This blue sky would have been washed out if the photo had not been captured using a Polarizing filter:

An image shot using a polarizing filter to ensure rich blue skies

Helen Bradley

Wednesday, December 16th, 2009

10 things for your camera bag

Regardless of where you are travelling to this holiday season here are my top 10 things to have in your camera bag:

  1. 3 sets of batteries – one in the camera, one in the charger and one in your pocket
  2. Battery charger and a power cable suitable for use wherever you’re travelling
  3. Spare memory stick or smart card for extra storage on the road
  4. Cooler to put the camera in if it’s hot where you are headed (leave the ice behind)
  5. Polarizing filter to suppress reflected light for more color in your images
  6. Tripod for capturing panoramas, macro shots and for longer exposures
  7. Camera manual to refer to if you have questions that you can’t resolve
  8. Lens cleaning cloths, cleaning fluid and a brush to blow dust from the lens (not your shirt tail – please!)
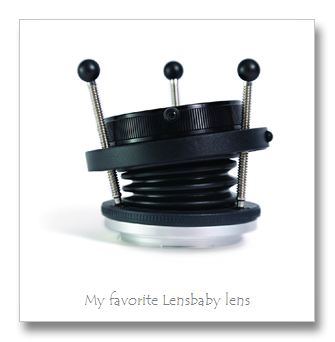
  9. A variety of lenses including a macro lens if your camera takes interchangeable lenses
  10. Underwater camera housing for your digital so you can take it swimming with you

Helen Bradley

Wednesday, August 19th, 2009

Better Travel Photography #2 – Glass and puddles are your friend

Do your travel photographs look just like everyone else’s?

If you wonder why you bothered lugging your digital SLR half way around the world and didn’t just settle for buying postcards, it’s time to revisit the way you photograph your travels. Here is part 2 in my new series of Better Travel Photography – a guide to getting great travel photos that don’t look like everyone else’s..

Today’s tip: Glass is your friend (not the lens type of glass either!)

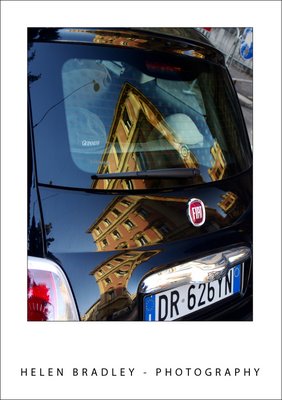
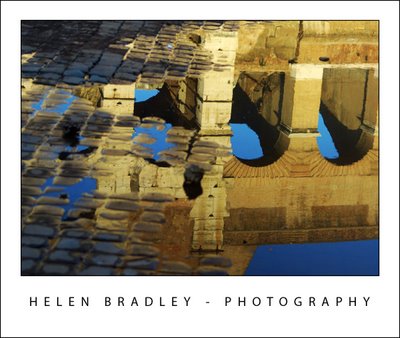
If what you are photographing is in a busy location you can capture unusual detail by turning your back on it and find ways to capture it reflected in surrounding windows.

While the object’s details might be less well defined when reflected and while you’ll get a combination of the window detail and the object itself, the collage effect can make for a unique image.

If it rains as you travel, celebrate the opportunities available in shooting reflections in puddles. Capturing a popular tourist destination reflected in water is a way of seeing things that are there all the time but which few people ever really “see”.

When you shoot reflections, in windows or in puddles take care to make sure your camera is focusing on what it is that you want it to focus on.

You’ll want the detail in the reflection to be visible and in sharp focus with the surrounding area out of focus.

If you’re used to using a polarizing lens on your camera – which you should when shooting in sunlight conditions – remove it when you’re shooting reflections.

One of the roles of a polarizing filter is to cut out a lot of reflected light from entering your camera and, when you’re shooting reflections that’s exactly what you want to capture.

Helen Bradley