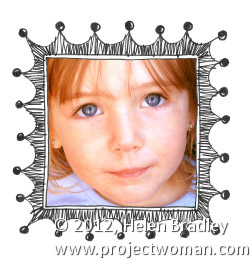
Learn how to add an image as a frame to use in Lightroom to print around your images. Uses the Identity Plate option to do this. Shows you how to create the effect using one of our frames that we sell here and also how to do this using your own hand drawn frame.
Check out all our tutorials on our YouTube channel.
Complete transcript of this video:
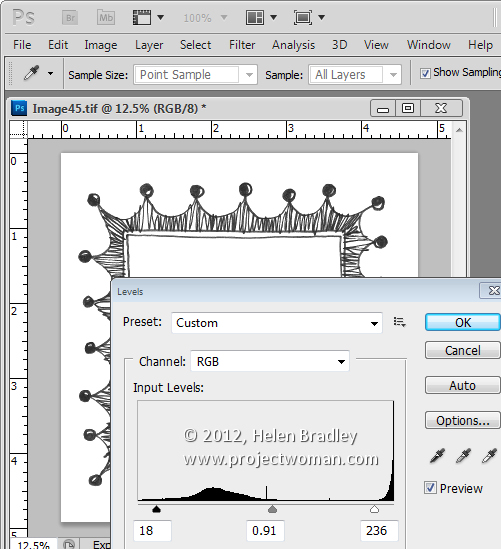
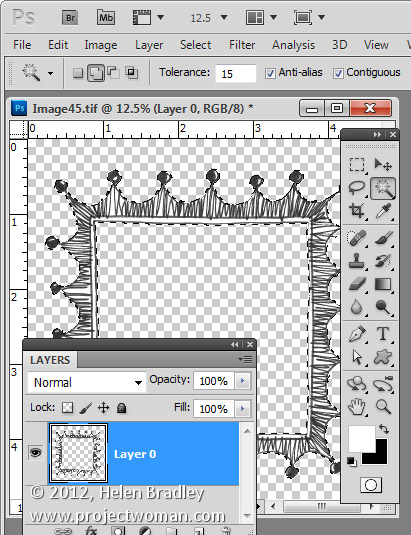
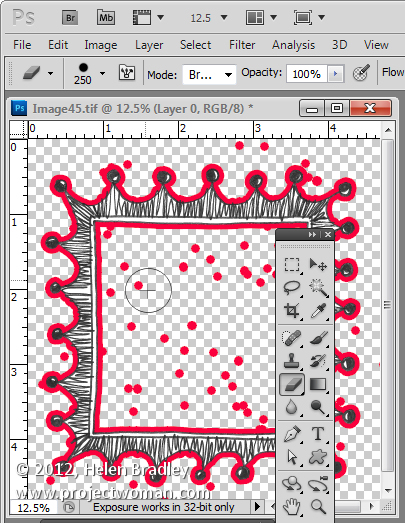
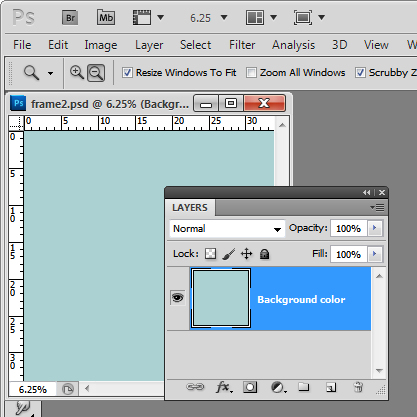
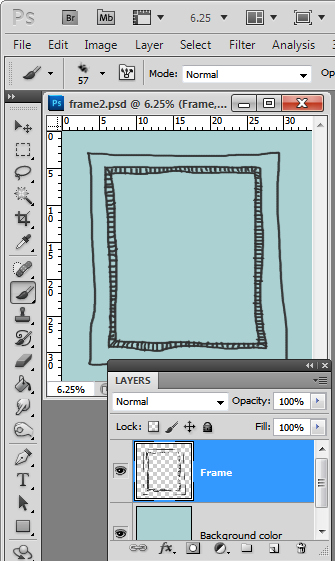
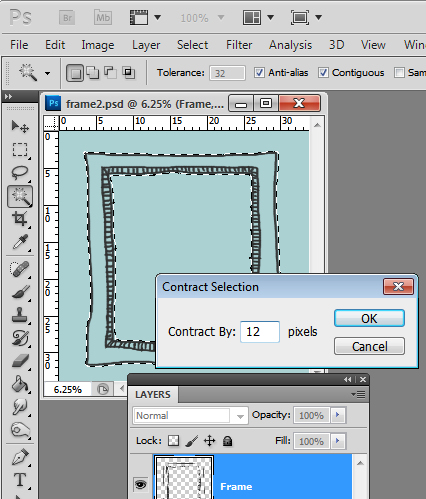
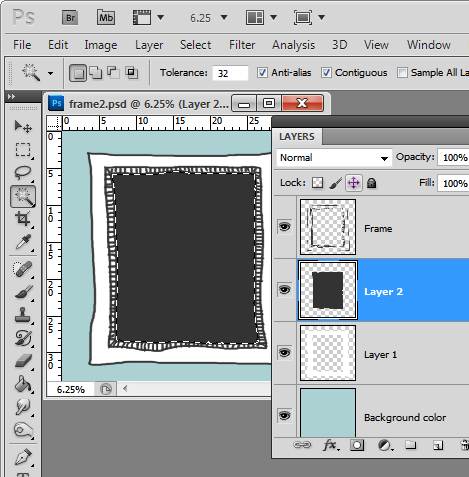
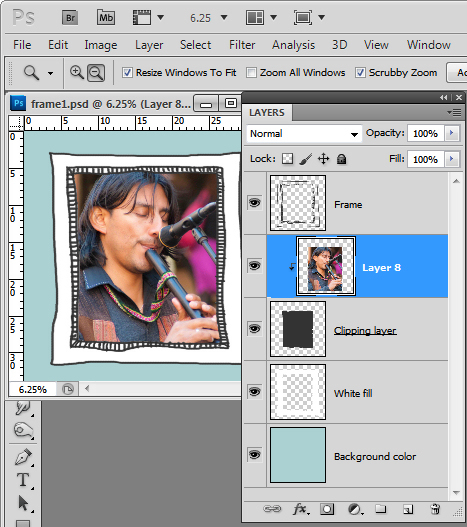
Hello, I’m Helen Bradley. Welcome to this video tutorial. In this tutorial I’m going to show you how you can frame an image ready for printing inside Lightroom so you don’t even have to leave Lightroom to add a frame to it. Before we start on this process let’s have a look and see what our end product is going to be. I have here Lightroom open and you could do this in Lightroom 4 or 3 or 2. It’s not specific to Lightroom 4. I’m in the print module and here I have a series of images that I want to print. And what I’ve done is I’ve created this frame that now sits over this image. Now you can see that the frame pulls apart. So this image can be altered. So for example I can just change the image there, move the frame back into position, and I’m ready to print this. Now I can print it direct to the printer or I have these going to print to JPG because I want to use them on my blog. Now we sell these frames on projectwoman.com, and I’m using one of the frames that we sell. But let’s have a look and see how you can do that with your own hand-drawn frame or how you could use one of our frames to do it. And to do that we’re going to start in Photoshop if you’re using your own frame because you’ll need to create it yourself. Here I am inside Photoshop and I have a frame that I’ve already created. Now what I did was I took a piece of white drawing paper and a nice thick black felt tip pen and I drew this frame. And then I scanned it in using my scanner. But if you don’t have a scanner you could always just take a photograph of it. Now I’ve cleaned this up. And what I’ve done is I’ve cut out the middle so this is hollow in here. If I add a new layer below this, and let’s just go and get my Tools Palette, and let’s drop some color in there so that you can see that it’s actually a hollow frame. So let’s just go and get a different color to the frame color. And I’m just adding a filled layer beneath it so you can see that there is actually a hollow in the middle of the frame. And that’s really important because that’s where your picture is going to go. And here my frame I’ve added a boarder to it, so a plain blue border. But you don’t have to have a border. You could remove it. And this is just white with black. So once you’ve got your frame created what you’ll want to do is to save it, and I’ve saved mine as a PNG file. Now the reason I’ve used PNG is twofold. First of all you get a nice flattened document. But PNG will store transparency. You can’t store transparency in a JPG file. So you can’t use JPG for this because you won’t have a hole in the frame for your picture to sit in. So what I’ve done is create it as a PNG with this hollow cutout because when it comes to Lightroom that hole is still going to be there. So having saved it to disk, let’s just do that, File Save As. I just want to put this in a place that I know where it’s going to be. So I have a folder here for video images. So I’m just going to put my hand-drawn frame in there and just click Save so I know exactly where it is. I’m just taking the options here, just the standard PNG options from Photoshop. So let’s close that out, close down Photoshop for now and let’s go and get Lightroom again. Okay, so let’s go and get a different folder of images because I don’t want to start with anything that we’re sure of. And I know I’ve got some really nice Safari West animals. So let’s go with the animals. And let’s go to the Print Module. And let’s go to a brand new layout. So let’s close down this preview. And I’m just going to go and start with a brand new layout. It can be anything at all. I would set up my page. And I want to be working in landscape. I’m going to click Ok. And I want this to go to a JPG file. So I’m just going to set JPG there, and I’m working in a landscape letter size image. So everything’s looking perfect there except of course that this is not what I want my print job to look like. I have an Identity Plate turned on. So I’m going to turn that off for now. I’m going to get rid of these pieces. Okay, so now I’m going to add my first image. So let’s go and find an image that is in landscape mode because my frame is a landscape image. So let’s just go and get something. There’s some distinctly not Safari images in this folder by the looks of it. I really like this one so I’m going to add it in here. So I’m just placing it. Because we’re using a custom package I can just drag and drop the image into position. And Lightroom won’t let me skew this image so whatever I do with it it cannot be skewed out of alignment. So I’m just going to put the image there. And what I want to do is to put my frame over the top. It looks like we’ve got a few settings coming in with this image such as a photo border and an inner stroke. I’m going to take all of those off. And now let’s go and get our frame. And the way that we add the frame is from the Page Panel here. We going to add it as an Identity Plate. So I’m going to click to select Identity Plate. But I want to add my own so I’m going to click here and choose Edit. Now the type of identity plate I’m going to use is Graphical. So I’ll select that, and I’m going to locate the file that I created. Now one thing I didn’t mention that is critical is that the dimensions of this frame need to be the same dimensions as the image that you’re working on. So I’ve made mine the size of a letter size sheet of paper. Now it’s very large. That’s fine. I’m going to use it anyway. And I want to save this. So I’m just going to click Save As. And I’m going to put this blue hand-drawn frame and click Save, so now I can use it anytime and click Ok. And the frame is now added to the image. And I can size it. Now the reason why I have to make sure that it is a letter size frame is that Lightroom won’t let me scale it any larger than letter size. So I have to make sure that it’s in the correct proportions before I start. And I’ve got grids and guides turned off so we’ll be able to see everything really clearly. Now the reason why the frame is in front, and we do of course want it in front but we do need to check and make sure that it is in front, is that Render Behind Image is not turned on. So if we had it behind image than it would be behind the image. We want it on the top. Now I’m ready to print that. And once I’ve printed that I can then use it for another image. And all I’m going to do is move the frame out of the way a little bit, drag and drop a replacement image into position and then just put my frame back in. Now I’m ready to print the second image and then I could continue through to create other images ready for printing. If I want to save this, and typically having done the work of setting this up I would want to save it, I can either create a saved print which will save this print layout and the image or I can just save the user template. So I’m going to click here. I’m going to call this blue frame template. Blue frame one up will tell me that it’s going to be just one up, one image on this, and just click Create. And it’s going here into User Templates. And that means that I can select it any time in the future for any image at all, and it’s going to be preset for me. So there you have the ability to create your own framing for images inside Lightroom.


