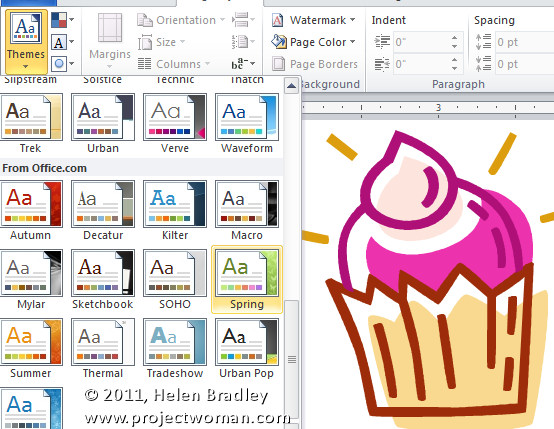
Each of the Office applications allows you to configure a look for a document, spreadsheet, publication or presentation and then save it as a template so that you can reuse it anytime.
Templates in PowerPoint 2010
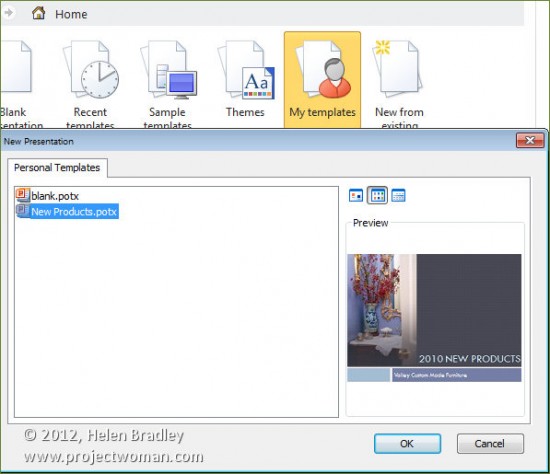
In PowerPoint you’ll create your presentation and then save it using File > Save As and select from the Save As Type list choose PowerPoint Template (*.potx). Give your presentation template a name and click Save.

In future you can locate this presentation by choosing File > New > My Templates and click on the template to use it as the basis of a new document.
Templates in Word 2010
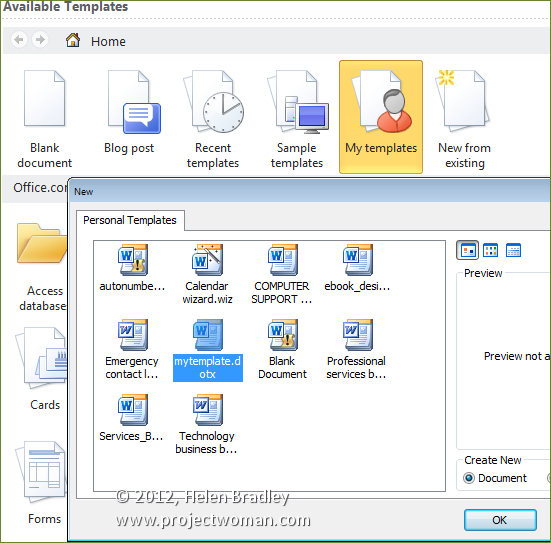
In Microsoft Word choose File > Save As and from the Save As Type dropdown list choose Word Template (*.dotx). In the top left of the dialog click the Templates option to make sure that the template will be stored in the correct location and give the template a name.
In future choose File > New > My Templates and select the template to use.
Templates in Excel 2010
In Microsoft Excel, you can save the look of your document so that it can be used as the basis of a new document by choosing File > Save as and choose Excel Template (*.xltx ) as the file type. Type a name and save the template file.

In future you can base a new worksheet on this template by choosing File > New > My Templates and select it from the Personal Templates list.

Templates in Publisher 2010
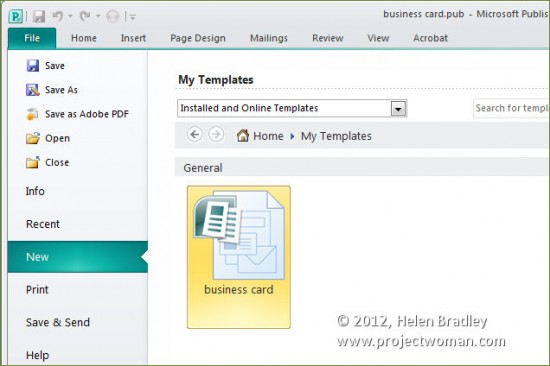
In Publisher you’ll choose File > Save As and then select Publisher Template (*.pub). Type a name for the template and click Save.

In future you can access this template by choosing File > New > My Templates, select the template and click Create. You may need to close and reopen your software before the new templates are available.
