In Lightroom, using the scroll wheel on your mouse has some distinct advantages over using other methods for adjusting sliders. It might take a little getting used to but when you see just what it can do you might be surprised.
Develop module and the Wheel
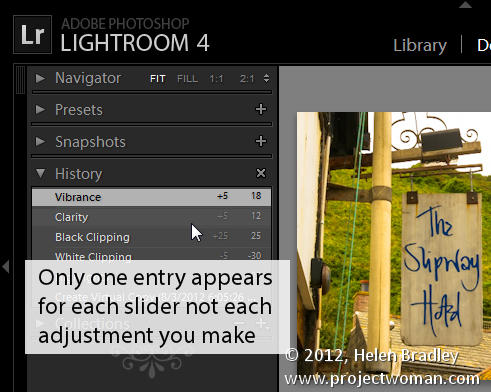
In the Lightroom Develop module you might have used the + and – keys to adjust sliders to fix your images. If you do this, whenever you pause to see how the change looks when applied to the image, Lightroom writes the change value in the history even if you’re not done. If you readjust the same slider a few times, each time you adjust it a new history entry is made.

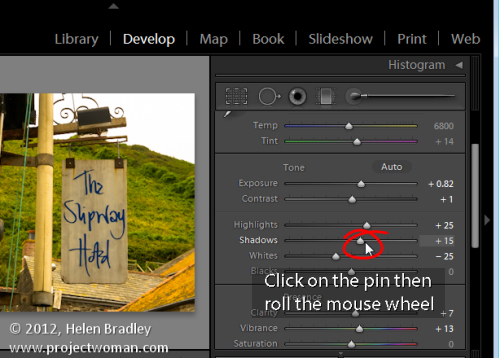
By contrast, you can use the scroll wheel to adjust the slider. Begin by clicking on the pin on the slider and then rolling the scroll wheel up to drag it to the right or down to drag it to the left. Not until you let go and go to the next tool will the change be written to the History. This means that you can experiment with different values rolling your mouse wheel left and right as you please – and until you move away from that control nothing is recorded. Your history list will be a whole lot neater and you have a much easier way to adjust the sliders.

Spot removal and the wheel
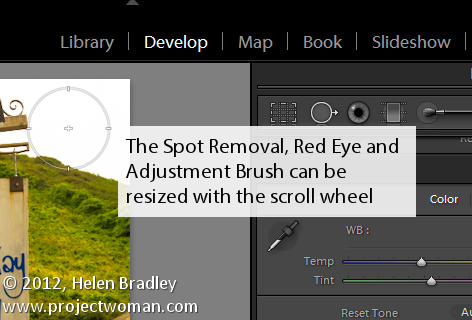
When you have the Spot Removal Tool, Red Eye Tool or the Adjustment Brush Tool selected you can size the brush to the desired size using the mouse scroll wheel.
To see this at work click any of these three tools to target it and then hold your mouse over the image. Roll with the scroll wheel to adjust the brush size. If you have the Adjustment Brush targeted then hold the Shift key as you roll with the scroll wheel to adjust the feathering on the brush.

Move with the Wheel
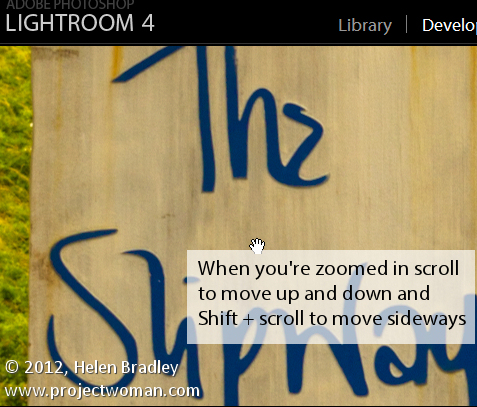
If you’re have used the Zoom feature to zoom into the image then rolling the mouse scroll wheel will move the zoomed image up or down in the work area. To scroll to the left or right use the Shift key with the mouse wheel.

A caveat…
It seems that some Mac users have experienced difficulty with the scroll wheel on various machines so your mileage with this technique may vary. On a Windows 7 machine, with Lightroom 4 and a standard two button mouse with a scroll wheel, everything worked as explained and it’s a whole lot easier than dragging sliders around to make your changes.
Thanks to Frank Schophuizen for his gracious contribution to this post.
Helen Bradley


