Sunday, July 21st, 2013

Lightroom Tip – Convert a Tone Curve to a Point Curve

Change the Tone Curve to allow it to behave as a draggable Point Curve

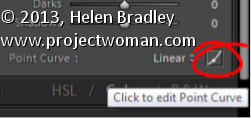
In Lightroom, you can make the Tone Curve behave as a Point Curve clicking the Click to edit the Point Curve indicator at the foot of the Tone Curve panel.

When a tone curve is set to be a point curve you can drag on any point on the curve to adjust the tones in the image at that correspond to that point on the curve.

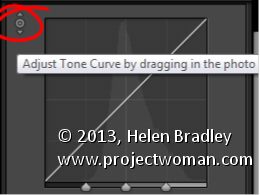
With the point curve selected, click on the Targeted Adjustment Tool in the top of the Point Curve dialog and drag on the image to lighten or darken the image at that point. Drag upwards to lighten, down to darken.

To delete a point on the curve, hold your mouse over the point, right click (Command + Click on the Mac), and select Delete Control Point.

Helen Bradley

Thursday, July 18th, 2013

Lightroom Tip – Adjusting the contrast and tonal range in an image

Using the Tone Curve to Adjust your Image

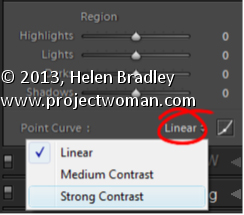
Using the Tone Curve, you have the choice of preset settings: Linear, Medium Contrast or Strong Contrast. Use these as a starting point for adjusting the image.

Select the starting point then drag the Highlights and Lights sliders to the right to lighten these areas. Drag to the left on the Darks slider to darken the Darks. To bring detail out of the shadows, drag to the right on the Shadows slider.

Helen Bradley

Thursday, June 6th, 2013

Lightroom Tip – Recover Detail from Shadows in an image

Find Lost Details Hidden in Shadows and Darker Parts of an Image

When you have an image that has details lost in the shadows or darker areas of the image, the Fill Light slider in Lightroom 3 or the Shadows slider in Lightroom 4 can be used to recover this detail.

Don’t use either of these as a tool for lightening an image or to lighten shadows if there is nothing interesting in the shadows. Use them instead when you want to get some interesting detail out of the shadows.

The result of using the Fill Light and sometimes using the Shadow tool is that some contrast in the image will be lost – so you nay need to increase Contrast as a result of using the Fill Light slider in Lightroom 3 or apply a tone curve adjustment in Lightroom 4.

Helen Bradley

Thursday, May 24th, 2012

Faux HDR effect in Lightroom 4

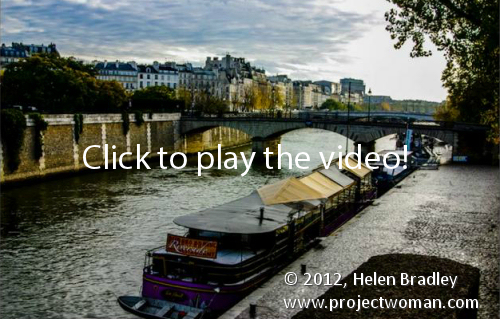
I just uploaded a new video tutorial on how to create a faux hdr image in Lightroom. This image really didn’t inspire me when I first looked at it, but clearly at the time I captured it something had caught my eye. When I applied this faux hdr effect to the image it just came to life. The process is very quick and very simple, and the video is very short – only just over 5 minutes and you’ll know all you need to know to salvage your own images.


Helen Bradley

Monday, September 12th, 2011

Targeted adjustments in Lightroom

Many of the features in the Lightroom 3 Develop module have targeted adjustment tools available to help you make the adjustment. Here’s where to find and how to use these on image adjustment tools.

Tone curve
When you select the Tone Curve panel you can adjust an area of the image by clicking the targeted adjustment tool and then drag on the area of the image that you want to lighten or darken.

Click and drag up to lighten and click and drag down to darken.
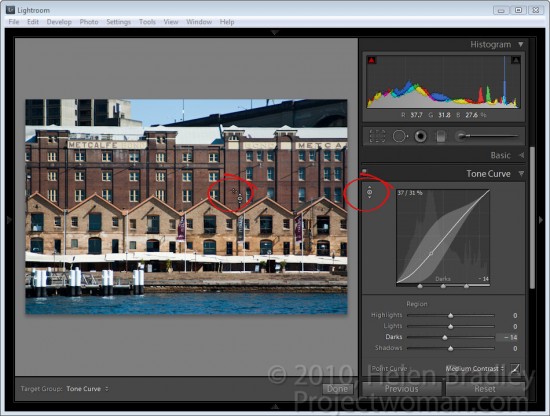
If you click the Point Curve icon at the bottom of the dialog, you will change the look of the Tone Curve panel and the sliders will disappear. Now if you drag on the image using the targeted adjustment tool you will create control points on the curve. You can adjust these control points by dragging on them.
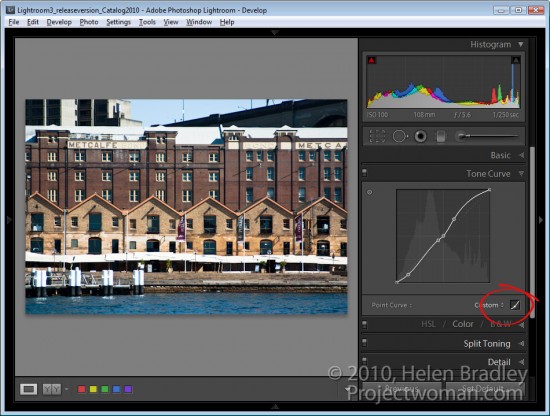
Control points are not added if you do not have the Point Curve icon enabled. So if you’re seeing the sliders, you’re not in this point curve editing mode.

To delete a control point, double click on it or right click it and choose Delete Control Point.

When you are working on the point curve in the tone curve panel, you can decrease the mouse sensitivity by holding the Alt or Option key as you drag on the image. This decreases the sensitivity so you will make smaller changes in the curve with even quite significant movements of the mouse.

HSL Adjustments
There is also a targeted adjustment tool in the HSL adjustment panel.

Here you can select Hue, Saturation or Luminance and then select the targeted adjustment tool and drag on the area of the image that you want to change. If you’re working in Hue, you’ll be applying a color shift to the selected area of the image. If you’re working in Saturation, you’ll be adjusting the saturation of the color under the mouse pointer as you drag on the targeted adjustment tool. Drag up to increase saturation and down to decrease it.
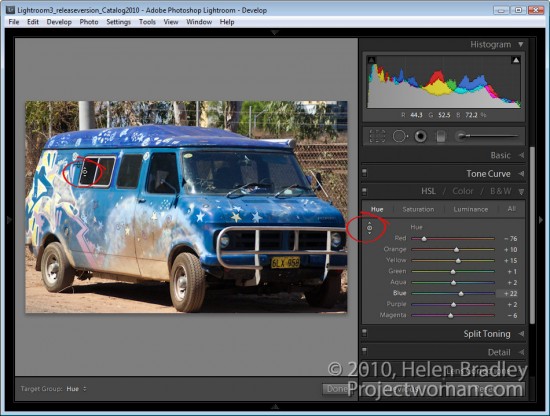
If you’re working in Luminance dragging up will lighten the color under the cursor and dragging down will darken it.

B&W Adjustments
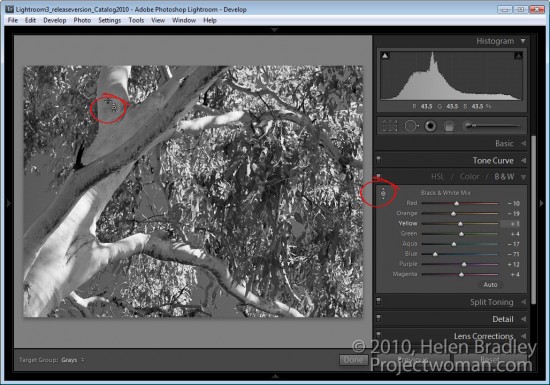
In the B&W or black and white adjustment area there’s also a targeted adjustment tool. In this case, when you drag up or down on a selected area of the image, you’ll lighten or darken that area so you can craft your own greyscale image.
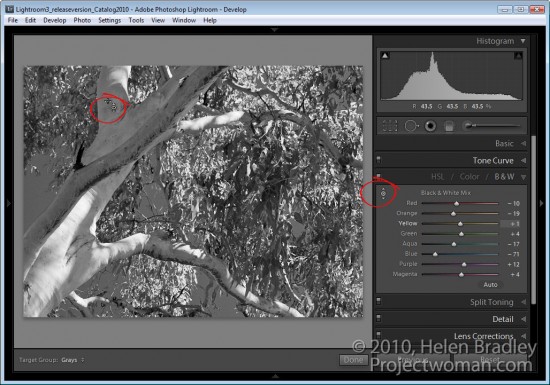
Unlike in other versions of Lightroom, when you exit a panel while you have the targeted adjustment tool enabled it will be automatically disabled and you don’t have to remember to turn it off.

Helen Bradley