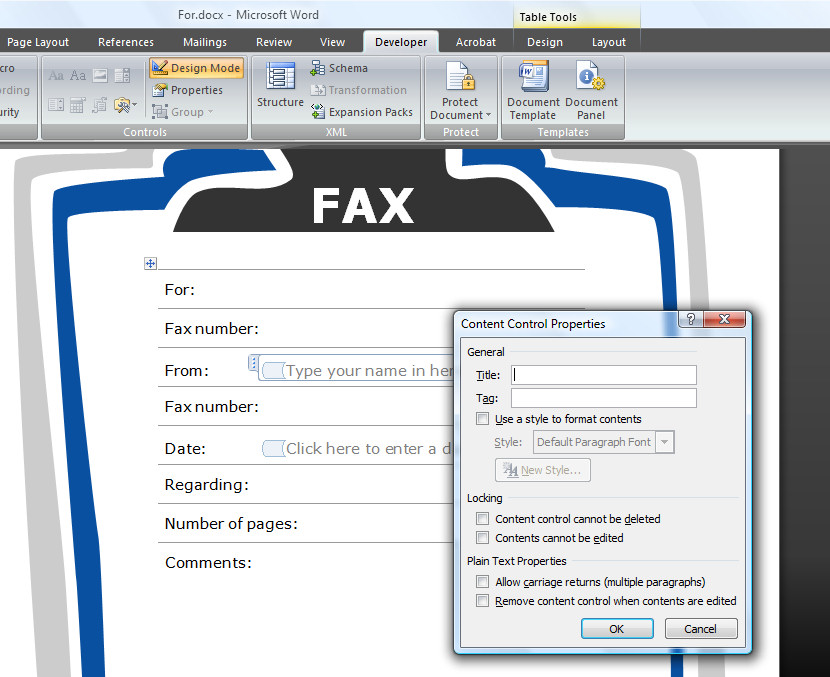
Hand in hand with the new Building Blocks tools in Word 2007 are the new smart document elements created using content controls.
These elements allow you to instantly create headers, footers, text boxes and cover pages for your Word documents.
To see how these work, select the Insert tab and select the Cover Page dropdown list. From here you can select a sample cover page to use for your document.
If you select one such as Exposure a new cover page will appear in your document. This particular one includes an image and space in which to type the document abstract, the year and document title as well as your company name, etc.
You can select and delete any of these elements that you don’t want to use on your cover. Alternately, click on the elements you do want to include and type the information prompted for.
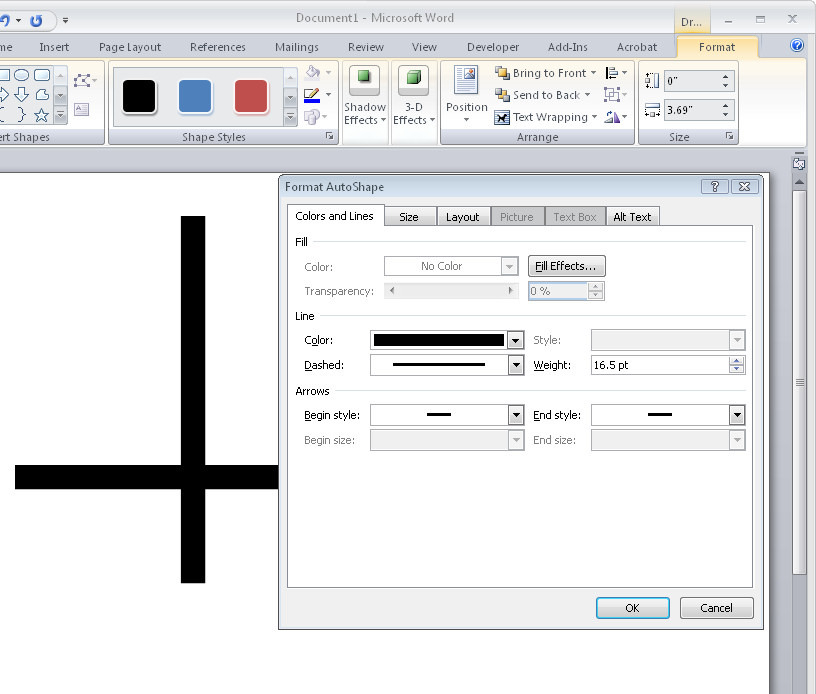
To replace the photograph on the cover page, click it to select it, right click and choose Format AutoShape > Colors & Lines tab and click the Fill Effects button. Select the Picture tab and click Select Picture to choose a replacement image.
Once you’ve selected the replacement image, enable the Lock Picture Aspect Ratio checkbox and click Ok twice. The original image will be replaced by the one you chose.
If you later change your mind and choose an alternative Cover Page, the text you’ve typed will, where it is appropriate, appear in the alternate cover page and the original page will be removed automatically.
Headers and Footers
Other elements which work similarly to the cover page are to be found also on the Insert tab and these include the Header and Footer and Text Box. To add a header to your document, for example, select the Header option and choose the header to use.
It makes good sense to choose the same style header as you used for the cover page as these are designed to look good together, although this is not a requirement and you can choose any header you like.
Similarly, you can add a footer by clicking the Footer button and choose a footer to add to the document.
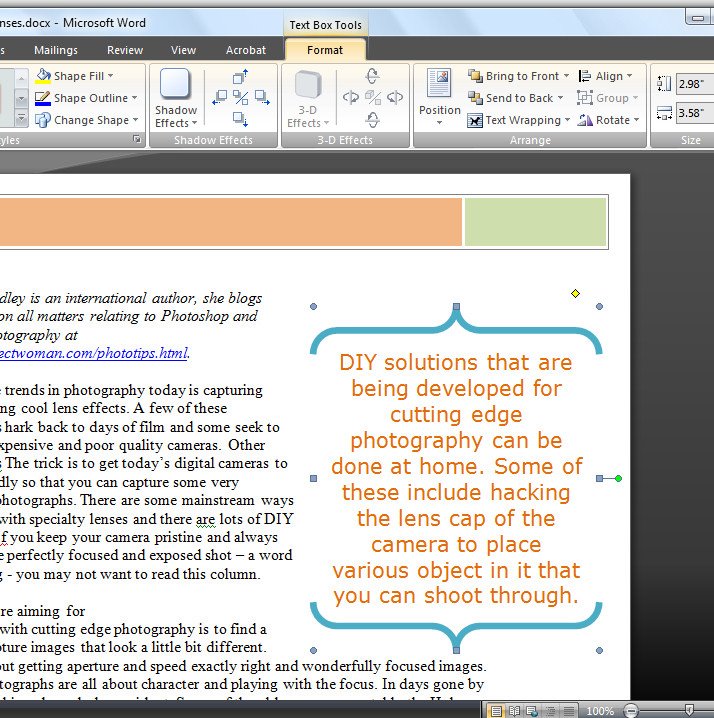
Text boxes
The Text Box tool lets you add a formatted text box which contains prompts as to where you should insert your content. In this case, select a text box style that suits the type of text you want to insert such as a breakout quote or a sidebar.
Any element such as Header content or a Text Box can be reformatted by right clicking its edge and choose Format AutoShape or Borders and Shading, or whatever prompt suggests that it will let you format that particular element – what you see in the menu will depend on the element you have selected.
For example, you can change the fill color of a Text Box and, if you change it to a fill color which is a theme color, the Text Box color will update later on if you change the document theme.
To change the theme, select the Page Layout tab and choose an alternate option from the Themes list. By holding your mouse over a theme you can preview its effect on the document underneath, select the theme you want to use. To change the font used, select the Theme Fonts option to right of the Themes list and choose an alternate font combination.
Helen Bradley


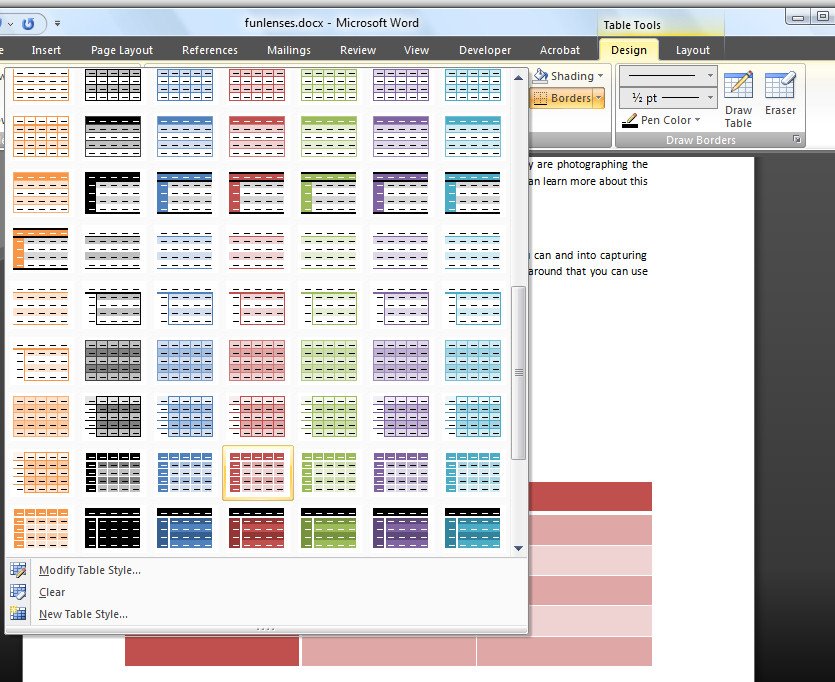
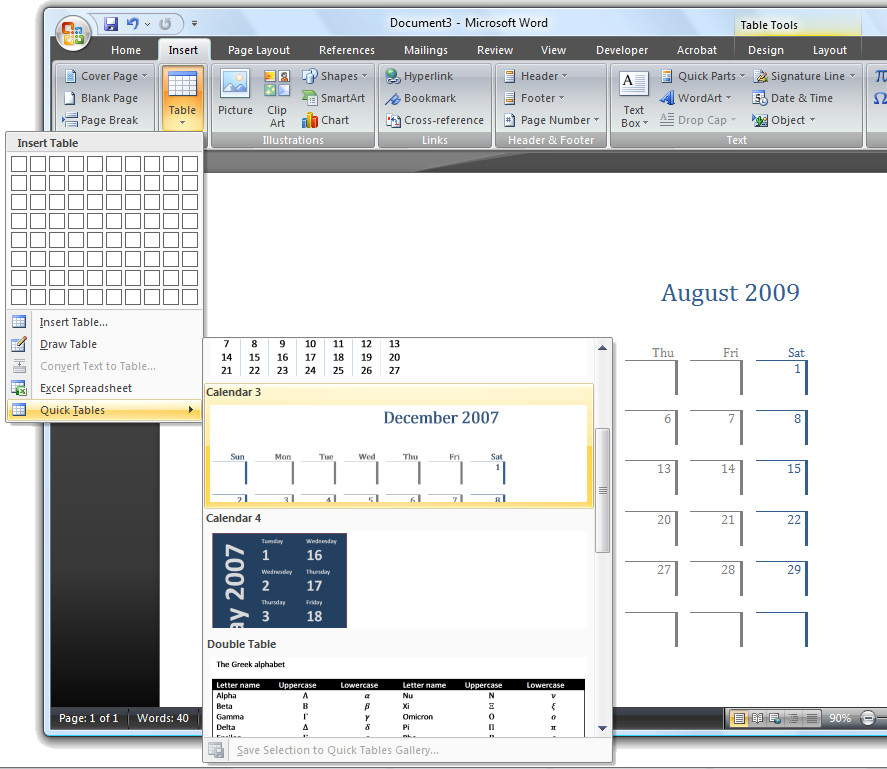 New to Word 2007 is the Quick Tables feature.