Tuesday, October 6th, 2009

Outlook Natural language Date Entry

With so many programs requiring you to do things their way, it’s refreshing when you find a program that talks your language. Enter Outlook.

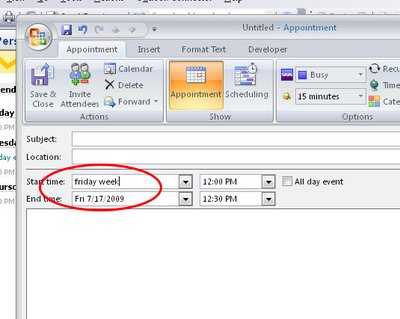
When you are setting up meeting dates in Outlook 2007 and earlier, you can use what is called “natural language” to specify the date.

For example type ‘Friday week’, ‘this Saturday’, ‘Christmas Day’ or even ‘second Monday in December’ and Outlook understands what you mean and sets the appointment date to suit your needs.

This saves you having to know the numerical date or clicking open the calendar especially if you have meetings that are scheduled by the week day rather than by date.

Helen Bradley

Tuesday, October 6th, 2009

Placeholders in PowerPoint 2007

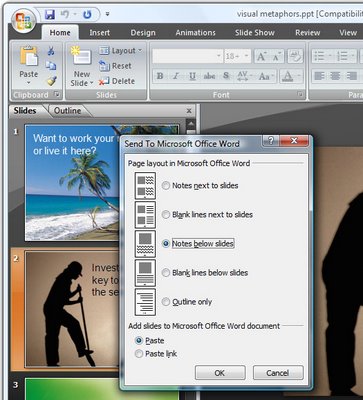
One new feature of PowerPoint 2007 is that you can now add your own placeholders to PowerPoint slide layouts.

In past versions of PowerPoint each slide could have only one text placeholder that would behave as a PowerPoint text placeholder – you could add text boxes but the text couldn’t be formatted in them the same way as it could when you used a placeholder. Now you can have multiple text placeholders on a slide.

To see these at work, choose View > Slide Master to move to the Slide Master View and then click the Slide Master tab at the left of the Ribbon.

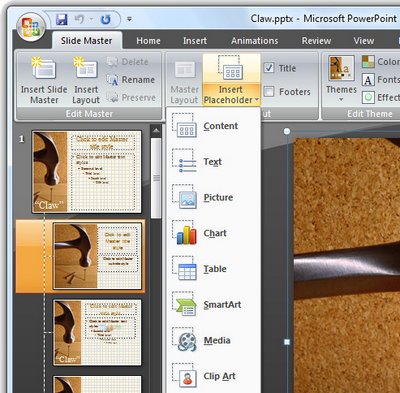
Select the master that you want to add an additional placeholder to and select Insert Placeholder from the ribbon.

From the list, select the type of placeholder to use – these include placeholders for text, picture, chart, table, SmartArt, media and clipart. You can, if desired, add multiples of these placeholders to a slide so you can have a slide layout that has all the elements on it that you need.

For example, you may wish to have a text placeholder next to a chart or text and a picture located side by side. Each placeholder can be sized and positioned anywhere on the slide.

Helen Bradley

Monday, October 5th, 2009

Photoshop – fix Chromatic Aberration


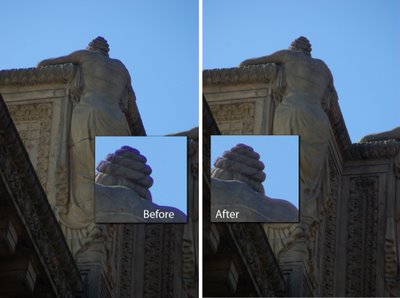
Chromatic Aberration is the bane of digital photographers. It can be seen as a halo or fringe around the edges of an object in a photograph when you photograph it in certain lights – you might see it for example, when you photograph a darker object in front of a bright sky. Some tools like Lightroom have settings that help remove chromatic aberration but sometimes it’s so obvious and so distracting that a bigger fix is required.

In this image, the statue has a very obvious blue edge to it and not even Lightroom could fix this. The solution is to open the image in Photoshop and to fix it there.


Step 1
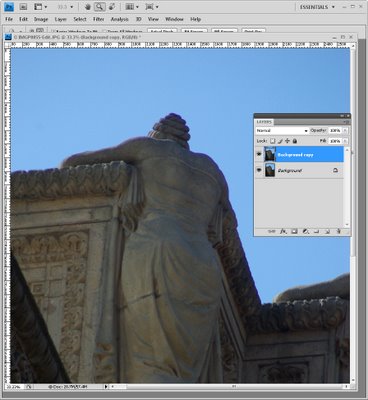
Duplicate the background layer by choosing Layer > Duplicate Layer.


Step 2
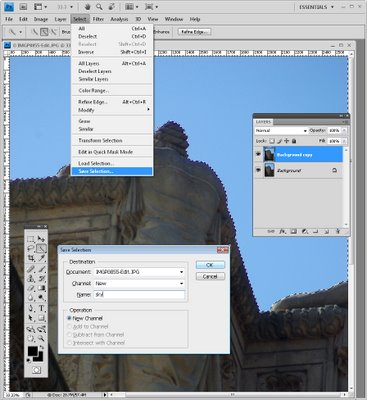
For this image, because the problem area is so distinct and the edges are so crisp, the easiest solution is to make a selection of the portion of the image to fix and then apply a fix to it. Using the Quick Selection tool I made a selection of the sky. Save it as a selection using Select > Save Selection and give it a name.


Step 3
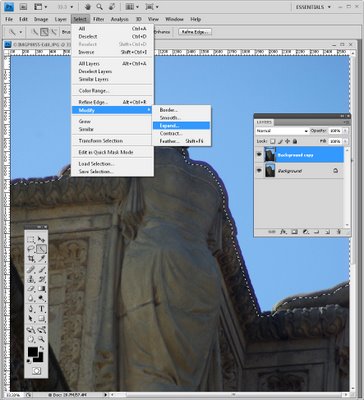
Now enlarge it so the selection covers the problem area. I used Select > Modify > Expand and added enough pixels to select over the problem area. How many pixels will be variable – on a high resolution image you’ll need a bigger value than on a low resolution image. I used 30 pixels on this large image.


Step 4
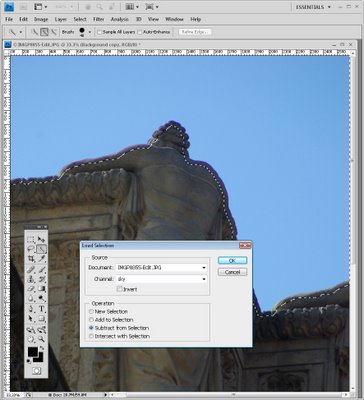
Now you need to subtract the first selection you made from this new selection so you end up with just the blue edges selected. To do this, choose Select > Load Selection and select the selection you just saved. Set the Subtract from Selection option and click Ok.


Step 5
You now have the blue area selected so click the Add layer mask icon at the foot of the layer palette to add a mask to this layer. This isolates the blue area in the image.

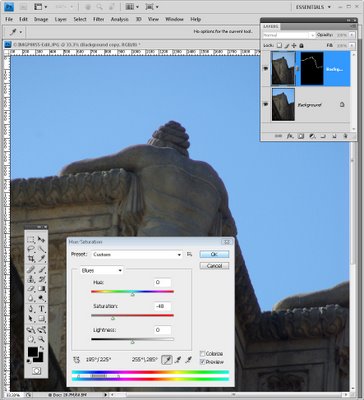
In this case the simplest way to the problem is to desaturate the top layer so the blue disappears. To do this select the top layer, choose Image > Adjustments > Hue/Saturation and adjust the Saturation down until the blue goes – you can do this on the Master channel or just the Blue and Magenta channels or wherever you find the color problem is residing.

You could also fix the problem using a Curves adjustment and select the Blue channel and adjust it. The exact fix is going to depend a lot on what image data that is affected by the color halo – you need to remove or desaturate some of the blue but keep as much of the remaining image data intact and correctly colored as you can.


Step 6
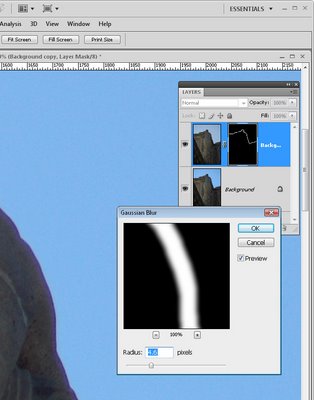
If the edge of the fix is too harsh, you can blur the mask layer by selecting the mask thumbnail and choose Filter > Blur > Gaussian blur.

Helen Bradley

Saturday, October 3rd, 2009

Clean up a scene in Photoshop Elements


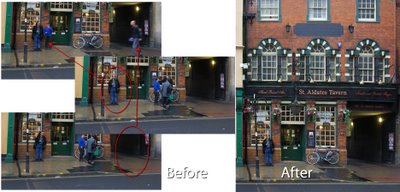
When you’re photographing popular places this summer, one issue you’ll face is getting a clean shot of what you’re photographing. Too often popular places are filled with tourists so it’s difficult to capture a scene without getting lots of people in it too.

The solution is to recognize the problem when you’re shooting and capture a series of images and use the Photoshop Elements 7 Scene Cleaner tool to assemble an uncluttered scene later on.

When you are shooting take care to take two or more images each showing various elements of the scene uncluttered by people. It is best if these photographs are captured using a tripod but it’s not necessary to do so. What is most important is that you stand still as you capture all the shots – don’t move yourself or the camera as you take them and don’t change your camera settings as you photograph either – if you’re using a manual mode, use Aperture priority not Shutter Priority. Make sure to get every part of the scene without people in it.


Step 1
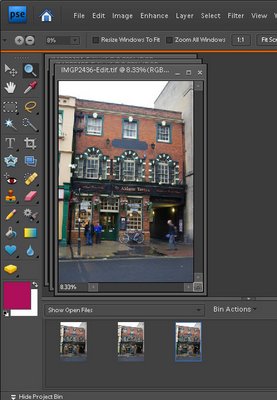
When you return home, download your images and open them in Photoshop Elements 7 so that they appear in the Project Bin.


Step 2
Click on the first image in the Project Bin and Ctrl + Click on each subsequent image in your series.

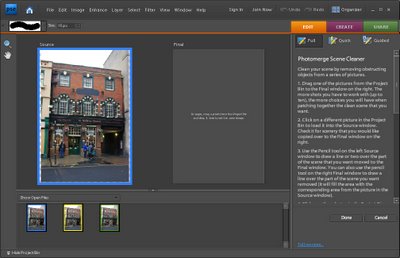
Choose File > New > Photomerge Scene Cleaner. When you do this, one image will be loaded in the Source area on the left and nothing will be in the right hand panel.


Step 3
The source image has a colored surround which matches the color surrounding the photo in the Project Bin so you know which image is which.

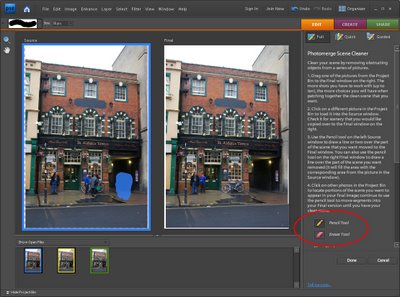
Drag and drop an image from the Project Bin into the Final box on the right – this will be the image you will work on to clean up – choose the best image to work with.

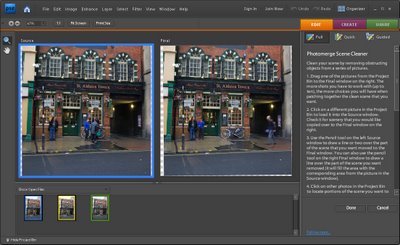
Zoom in to see the problem area clearly. Note that Photoshop Elements has aligned the images relative to each other.


Step 4
Now locate areas of the final image that need to be replaced using areas of the source image. What you’re looking for here are people in the final image you want to remove for which the source image can provide a clean ‘people free’ area.

Click the Pencil tool in the right hand panel and draw over the area of the source image to use. As you do this you see a colored overlay on the source image and the area you’ve selected will appear on the final image.

Adjust the pencil size using the [ and ] keys if necessary. Use the Eraser to remove the highlight if you select too much of the source image.


Step 5
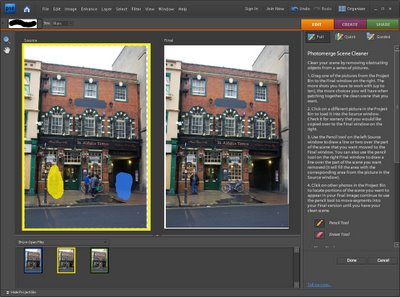
When you have used all the image data you can from the first source image, click on another source image in the project bin and it will move automatically to the Source area replacing the current image.

Continue and select areas of the source image to use to remove problems you see in the final image.


Step 6
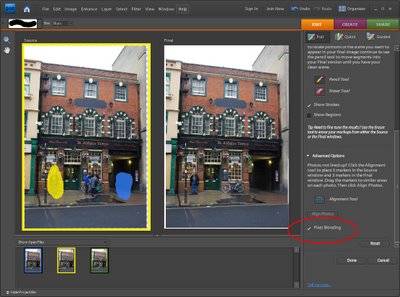
When you have the final image looking as you want it to look check to see if the pieces in the final image need blending or not. If they do, click the Pixel Blending check box in the right hand panel and the copied portions of the source images will be blended into the final image.

Click Done and you can then save the final version as a new file.

This tool is useful for removing tourists from around monuments, cars from roadways and other distractive elements in images where all you want is the scene unencumbered by people. The key is to recognize you have a problem when you’re shooting and capture multipe images to use.

Helen Bradley

Friday, October 2nd, 2009

Resizing images in Lightroom 2


One of the hardest things for a new Lightroom user to work out how to perform is a simple image resizing. Look as hard as you like and there simply isn’t a resize menu command. There is, of course, a way to resize images and it is done as you Export them from Lightroom which makes sense when you know how Lightroom works but if you’re a new user it’s just plain confusing.

So, here’s how to batch resize in Lightroom:


Step 1
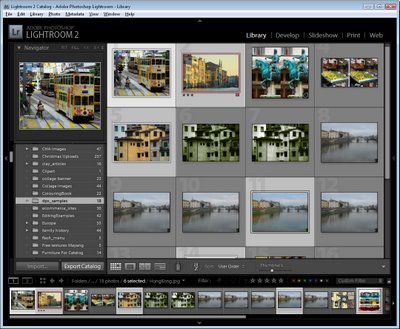
Select the Library module and select the images to export. Choose File > Export.


Step 2
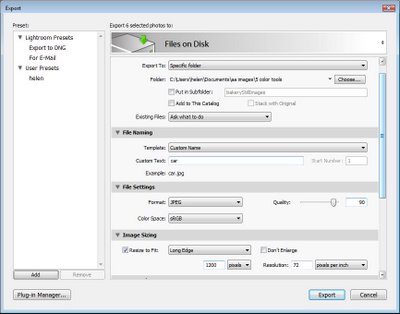
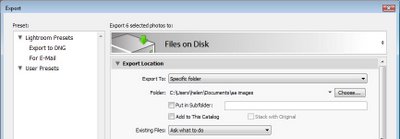
The Export dialog gives you a series of choices for the exported images. Start by selecting where the exported images should be stored. Choose either a specific folder or the same folder that the originals are stored in.

To place the images in a subfolder of your chosen folder, select Put in Subfolder and type the name of a new subfolder to create. If you want the exported images to be available in Lightroom, select the Add to This Catalog checkbox. From the Existing Files dropdown list, choose what to do if files of the same name appear already in the selected folder.


Step 3
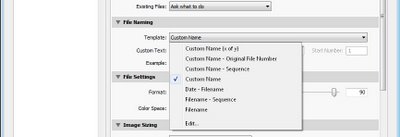
From the File Naming options select what you want your files to be named.

For example, selecting Filename will give the files the same name as the original images. Custom name – Sequence lets you give the files a custom name and Lightroom will add a sequential number to each file. Type the Custom Name in the Custom Text box.

You can also select Edit from the dropdown list and create your own file naming template.


Step 4
In the File Settings area, select the export format such as JPEG for the web and the Quality – the higher the quality, the larger the file size.

In the Color Space area choose sRGB for the web.


Step 5
In the Image Sizing area set the file size and resolution. So you can, for example set the Resolution to 72 pixels per inch for the Web or 300 ppi for printing.

To size the images, enable the Resize to Fit checkbox. By selecting Dimensions you can set the final dimensions for each image such as 800 x 1200 and the images will be sized as close to this as they can be given their current aspect ratio. They won’t be larger than this and one measurement at least will be 800 or 1200. Lightroom does this regardless of whether the images are in Portrait or Landscape orientation so portrait and landscape images will end up the same sizes.

If you select Width & Height you can set the longest dimensions of each image in each direction. All images will be sized so their Width is no larger than the value you set and their Height is no larger than the value you set – the same width and height values are applied to portrait and landscape images so a Width of 400 and Height of 600 will give a larger portrait image than it will a landscape one because the landscape image can’t be wider than 400, forcing its height to much less than this.

The Long Edge and Short Edge options let you set the maximum length of the long or short edge of a photo – so Portrait and Landscape images are treated alike here.

If you enable the Don’t Enlarge checkbox you could have images much smaller than your selected dimensions if the originals are already under the selected size.


Step 6
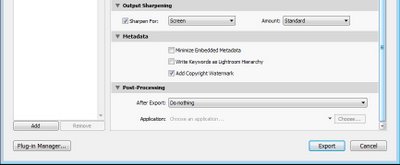
You can apply sharpening by selecting the Sharpen For checkbox from the Output Sharpening options and select to sharpen for Screen, for example, and set a Low, Standard or High Value of sharpening.

In the Metadata area, select to add metadata if desired and from the Post-Processing options select what to do with the images afterwards, for example you could open the images direct in Photoshop or in an alternate editor or another application or show them in Windows Explorer.

When you’re done with the selections, click Export and the selected images will be exported.


Step 7
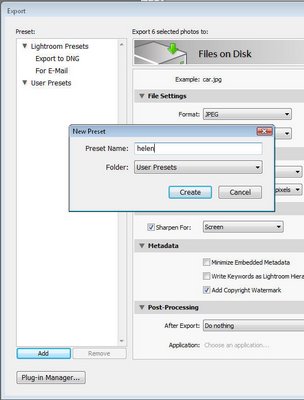
If you’ll use these settings again, save them to use next time by clicking the Add button at the foot of the Preset list, type a name for the preset, select the folder to add the preset to or just leave it set to User Presets and click Create.

In future, you can return to the Export dialog and select these options by clicking the Preset name. You can still make changes to the settings, if desired, and export a new set of images.

Helen Bradley

Friday, October 2nd, 2009

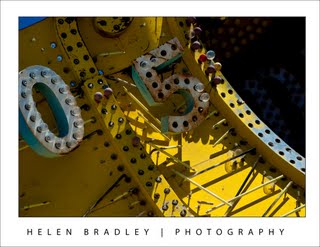
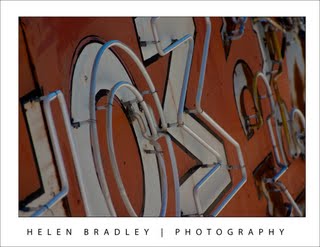
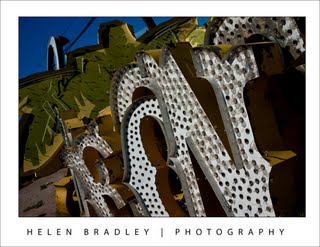
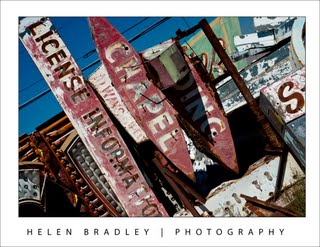
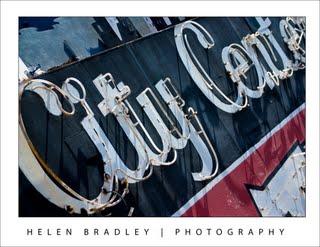
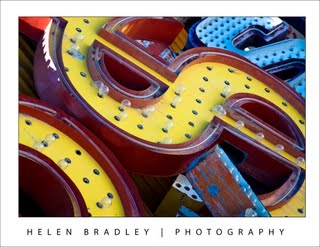
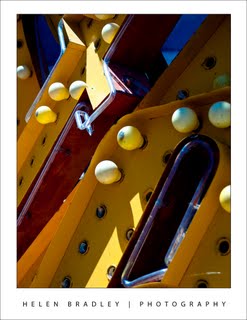
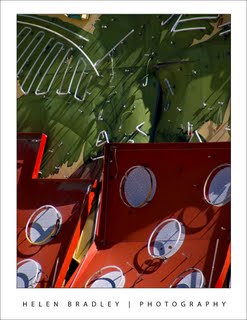
Neon Boneyard

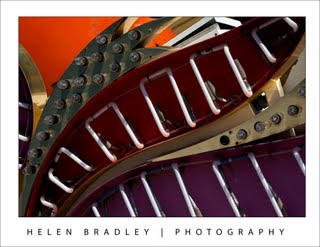
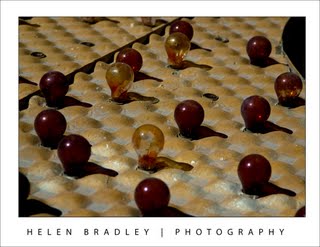
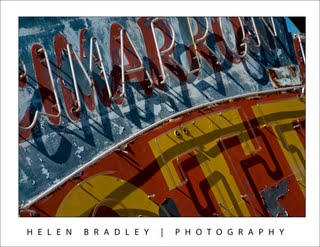
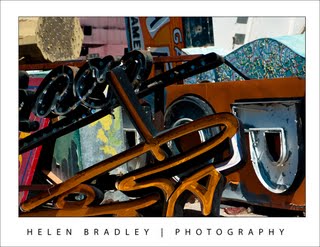
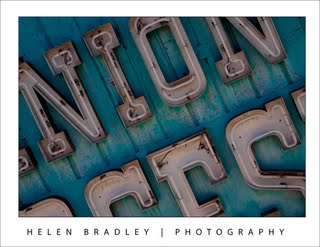
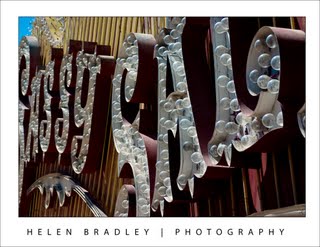
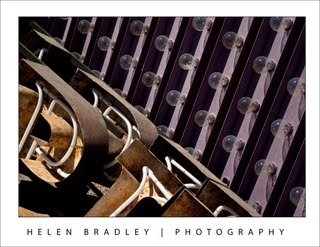
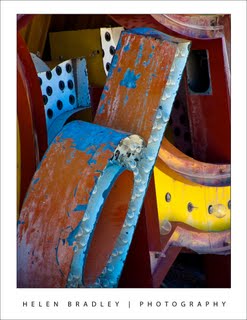
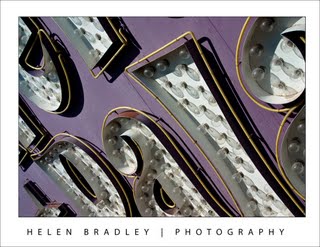
The Neon Boneyard in Las Vegas is home to old neon signs discarded from Las Vegas casinos. Has to be about the most wonderful place to go visit in Vegas.

Here are some images of the old signs:


Helen Bradley

Thursday, October 1st, 2009

File Outlook 2007 Contacts your way

I have a lot of contacts whose nicknames mean more to me than their real names.

So, while I need to use their full name in their contacts entry in my Contacts list, I’d prefer to see them shown using their nickname so I recognize it better.

To do this, I’ll open the person’s entry in my contacts list and, in the ‘File as’ area type their nickname and choose Save and Close.

Now, whenever I look for their entry in the list, they’re filed by the nickname that I associate with them and not names that aren’t so recognizable.

Helen Bradley

Wednesday, September 30th, 2009

Plan a Family Photo Shoot


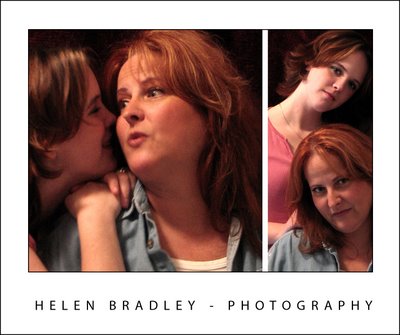
These candid photos where shot inside in front of a shawl hanging over a picture rail as mother and daughter played around and posed for the camera.

Are your memories of a family photo shoots memories of dressing up in your best clothes and sitting for hours in a hot studio blinded by the camera flash? Or were you a bridesmaid at a wedding where you endured hours of being photographed in a dress that resembled a lousy Christmas tree decoration? If so, you may not have fond feelings for photo shoots. They don’t have to be this way. With a digital camera and a sense of fun, you can turn a family photo shoot into fun for everyone.

Why digital rocks
A digital camera is a big plus at a family photo shoot – it’s so easy to get great pictures so there’s no pressure to get a perfect photo each time. If someone blinks or coughs or if your son makes donkey ears behind your daughter’s head – take another shot. You don’t have to print anything that’s not great.

Prepare well
However good a digital camera is, it can’t perform miracles! You need to prepare.

* First (and most importantly), make sure you know how your camera works. If you’re not comfortable with it, practice first until you are confident using it.

* Make sure you know how to set the delay timer if you plan to set up the camera to shoot on its own.

* Have a tripod handy to steady the camera.

Play dress ups
Organize every one’s clothes so they coordinate. A simple solution is to get everyone into a white or black T-shirt and blue jeans. Alternately, plan for clothing colors that work well together – all pastels, all darks etc.

Settle for solid colours in preference to patterns or florals.

Avoid clothes with logos on them unless there is a really good reason to wear them.

Location, Location, Location
Scout out a suitable location to use, here are some ideas:

* a local park in springtime is a good place because there are plenty of flowers to add color and there will be chairs and tables or swings and roundabouts that everyone can sit on.

* If you must shoot indoors find a room with light walls, lots of natural light and shoot on a sunny day with all the windows and blinds open.

* make sure you have an uncluttered and neutral background behind your subjects. Place people close to the light source to ensure they’re well lit.
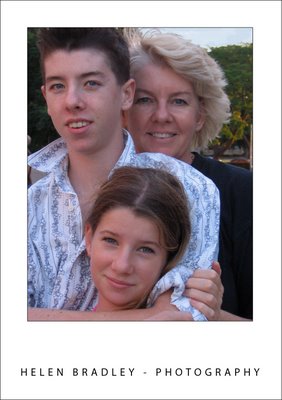

Encouraging everyone to move in very close resulted in this photo that shows the close relationship between these siblings and their mum.

Never at night…and flash in the day
Never do a family photo shoot at night if you don’t have to – the flash will wash out the colours in everyone’s faces and the photos won’t be flattering.

On the other hand, if you’re photographing outside on a sunny day, turn your flash on (yes, On!) so it is forced to fire. When you do this, you will ensure that people’s faces aren’t marred by unsightly shadows.

Let kids be kids
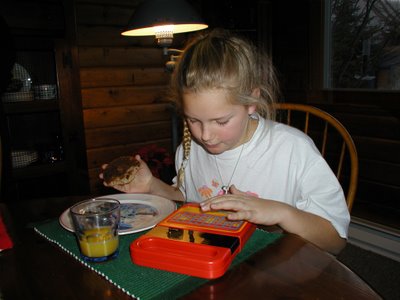
If young kids insist on taking their favourite doll or toy with them, all the better – they will be more comfortable if they have familiar items around them.

When shooting, spend time with each child and take a series of photos of them by themselves (with and without the toy).
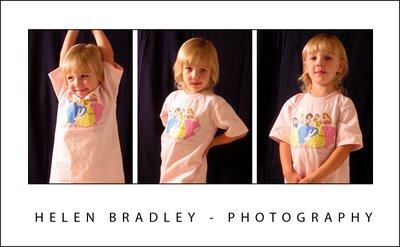

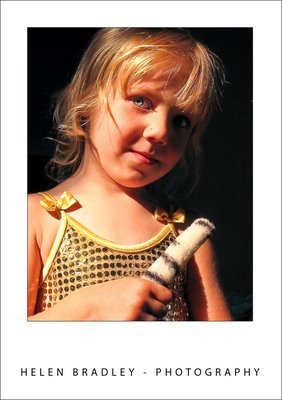
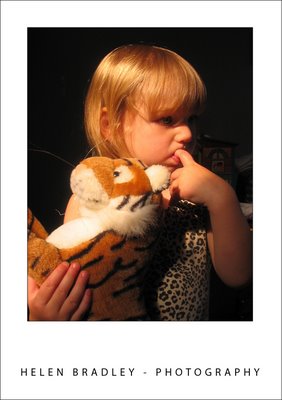
Although shy at first, this youngster soon warmed up to the task of being photographed as these pictures show.

Pair up the children too and take photos of them interacting with each other. Provided you have plenty of storage on your camera’s card, shoot lots of pictures taking time out occasionally to make sure they are focused and framed attractively.

If you’re shooting active young children, put your camera onto sports mode to speed up the shots so you freeze the action and don’t get out of focus pictures.

Enlist the help of a friend to look after the younger children while you take photos of the older ones. If that friend is also able to use the camera, he or she can take photos of all the family together.
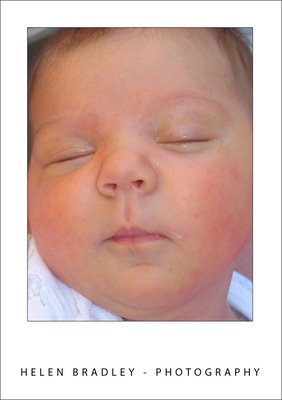

When photographing a baby, have one parent hold the child and then photograph up close.

If your make your shoot fun and if everybody is laughing and enjoying themselves, you will get some wonderful candid shots that show your family as they really are.

Don’t forget to take plenty of photos – any empty space on your memory card at the end of the day is a wasted opportunity.

Helen Bradley
Wednesday, September 23rd, 2009

Photographing Indoors

Here are some tips for capturing great indoor photographs anytime:

Day time indoors
When photographing indoors during the day and when there is some light available, use it to light your subject.
Open the blinds or curtains on the side of the house which has the most light and put your subject where they will be lit by what sun or light there is available.


Use the light you have – here a skylight has provided all that was needed for a great daytime indoor photo.

Always check the background for the shot – cleaning up messy backgrounds is a task you can avoid by not capturing them in the first place.


Here the photographer, my friend Brenda, composed the photo in the camera’s viewfinder and used the Christmas tree as an alternative to a more distracting background.

Night time indoors
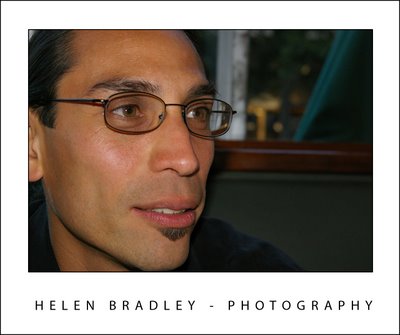
At night indoors, you need to use what light you have available. You may have already have discovered that your camera’s flash doesn’t always flatter your subject. If you can, use overhead lights and strategically placed lamps to light the scene and give it some warmth.

Place desk lamps and other directional lights outside the camera range and use a table lamp to give the scene a visible light source and to provide a warm glow to the subject’s skin.

You can also use candle light to produce a warm glow in your photos – just take care when you use them.


Another shot from my friend Brenda, here the lamplight adds a friendly glow to this image making it look warm and comfortable even though there’s snow outside.

Camera settings
When you shoot in low light you may find your point and shoot camera keeps the shutter open for a longer than the usual period of time to capture the scene. Often this is too long for you to hold the camera still.

Place the camera on a tripod to steady this, this helps you take longer exposure images and reduces the chance of the camera moving. If you don’t have a tripod, place the camera on table or bookshelf to steady it.

When you are taking images using a longer exposure, ensure that the person being photographed understands this so they stay still long enough for you to capture the shot.


Flash light isn’t a bad light all the time – here it compliments this subject and produces a great night time portrait.

Helen Bradley

Tuesday, September 22nd, 2009

Outlook – Disable Contact Editing

By default in Outlook 2007 you can edit your contact information from any view including the Contact card view.

If you find yourself making changes by accident you can disable this feature so that contacts can only be edited by opening the Contact’s information dialog.

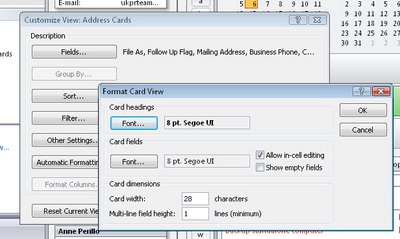
To do this, select the Contacts folder and display the view you don’t want to be able to edit in. Choose View > Current View > Customize Current View > Other Settings and disable the ‘Allow in-cell editing’ checkbox.

Now you can look at the contacts but you won’t be able to change them without switching to another view.

Helen Bradley