

Monday, April 9th, 2007
No good news – Outlook
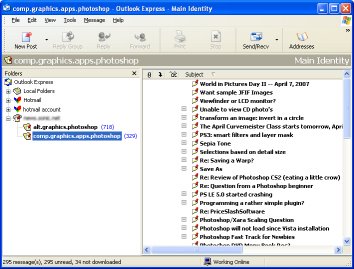
Even with the new Outlook 2007 you can still not read newsgroups inside Outlook so you’re stuck with Outlook Express.
To configure Outlook Express as your default news handler open Outlook Express and choose Tools > Options > General tab and enable the Make Default button to make Outlook Express your default email handler.
You can now create a news account by choosing Tools > Accounts > News tab, click Add and then News. Enter the News further details that your ISP will provide you with and click Finish and then Close.
You can now determine which newsletters you want to subscribe to and how they will be handled in future.
Labels: News handler, Outlook 2003, Outlook Express
Friday, April 6th, 2007
Smart horizontal lines in Word
My history is as a WordPerfect 5.1 user if any of you can remember that far back!
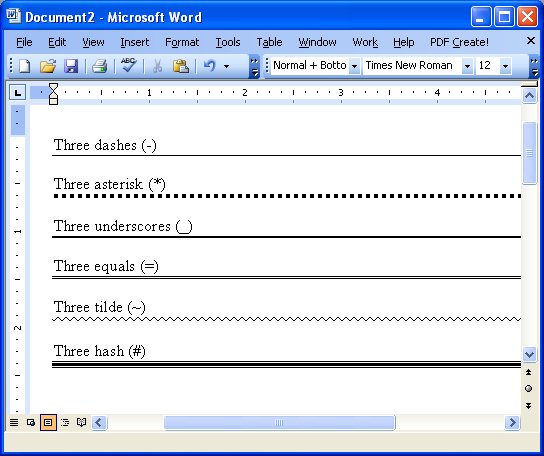
WordPerfect had a great tool for creating horizontal lines and when I came to Word it took me ages to realize that Word didn’t have a tool anywhere near as useful. However Word can create horizontal lines if you know how to do it. Press the Enter key and then type three hyphens in a row and press Enter again – Voila! (well at least we hope so) – a horizontal line. If it doesn’t work for you choose Tools > AutoCorrect Options > AutoFormat As You Type tab and enable the Border Lines checkbox. Then try again. There are other line styles that you can use for example three asterisks creates a blocky line, three underscores a thick line, three equal signs a double line, three pounds [#] signs, an attractive thin thick thin line combination, and three tildes a squiggly line.
While Word’s lines aren’t as intuitive as those in WordPerfect 5.1 perhaps by giving us six different styles it’s set to win back some friends.
Labels: lines, Microsoft Word
Thursday, April 5th, 2007
Don’t you hate it when you know there’s something wrong but you can’t exactly put your finger on what is happening?
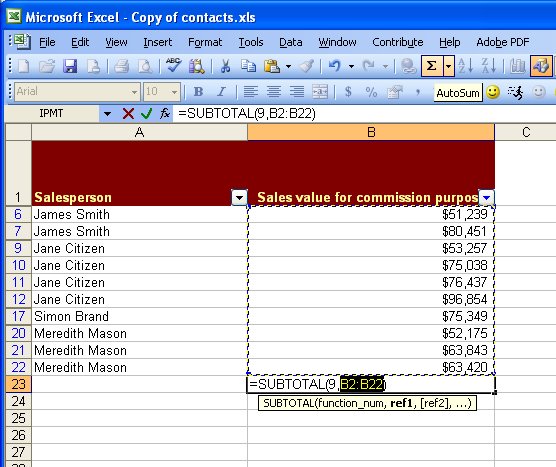
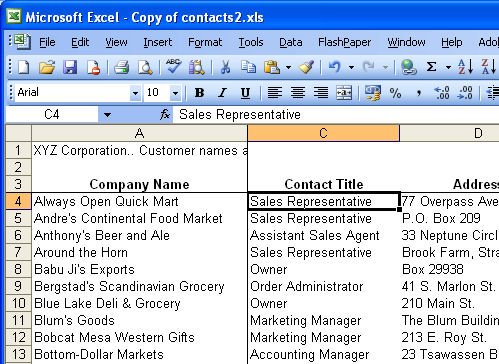
Try this, filter a list in Excel and write an =sum function at the foot of the list to sum the visible data. So far so good? Well, try checking that sum manually – do you still feel confident? Worse still, if you’re using Excel, try to filter the numbers in the column containing the Sum formula and watch as Excel chews up your formula – yikes!
You see, =SUM just doesn’t work on filtered lists. Instead, you have to use SUBTOTAL. Of course, there’s a simpler way. Use the AutoSum button on the Excel toolbar to create your formula and it does the sensible thing and writes a SUBTOTAL function for you. Now, when you filter the data it sums only visible values and it never gets swallowed up.
Labels: Excel 2003, filtered lists, sum
Wednesday, April 4th, 2007
Hands up anyone who has ever spent hours trying to juggle a Word table to be evenly spaced. I confess to have dragged on one too many table borders in my time and all in the name of consistency.
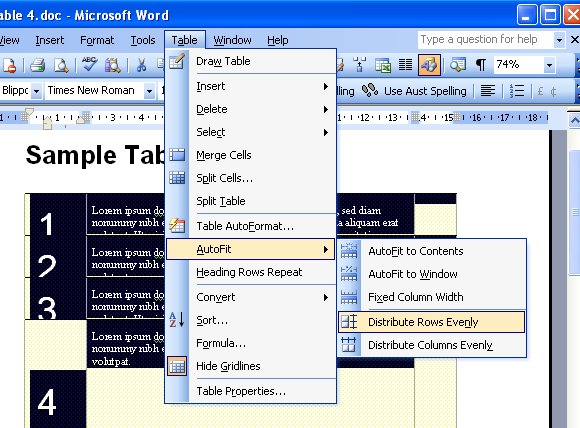
In fact, consistency is much more easily obtained. So, I suggest you start by filling your table cells with whatever you need to put in them. Ignore that one looks deeper than the others. I like to finish all my table cell entries with two Enter keys – that prebuilds in a nice buffer of space.
Then, when you’re done, go to the bottom of the bottomost cell and drag it down so the bottom cell is lots deeper than the others. Select the table – best way is to click inside it and choose Table, Select, Table. Now choose Table, AutoFit, Distribute Rows Evenly – instantly all your rows are evenly sized. If you haven’t made them quite big enough, repeat the process – it’s simple because Word does all the fiddly stuff for you.
Labels: distribute, Microsoft Word, rows, table
Wednesday, April 4th, 2007
Vertical text in Word
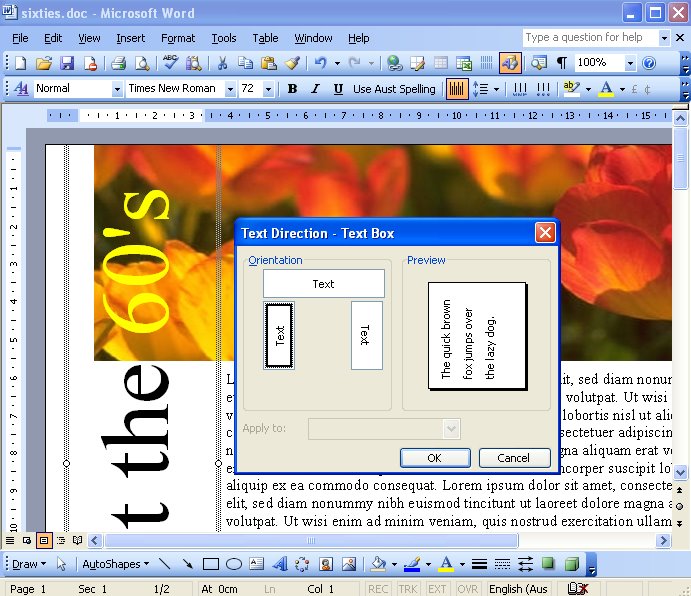
Ever been confused about how to create vertical text in Word. You deserve to be. There is this neat looking Text Direction tool that never seems to be active so you can use it. Fact is – it works on text in a table, but what if you don’t have text in a table?
Luckily it works just great on text in a text box. So, to make a vertical block of text, drag a text box (Insert, Text box) onto your page. Now click inside it and type your text. Click in the box and choose Format, Text Direction and choose one of the two vertical options – Voila! instant vertical text.
Labels: Microsoft Word, text, vertical
Monday, April 2nd, 2007
Checkboxes in Word
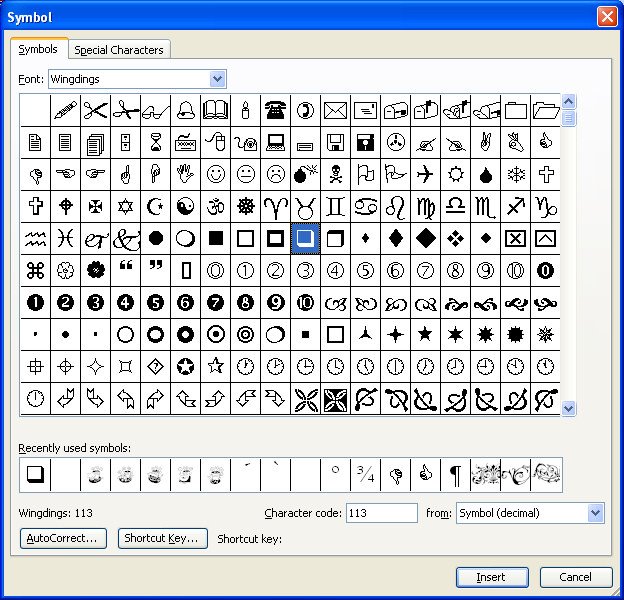
Stuck and need a checkbox in a Word document? Simple!
Click where the checkbox is to go and choose Insert, Symbol, Symbols tab. From the Font list choose the Wingdings font. You’ll see at character positions 113 & 114 are two checkboxes. Click the one you want and choose Insert and then Close. If you’d use it a lot, create an AutoText or AutoCorrect entry for it so it’s only a word away.
Labels: checkbox, Microsoft Word, special symbols.
Sunday, April 1st, 2007
Snap an Excel range
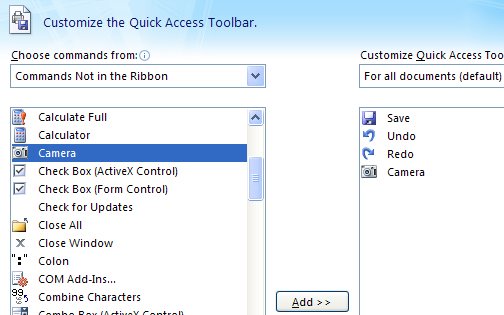
Did you know you can take a photo of an Excel range? Well you can and it’s one cool way to get around the problem of needing to print bits of two worksheets on the one piece of paper, something as smart as Excel is, it just can’t do.
To do this, right click a toolbar and choose Customize, Commands tab. From the Categories list choose Tools and from the Commands list click and drag the Camera icon up onto a toolbar. Now select a range on a worksheet and click the camera. Then click where the ‘photo’ should go.
Repeat this to assemble bits of lots of worksheets onto one page for printing. And the best bit? the photos are ‘live’ if the data in the worksheets changes, the photo does too!
Labels: camera, Excel 2003, range
Saturday, March 31st, 2007
Data labels on Excel charts
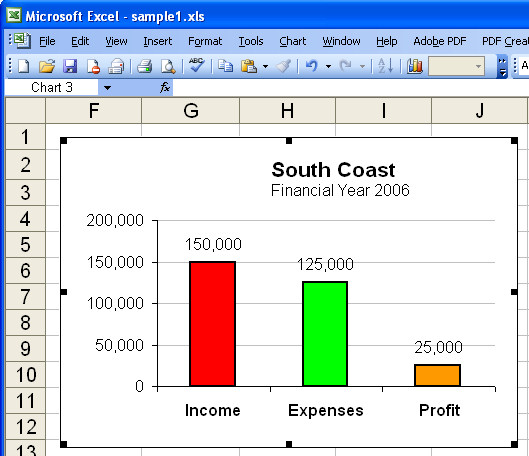
Data labels on your charts show your viewer the values they’re looking at and after all – isn’t that the purpose of the chart?
To add Data Labels to a chart, click the chart and choose Chart, Chart Options. Click the Data Labels tab and choose a style that will look good on your chart. Typically values is a good choice but, for pie charts, for example, a different type might work better.
Labels: chart, data labels, Excel 2003
Friday, March 30th, 2007
Go Ahead – Make My day!
Ok, so this post is seriously off topic but I just had to write it. I subscribe to a great email newsletter written by horseman Doug Emerson and which you can find here: www.profitablehorseman.com.
He writes great stuff, common sense, smart and very business oriented. I don’t know anyone who couldn’t benefit from his ‘pearls of wisdom’ whether or not you know what end of a horse the food goes in.
Ok so what about the Make My Day bit. Well, I took the time to write to Doug today to say hi and thanks for his stuff. It was just a short email, a few lines but very soon a reply came back and in it he said “you made my day!” – that’s exactly what I feel when someone who has read an article I wrote writes to say “Hi and Thanks”. When the “Hi and Thanks” comes without strings, no questions attached, just an out of the blue pat on the back it really does just that, it makes your day, whoever you are.
So, my challenge to you? Go ahead and make someone’s day. Next time you read something and think “that was good/cool/interesting/well written…” email them. Say hi and thanks. Pass the good word feelings around, curiously, I think (in the process), you’ll find it makes your day too!
Labels: Unshamedly Off Topic
Thursday, March 29th, 2007
Getting alignment right (or left), in PowerPoint

Let’s face it, it’s easy to dump pictures, text and charts on a PowerPoint slide but it can end up looking like the dog’s breakfast – at least what I imagine a dog might eat for breakfast.
When you want your slide to look good, you need to have everything aligned neatly on it. To do this, click on the first object to align and Control + click on the second. From the Drawing toolbar choose Draw, Align or Distribute and then an option such as Align left to align both objects so they’re lined up along the left edge of the object that is further to the left on the screen.
In a few simple clicks you can restore order to an unruly slide.
Labels: alignment, PowerPoint
Wednesday, March 28th, 2007
Seeing double – split windows in Word
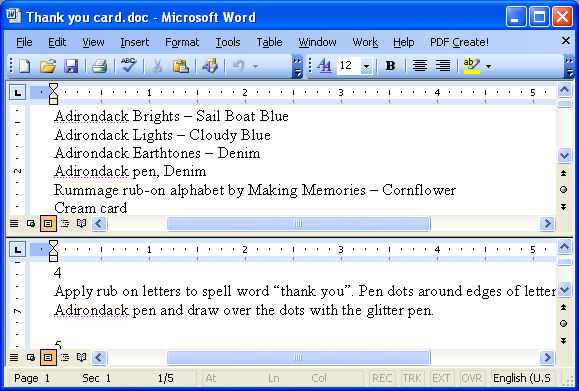
Long documents are harder to manage than short ones, and it can be difficult to cut and paste an item on page 1 all the way to page 20. I find it easier to do when I can see the source and target area on the screen all at once. That’s why I love the Split window tool.
Here’s how to use it, position the document on the screen where you want it to be split in two and choose Window, Split. Now click where you want should be. You’ll get two horizontal panes each with its own scroll bars and you can move around the panes independently and show different places in the document in each. You can also drag and drop between panes.
When you’re finished editing, choose Window, Remove Split.
Labels: Microsoft Word, split
Tuesday, March 27th, 2007
Excel and the taskbar
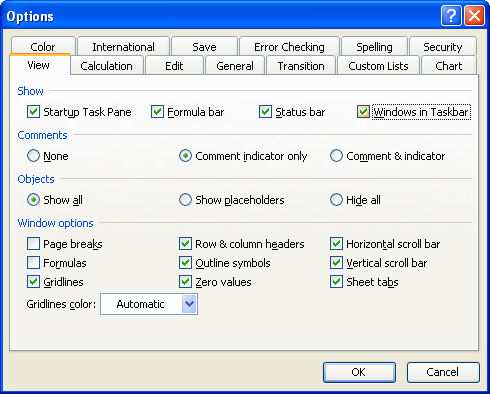
I like to see each individual worksheet I have open named on the taskbar – well, that is unless I don’t. When I have one of those “redecorating the desktop” days, I opt to have one indicator for Excel and then use the Windows menu or Control + F6 to switch between them.
Changing how I view my Excel interface is easy. Choose Tools, Options and click the View tab in the Options dialog. Disable the Windows in Taskbar checkbox to view one Excel indicator on the taskbar. Click Ok. Reverse the process to switch back.
Labels: Excel 2003, taskbar, window.
Friday, March 23rd, 2007
Excel Freeze Panes
When you’re working on a very big spreadsheet it can get confusing as to what the headings are for the various rows and columns when you move away from the top most cells.
A simple way to solve this problem is to freeze panes – it’s a funny term for something that actually is very handy. Move so that cell A1 is located in the top left corner of your worksheet area and then position your cell pointer just below the set of headings that you want to see and just to the right of the column headings if they’re important too.
Choose Window, Freeze Panes and Excel will freeze the area above and to the left of where you are working. Now if you move around the worksheet wherever you happen to go the cells on the left and top of the worksheet will always be there.
If you need to undo the effect choose Window, Unfreeze Panes and it will all be back to rights. My guess is that you’ll like it so much that you won’t want to change it anyway.
Labels: Excel 2003, Freeze panes, window.
Thursday, March 22nd, 2007
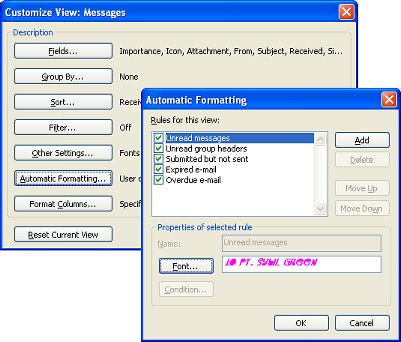
Pictures inside Excel comments
In a previous tip of the day, I showed you how to create shaped comments in Excel but today I’m going to go one step further and create pictures inside the comment.
As you might expect, start off in Excel and add a comment to a cell. Right-click the cell and choose Show comment and then click the border of the comment to select it. Choose Format, Comment and, from the Colors & Lines tab’s Color dropdown list choose Fill Effects and then the Picture tab and click Select Picture.
Find a picture to add to your comment from those in your My Pictures folder, enable the Lock Picture Aspect Ratio checkbox and click OK twice. You’ll now have the image inside your comment.
Depending on the image that you have used you may want to change the format of the text, for example coloring it a different color and sizing it large enough so that it can be easily seen.
For more tips and tricks and helpful Office columns, visit Projectwoman.com
Helen Bradley
Labels: comments, Excel 2003, images
posted by Helen Bradley @ 6:27 pm0 Comments - links to this post