Wednesday, December 10th, 2014

Photoshop Quick tip: Change from Dodge to Burn Tool

Switch between the Dodge and Burn tools with one key press

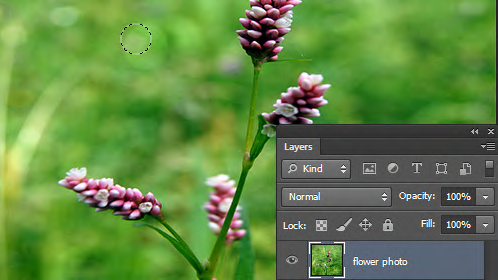
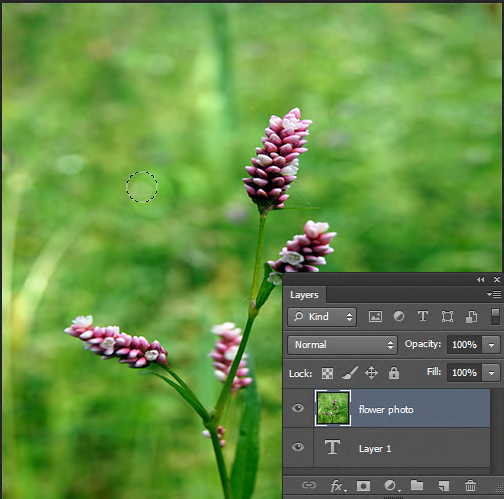
While you are making small photo edits one easy trick that could save you a lot of time is switching between pairs of editing tools like Dodge and Burn with one key press.

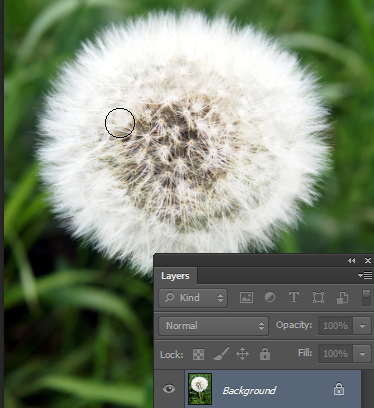
So to change from the Dodge to the Burn tool (or vice versa), hold down the Alt key (Option on the Mac).

While you have the Alt key (Option key) held you will be using the other tool. Let go the Alt (Option) key to return to the original tool you were using.

Now you can easily move back and forth between tools to speed up your edits.

Photo credit: © anitab0000 freeimages.com

Friday, November 21st, 2014

Photoshop – Quickly Change Your Brush Size

Quickly change the brush size (without using the slider)

When you’re using any tool in Photoshop that uses a brush such as the Brush itself, Eraser, Dodge, Burn and many others, you can change the size of the brush using a keyboard shortcut rather than having to use the size slider.  This fast and easy shortcut can save you a lot of messing around.

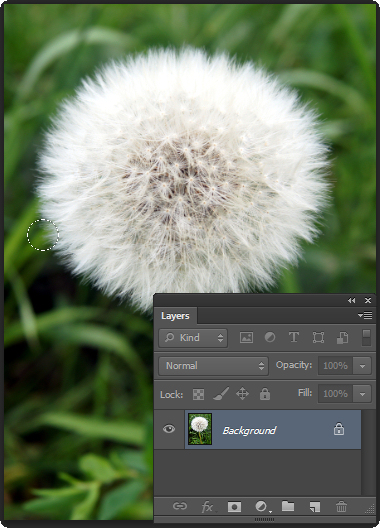
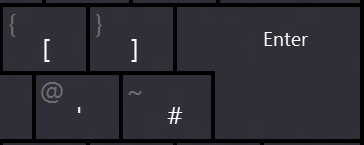
To change the size of the brush for any tool that uses it, press the opening square bracket key ([) to decrease the size of the brush and press the closing square bracket key (]) to increase the size of the brush.

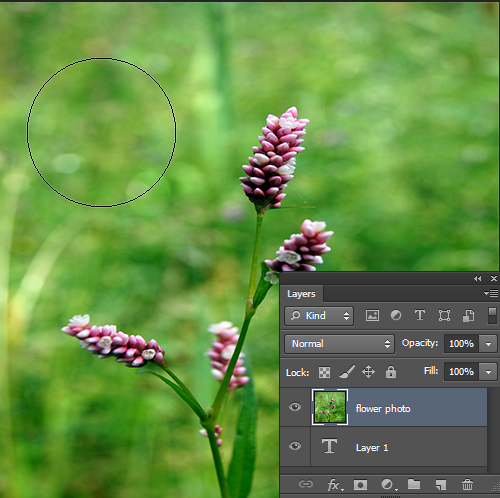
Notice from the top image to this one the brush has increased in size (I pressed the keyboard shortcut ] to do this) and I can easily make my adjustments without having to mess around with the brush size slider.

Photo credit: © anitab0000 freeimages.com

Friday, November 8th, 2013

Depth of Field – how to use it in your photography

Once you  know how to achieve  different depths of field, the question then becomes when would you use this in your photography?

Once you understand how you can achieve different depths of field in your photography – the question then becomes when would you use this knowledge to craft better photos?

Portraits and a shallow depth of field

There are a number of situations where it is a good idea to have a shallow depth of field and one of these is for portrait and pet photography. In this case you will want to remove any distracting background from around your subject. When the background is cluttered or distracting, a shallow depth of field helps you to isolate the subject from the background.

To achieve this effect, you would do one of these things or a combination of them:

1    Use a zoom lens and zoom in to your subject,

2    Get closer to the subject, and

3    Set your camera to use a large aperture, such as f/2.8 – f/3.8.

When you do this, take care to focus carefully on the subject. One disadvantage of working with a very shallow depths of field is that the amount of the area in the image that is in focus is very small so if you don’t get your focus right, your subject will be out of focus. You need to make sure that what you want to see in focus is the area you are focusing on.

Photographing flowers and products

Another situation in which you may want to use a shallow depth of field is when photographing flowers. The closer you get to the flower the more likelihood the background will be attractively blurred.

In product photography, you may also want to get a shallow depth of field and you’ll find that in many cases, the shallower the depth of field, the more attractive the image is. The difference between a shallow depth of field and a deep depth of field can often be the difference between an attractive photograph and one that looks more like a snapshot.

Landscapes benefit from a deep depth of field

While a shallow depth of field is extremely attractive for portraits and many other types of photographs, when you’re shooting landscapes and cityscapes you will typically want the opposite to be the case and you will want a deep depth of field. For landscape photography, you’ll typically want everything in the image to be in focus.

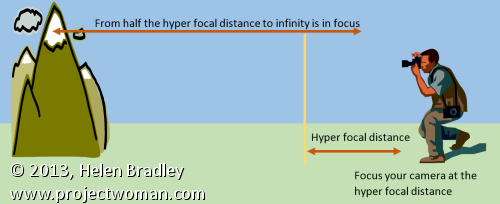
When photographing landscapes photographers often talk about hyper-focal distance. The hyper-focal distance is the point at which you point your camera at to focus the shot so that everything from that point to infinity is in focus and, in addition, an area halfway from the hyper-focal distance to your camera is also in focus. The image shows you how this hyper-focal distance affects the depth of field.

For landscape photography, you’ll typically want to use a small aperture such as f/9 – f/11, a short focal length such as 17mm and be a good distance away from your subject. Calculating the hyper-focal distance then becomes the issue. In many cases, people simply opt to focus the camera at infinity as this typically gives good results without needing technical calculations.

Too much of a good thing

If you’re tempted to increase the depth of field by simply dialing down your aperture to the smallest possible size such as f/35 or so, think again. While it may seem that this will give you a very deep depth of field it can be counterproductive. At very small apertures an effect called diffraction kicks in and this can cause a decrease in quality in your images. Instead you need to find the sweet point at which the smaller aperture gives you a good depth of field but stop short of where it gets so small that light is diffracted decreasing the image quality.

DSLR vs Point and Shoot for controlling Depth of Field

When you’re looking to achieve different effects with different depths of field, you’ll find that a digital SLR will give you much better results than a point and shoot camera. The reason for this has to do with the relative sensor size of the cameras – the larger the sensor size – the more control you’ll have over the depth of field.

Understanding depth of field and how it impacts the images that you take is a key way that you can impact the quality of your images. Choosing the right option for each shooting situation and knowing how to set your camera to achieve the desired result will enhance your photos.


Helen Bradley

Tuesday, October 29th, 2013

Controlling Depth of Field in your Photographs

Learn what depth of field is and how your camera settings affect it

Some subjects need to be fully in focus to be shown at their best and others need dreamy out of focus backgrounds to create the right setting. The feature that is key in both situations is called depth of field – it gives you both that ‘everything in focus’ look and it also gives you soft out of focus look. Depending on what you are photographing getting the depth of field right is often the difference between a snapshot and great image.

I’ll explain what depth of field is and how to control it with your camera settings.

What is depth of field?

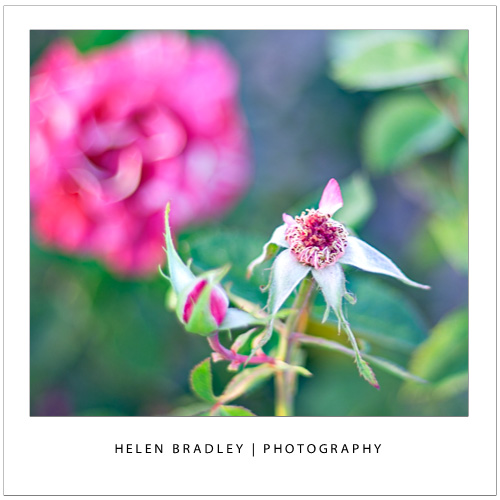
At its simplest, depth of field is the zone of sharp focus in front of, around and behind the subject in your photo when you are focused on that subject. When you have a shallow depth of field, only a small area around the subject will be in focus and quite often only a small part of the subject will be in focus. Everything else in the image will be out of focus with things further away from the subject, either in front of or behind the subject, being more out of focus the further away they are. This image has a shallow depth of field – it’s a great way to shoot flowers:
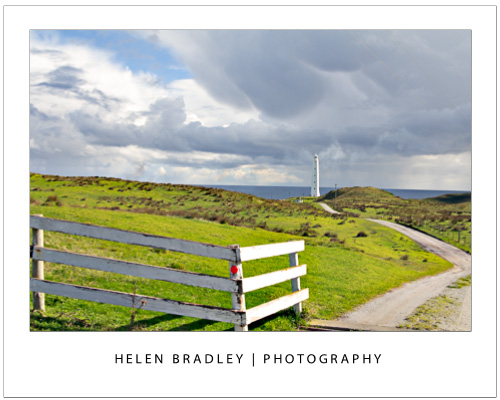
When the depth of field is deep, nearly everything in the shot is in focus. You control the depth of field in your images by adjusting the camera’s settings for aperture, adjusting the focal length of the lens and the distance you are from the subject. This image has a deep depth of field – that’s important as we want to see everything in this scene from the grass in front of us to the horizon miles and miles away.
Let’s look at each of these in turn.

Control depth of field with aperture

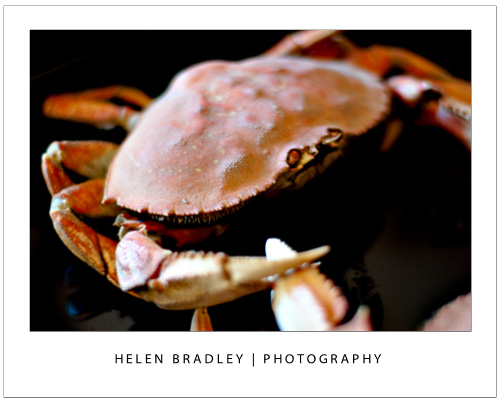
One way that you can control the depth of field in an image is to change the aperture that you are using. For this, you will need to have your camera set to Aperture Priority or Manual mode. Selecting an aperture that is very large, such as f/1.4 to f/2.8 will give you a shallower depth of field around your subject. The aperture used for this image was a huge f1.4 so only a small portion of it is in focus:
 

If you shoot with a small aperture, such as f/9 to f/11 or more you will find that more of the image will be in focus, which gives you a deeper depth of field. If everything else stays the same, the difference in the aperture setting you use can result in a very different image. The aperture used here was a small f11:
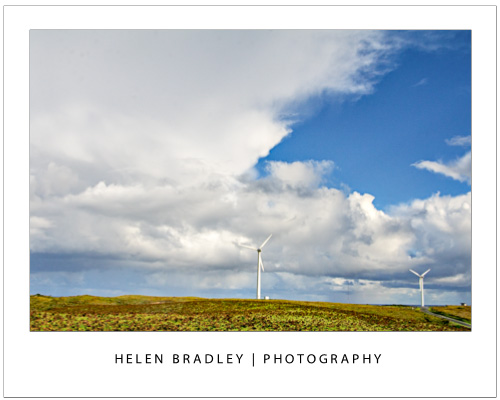
One benefit of shooting with a large aperture, such as f/1.4 to f/2.8, is that a lot of light is getting into the camera so you can use a fast shutter speed. Conversely, a down side of shooting with a small aperture such as f/9 to f/11 or more is that less light gets into the camera so you will need to use a slower shutter speed  or a higher ISO value. In some cases you will be shooting with such a slow shutter speed that you will need to use a tripod.

Control depth of field with focal length

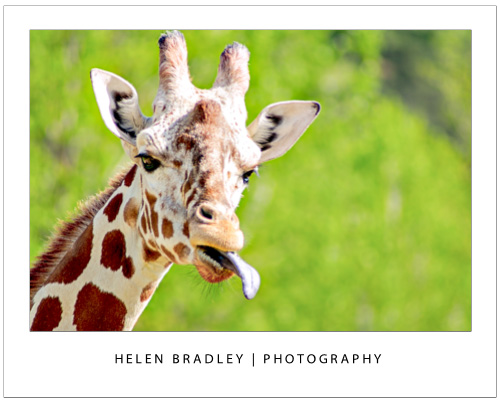
The focal length of your lens can also have an impact on the depth of field when you use this to make a subject bigger. So, if you are shooting with a 50 mm lens, you will get a much deeper apparent depth of field than you would if you were capturing an image with a 200 mm lens at the same aperture and if, in both situations the subject size is the same. The depth of field is actually not significantly different but it looks different because there is more background in an image when you capture it with a 50mm lens than you will get when you capture it with a 200 mm lens. So a rough rule of thumb is that the more zoomed into the subject that you are, the shallower the depth of field will appear to be. This giraffe was shot at f5.6 which isn’t a particularly large aperture but it was shot at 300mm zoom so the giraffe is quite sharp and the background is nicely out of focus:
 

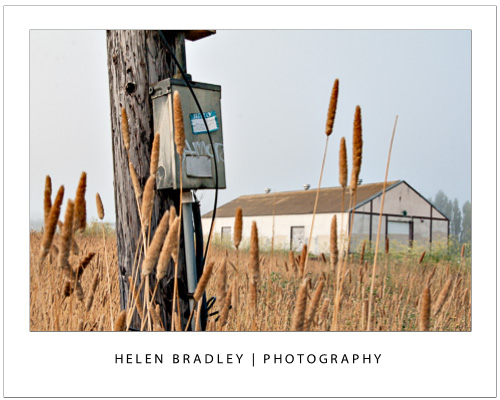
If you are shooting landscapes you will get best results when you use a short lens such as a 28 mm lens as the image will appear to have a much deeper depth of field. On the other hand, a zoom lens can be a good lens to use when shooting portraits because the further you’re zoomed in to the subject the less background will be in the image and the shallower depth of field you will appear to have. This image was shot at f11 with a 28mm lens so everything from the lamp post to the building is in focus:
Control depth of field by varying the distance from your subject

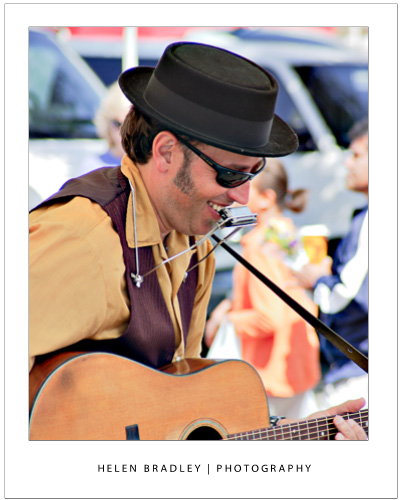
The distance between the subject and the camera is another way that you can impact depth of field. So, for example, if you photograph a subject close up, such as in the region of up to 10 feet away, then the depth of field will be much shallower and more of the image behind the subject and a little in front of the subject will be out of focus. On the other hand, if you move the subject further away from you so that the subject is 20 feet away then the depth of field will be much deeper and there will be a lot more of the image in front and behind the subject in focus. This image was shot with a 200mm lens – the singer was relatively close to the camera  and the background was some distance behind him so the musician is in focus and the background nicely out of focus:
Whenever you’re considering depth of field, you should also note that, when the subject is in focus, the amount of the image that is in focus behind the subject will be greater than the amount of the image that is in focus in front of the subject. The ratio is approximately one-third to two-thirds, so the depth of field will extend roughly one-third in front of the subject and two-thirds behind the subject.

Helen Bradley

Wednesday, October 2nd, 2013

Amazon’s Digital Design Bookstore


Ok.. so I am slow! A friend just sent me to the Amazon digital design bookstore. Now I love design books and finding them all in the one place is just awesome. So, thanks Marilyn and here for anyone else who hasn’t found it yet is the link to all things wonderful: Amazon Digital Design Bookstore.

Helen Bradley

Wednesday, June 19th, 2013

Capturing Photos of reflections – Pt 2

Let’s look a little deeper into how to capture great reflections

In the previous post we looked at the basics of capturing reflections. Here we’ll look at some additional tips and tricks.

Frame the image

When capturing a reflection of a building in a lake, for example, you have two choices for framing the image. You can capture the reflection alone or you can capture the original object and its reflection. The choice is yours. If you’re shooting digital, capture both shots and see which you like best later on.

If you opt to capture both the original and the reflection, consider where the line where one ends and the other begins should be. You can shoot with the ‘line’ across the middle of the photo but this can be distracting as the eye doesn’t know exactly which image to focus on.

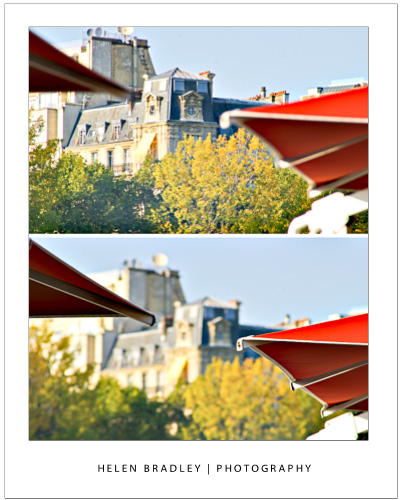
A better solution is to place the ‘line’ along the top one third or bottom third of the image – so the reflected area is double the size of the original or half its size. This will balance the image better and give a more restful image. Make sure the line between the reflection and what’s being reflected is very straight, if it is not, it will be very distracting.

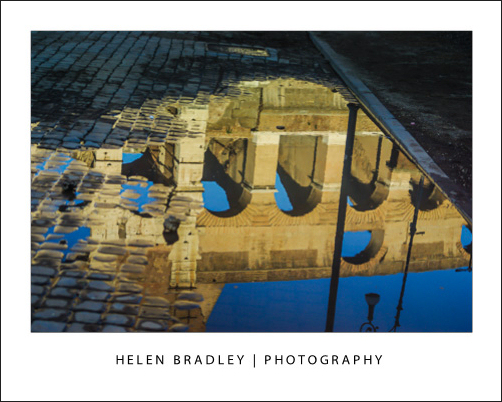
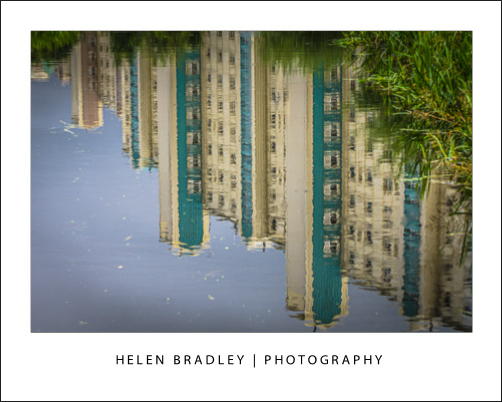
Here the buildings are much more interesting as a reflection than they were right side up!

Capture the imperfect

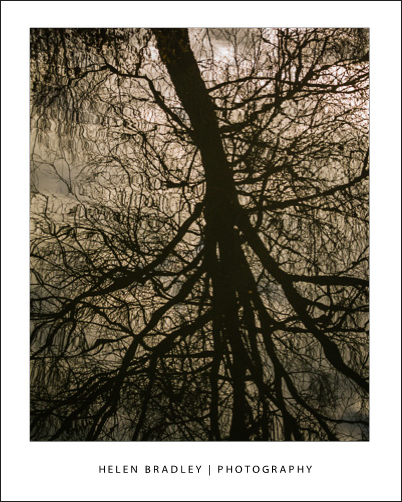
When you’re looking for reflections, don’t always look for perfection. There are interesting photos to be taken where the reflection is bent or rippled because of the characteristics of the reflective surface.

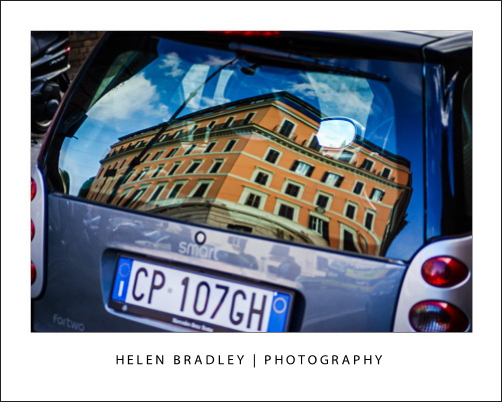
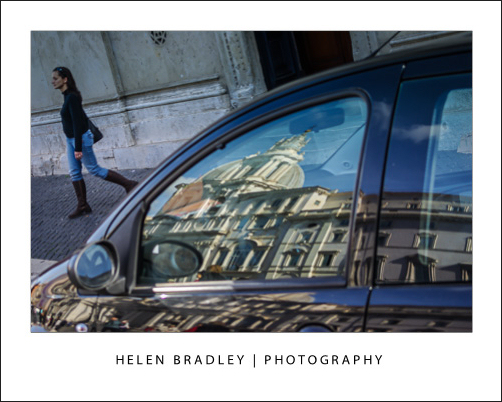
For example, try shooting a reflection captured in a car windscreen. The reflection will be bent and distorted because of this and all the more interesting.

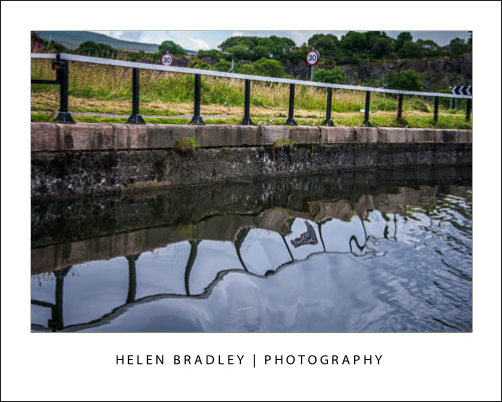
Here the wake of the boat I was travelling on broke the reflection in a very visually rich way:

A sudden shower of rain will open up new adventures in capturing reflections as you will see the surrounds reflected in puddles of water on the ground. Even a storm-cloud laden sky will look more threatening if captured reflected in a puddle.

Focus on the point of focus

When you’re shooting a reflection, check your camera is focusing correctly. You want it to focus on the reflected surface and some cameras may not do this correctly and may, instead, focus on the objects behind the reflective surface.

If you’re using a digital SLR, you can switch to manual focus and focus the lens yourself so you can make sure that the area you’re most interested in is  nice and sharp.

Once you start looking for reflective surfaces to shoot images from you will be surprised at just how many there are and what great effects you can get from them with not
much effort.

Helen Bradley

Wednesday, June 12th, 2013

How to photograph reflections

Reflections make for great photos so here’s how to capture them

Reflections occur all around us. When you’re driving, the road behind you is reflected in the car rear vision mirror and your car will be reflected in the chrome on the car next to yours at the stop light.

Other reflections are more obvious and often constructed to be so, for example, the Reflecting Pool at the War Memorial in Canberra reflects the surrounding buildings and beautiful houses are often constructed with lakes in front of them to reflect their beauty.

Capturing these objects and their reflections can lead to some wonderful photos so here I’ll show you want to look out for and how to capture a great shot.

Axe the Polarizer

The first thing to do when shooting reflections is to remove the polarizing filter from your camera. This filter is designed to reduce reflections which, most of the time is a good thing, but not when it’s the reflections themselves you’re interested in.

If you leave the filter on and photograph something reflected in a window, chances are you’ll capture an image of what’s behind the window instead of what is reflected in it.

Ideas for reflections – sunglasses

While a beautiful building reflected in a lake makes for a great shot, there are reflections you’ll come across every day that will often be more interesting because they are not staged or expected.

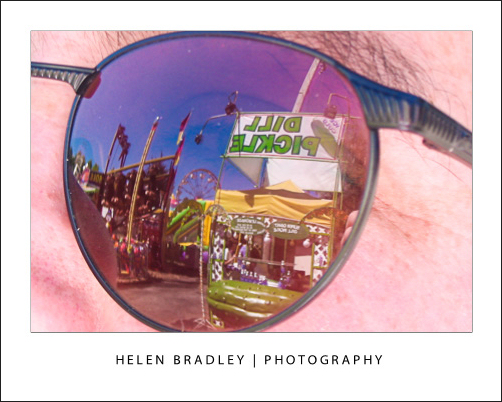
For example, the lenses in sunglasses will reflect the scene around them. By positioning yourself so you can see something interesting reflected in the lens you can capture a mini scene within the glasses themselves.

Ideas for reflections – rear vision mirror

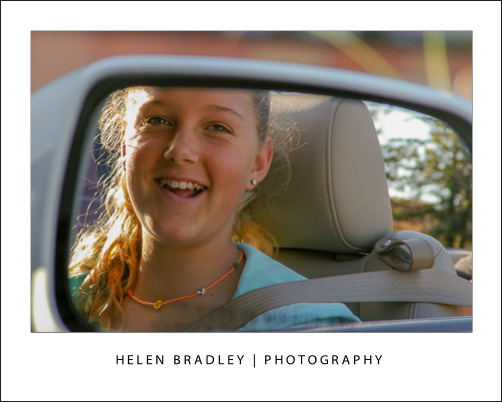
Car rear vision and side mirrors are great for capturing interesting reflections.

Hold the camera at an angle to the mirror so you don’t capture the camera in the shot (unless you actually want to) and frame the shot in the mirror. You’ll need to frame it very accurately because anything outside what shows in the mirror won’t be captured.

Ideas for reflections – city buildings

If you live in a city there will be reflection opportunities in the buildings around you. For example, capture a busy streetscape in the glass front window of a shop. Look out for an interesting shop to use for this purpose such as a fruiterer or bakery or some shop where what is in the window is as much of interest as what is reflected in it.

When you’re shooting reflections in shop windows, there’s a good chance the final shot will be a mix of reflection and what shows through the glass.

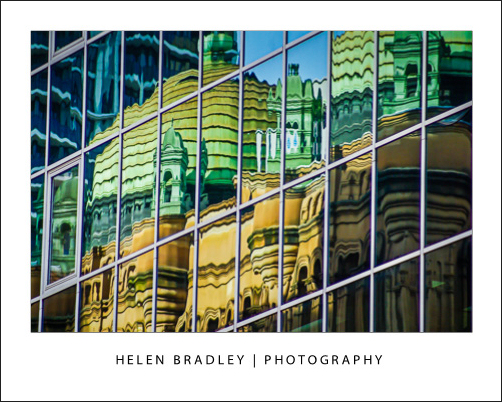
Tall buildings with mirror glass will reflect the buildings around them and the sky too. Look for opportunities where the sun is right and the reflected image an ideal one to compose and capture.


Helen Bradley
Wednesday, May 15th, 2013

How to photograph bluer skies

If the skies in your photos are a lighter blue than they should be here is how to capture bluer skies in your photos

If you find that the skies in your summer photos look less vibrant than they should consider investing in a polarizing filter.

A polarizing filter cuts out reflected glare and the result is that colours look more saturated so your skies look bluer. The polarizing filter will also allow you to capture, for example, fish in a pond rather than capturing the glare from the sunlight bouncing off the pond.

When purchasing a polarizing filter, make sure to select the right polarizer for your camera – some won’t work on a camera that uses a through the lens metering system. The polarizer is a glass filter that simply screws onto the lens on the camera so its diameter needs to match the size of the thread on your lens.

If you are using a point and shoot camera then you may need a special attachment to be able to add a polarizer to the camera.

When you are using the polarizer, screw it onto the camera and then turn the ring on it to find the position that gives the best results before capturing the shot.

Helen Bradley
Friday, May 3rd, 2013

Ask the locals – how to photograph street art

Whenever I travel one of the tasks I have is to find good places for street art. It’s not like it makes the top 10 things to see in many, if any, cities in the world!

While I do a lot of research on the internet before I leave I also rely a lot on local information – trick is who to ask. Usually the well dressed, well heeled local or anyone who looks conservative it not my pick! Instead, on a recent trip to Baltimore it was the guys at the Utrecht art store. They were not only so nice in helping me find the supplies I wanted – a new batch of Prismacolor pencils – but also they helped me find graffiti and street art. They took the time to give me a mini hand drawn map of where to find Graffiti Alley – tucked between Howard and North and just the sort of place you need some insider knowledge or lots of dumb luck to find.

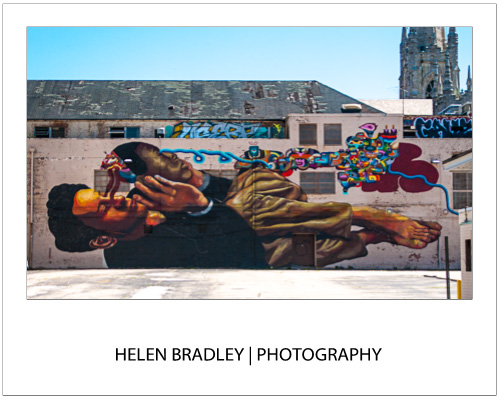
Nearby Graffiti Alley on Charles Street I found this piece of art, painted across the back of a parking lot. It was a really big project and basically untouched. There is a bit of art around it in the parking lot and most of it too is untouched. Not so Graffiti Alley where there are layers and layers of art, compelling in a very different way. Luckily a woman waiting in a parked car for her partner joined me for my walk up Graffiti Alley – if I wasn’t concerned about my safety (I was) she was! She insisted in walking with me to keep a lookout – I appreciated it, the alley does a dog leg and much of it is invisible from the road. I was glad of the company!

Helen Bradley
Saturday, April 20th, 2013

Spring photo inspiration and how to capture great flower photos

Capture the magic of spring with great flower photos

There’s simply no better time to get out and take photographs than in Spring. The weather is great, the colors are spectacular and the flowers are at their peak. Flowers are great to photograph – they don’t get fractious and they don’t blink so they’re good subjects to practice your skills on. Here, I’ll introduce some techniques to try that will ensure you get great photos.

Get up close and personal
When you see a wonderful flower to photograph, move very close so the flower fills the camera’s viewfinder or its LCD screen. When you are this close, the camera won’t focus properly unless you set it to Macro mode – this is indicated by the flower icon and it’s usually easy to find. If you can’t see it, check your camera’s manual to learn how to set this mode. With macro mode set, you should see the flower in focus and you can take the shot.

Macro mode not only ensures the flower will look crisp and in focus but it also has the effect of blurring out the background detail. In macro mode your camera shoots with a short depth of field so only objects on the same plane as the flower should be in focus, things closer to you or further away than the flower won’t be in focus. This is an effect that photographers try to achieve. It is, however, critical that your camera focuses on the flower.

To check the camera is focusing correctly press the shutter release half down and check the LCD screen. If the object is out of focus, let go the shutter release, move the camera so the flower is centred in the screen and press half down again. When the focus is correct, continue to hold the button half down as you move the camera slightly to compose the shot. Then continue to press the button to take the shot.

Even though the background in the shot will be blurred in macro mode, you should still check that any background that is visible is not distracting. If it will ruin your shot, move and try shooting from higher up or lower down so the background isn’t as visible.

Apply the rule of thirds
Apply the Rule of thirds to your flower photography. This rule says you should divide the area being photographed into a grid like a tic tac toe board. Place something of interest along one of the horizontal or vertical lines or where the lines intersect. The result is that you’re not centering everything – and your photo will look much better.

Vary your position
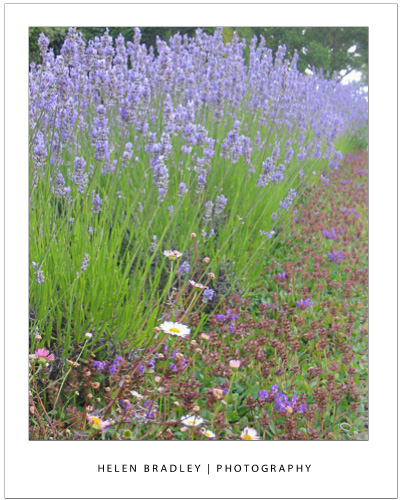
Don’t take all your photos close up and, instead, look out for opportunities to photograph masses of flowers. If you position yourself carefully you can make a bank of flowers look as if they go on forever!

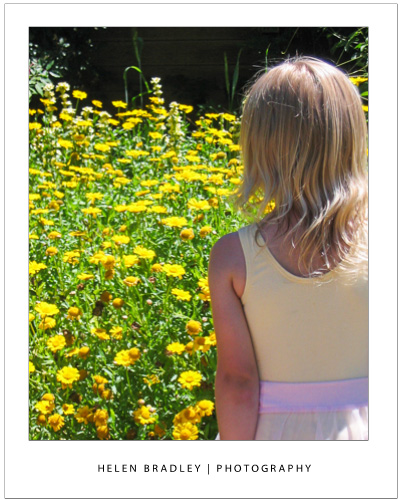
Include the kids
Occasionally, include children or other people in your flower photos for some added interest.

Shoot side on and from underneath
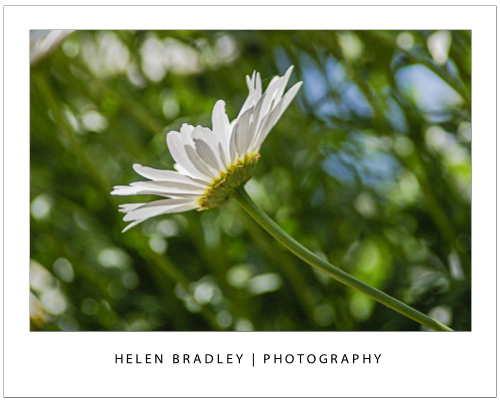
Vary how you shoot your flowers too. While it is typical to take photos of a flower looking into it, you don’t have to take them this way. Shooting from the side will show the shape of the flower and, in some cases, this is what makes them compelling subjects.

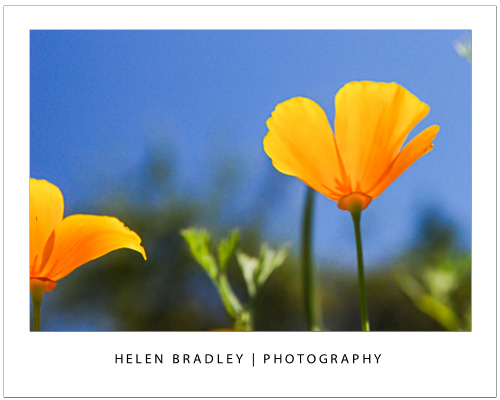
Unusual photos can also be taken shooting blind from under the flower. To do this, you’ll benefit from having a polarizing lens on your camera particularly if you’re photographing on a sunny day. This will cut a lot of the glare and give you deep saturated colors. Hold the camera at ground level under the flower and shoot up through the flower to the sky avoiding shooting direct into the sun. The results you’ll get will be of the “hit or miss” variety – because you can’t see what you’re shooting you’ll have to try a few times until you get results you like. However, you’ll get a totally new perspective on things and you just might be surprised at how interesting the photos are.

Walk and snap
If you’re lucky enough to live in a rural area, take a walk along your favorite towpath or lane and capture the wild flowers that are so often overlooked as subjects for photography. If you live in a city – visit a local park or photograph the colorful display of a local flower vendor. When you’re shooting up close, one flower is all you need to get a wonderful shot.

Helen Bradley
Page 1 of 512345