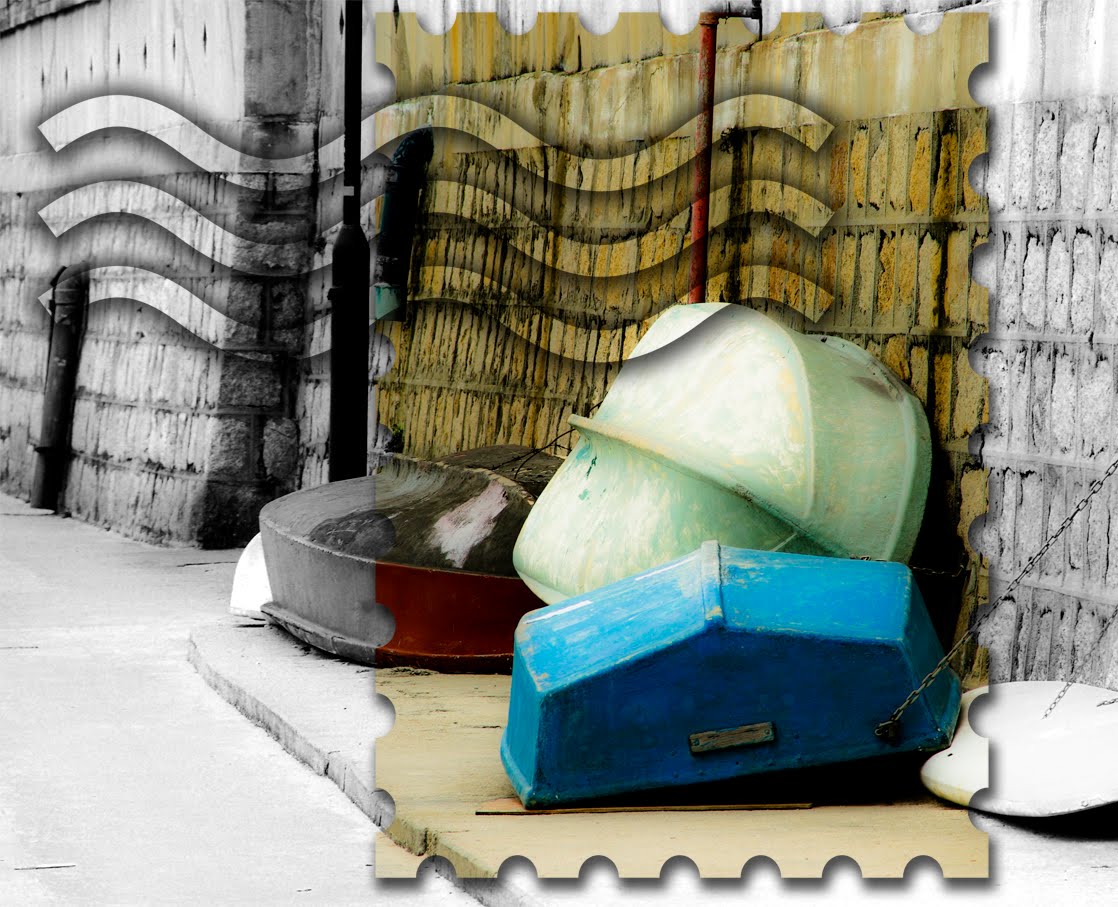
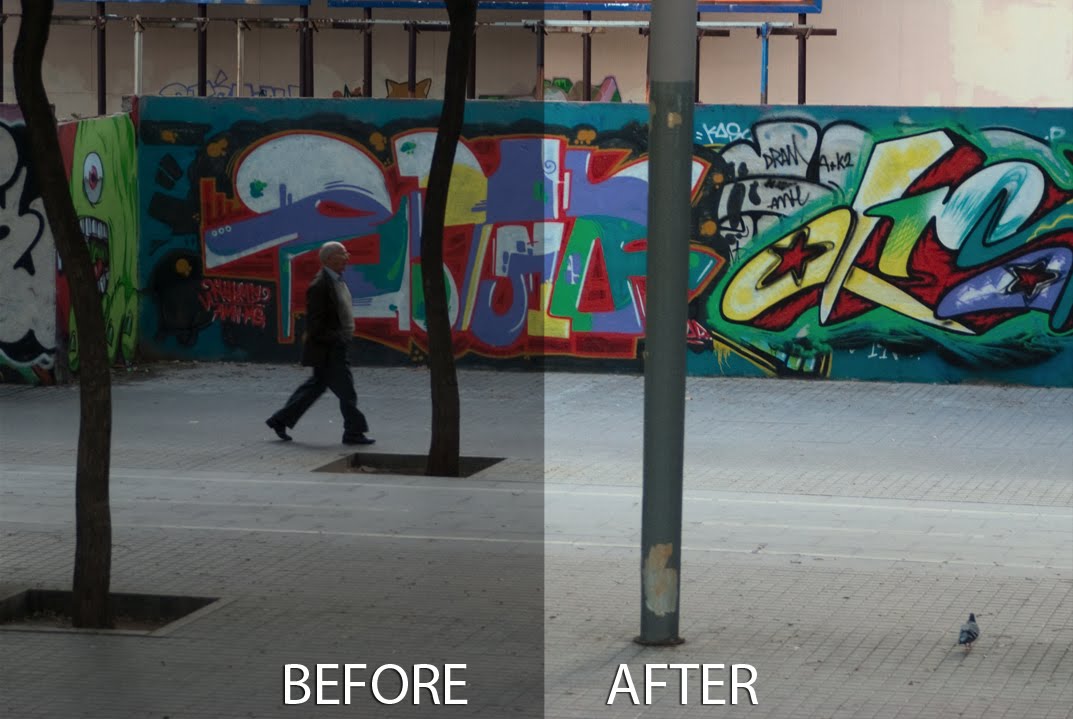
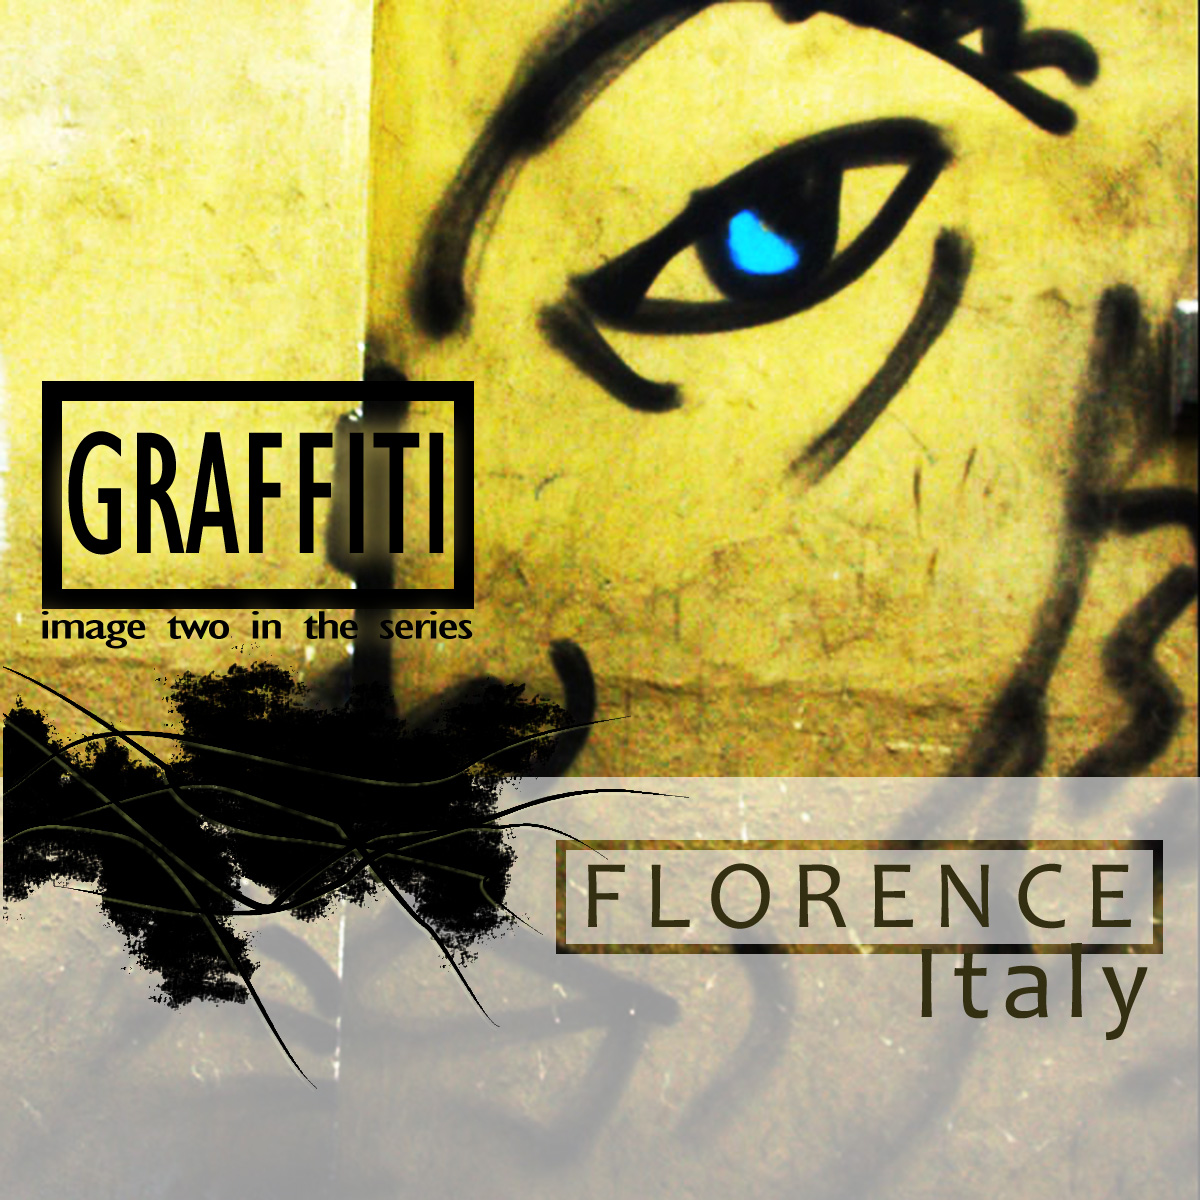
In a previous post I drew inspiration from Police’s Synchronicity album cover to create a Photoshop project. This week the cover for the Nine Inch Nails album, Downward Spiral, caught my eye. If you want to see the original album cover, check it out here: http://www.musicdirect.com/products/images.php?i=-1&p=38059&h=75291 – I think it’s a great way to showcase a grungy image such as this graffiti. Here’s how to create the effect:
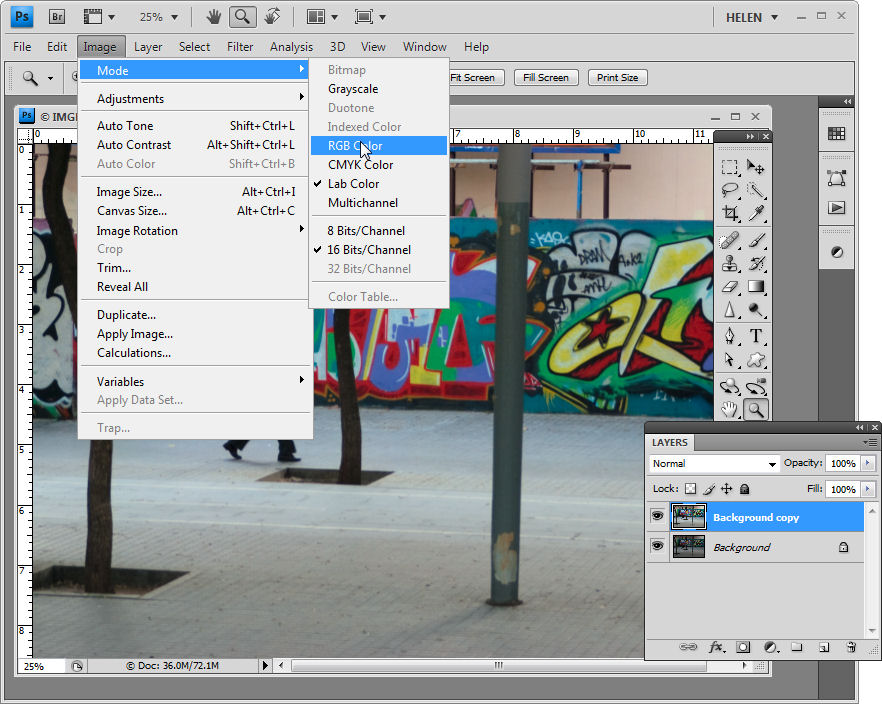
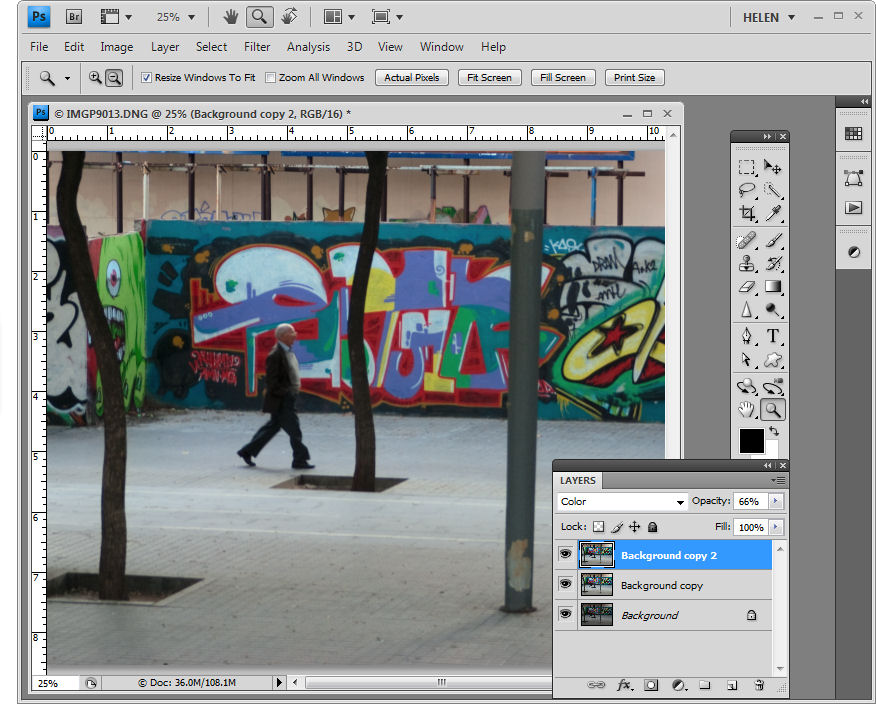
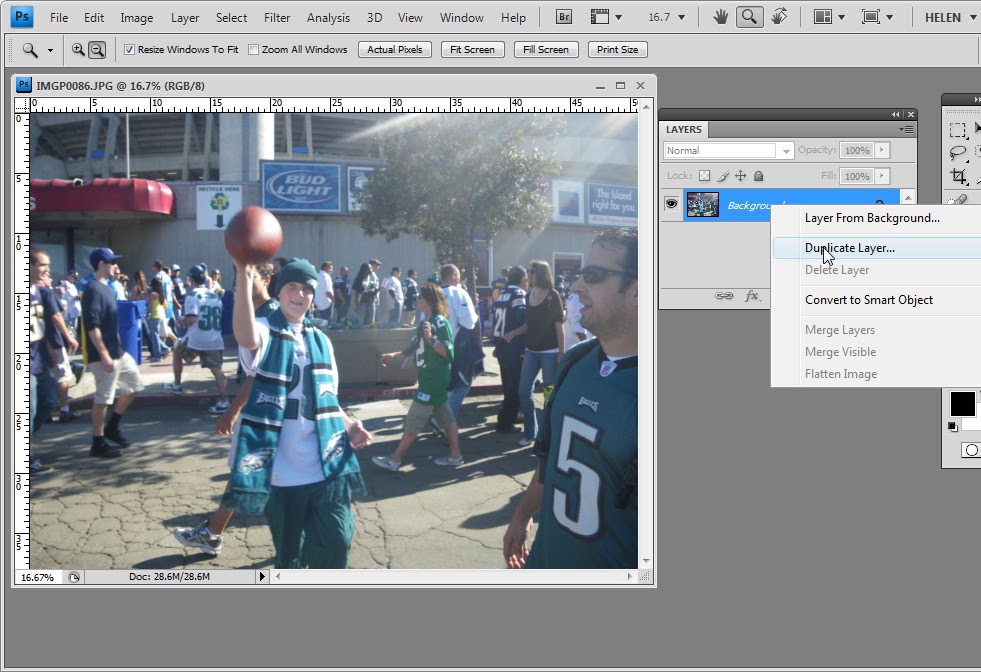
Step 1
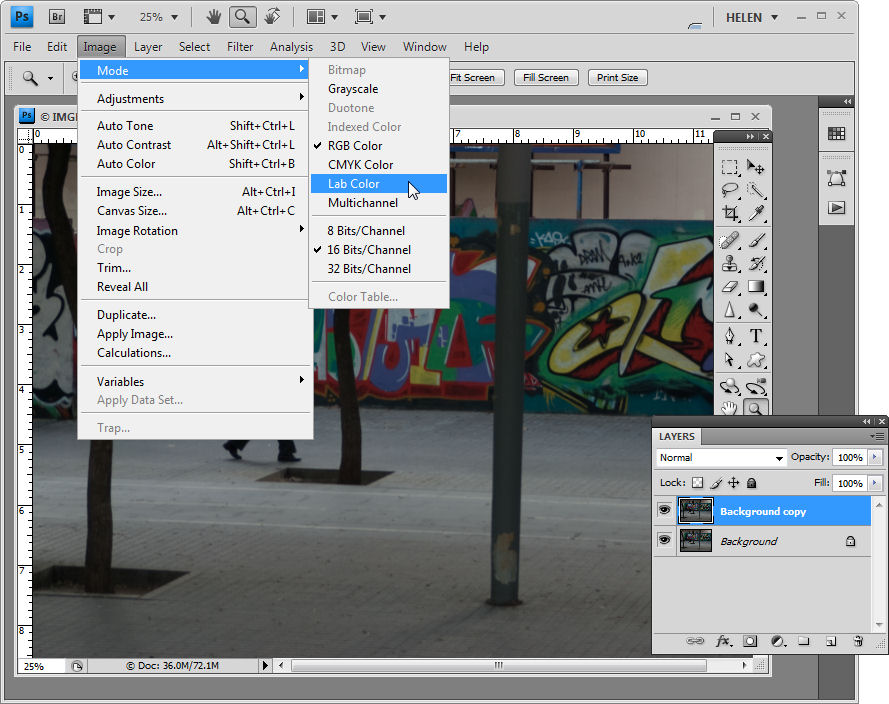
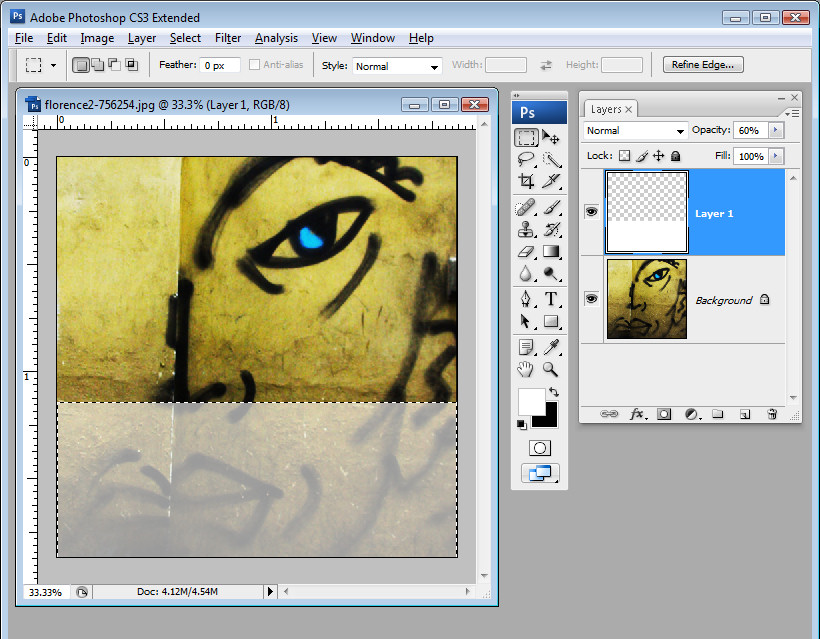
Open the image and crop it to a square shape.
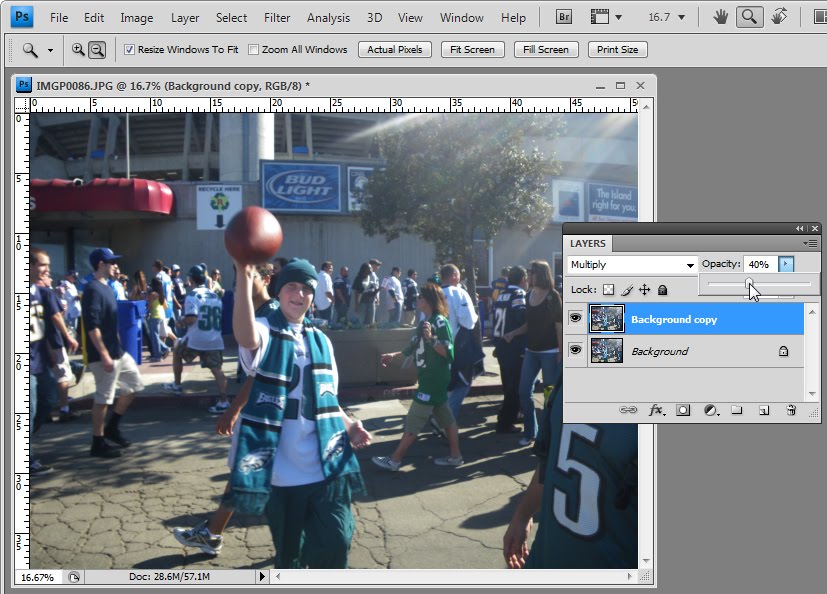
Add a new layer by clicking the Add New Layer icon at the foot of the layers palette and use the rectangular marquee to drag over the bottom third of the image.
Fill this selection with white by setting the foreground color to white and press Alt + Backspace or Option + Delete on the Mac. Drag the Opacity slider down to around 60 percent so that you can see some of the image through it.
Step 2
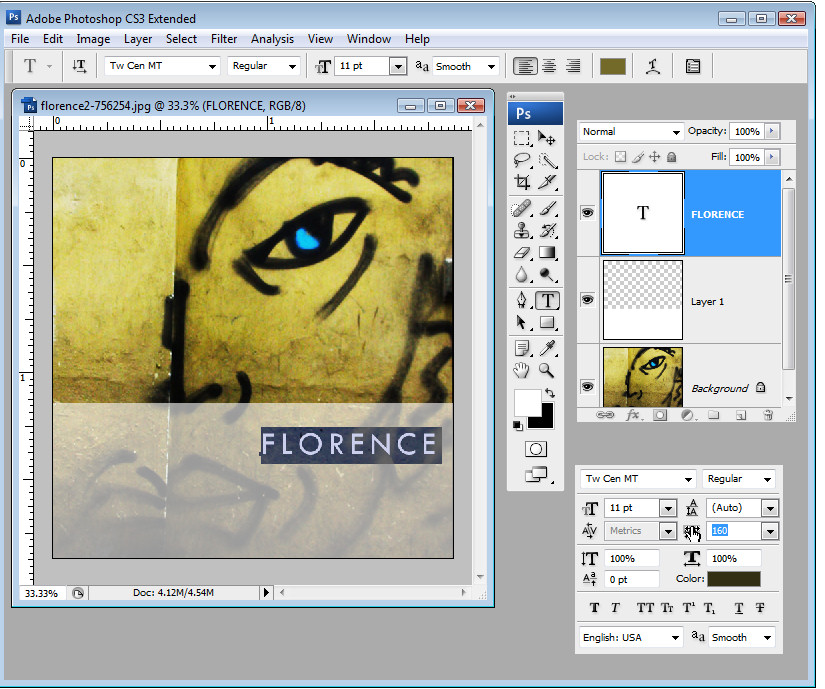
On a new layer, type one line of text in a sans serif font. I used Candara Regular and set the text color to a dark color sampled from the image itself.
Select the text, display the Character palette and drag on the Tracking slider to separate the letters so that they are spread out.
Step 3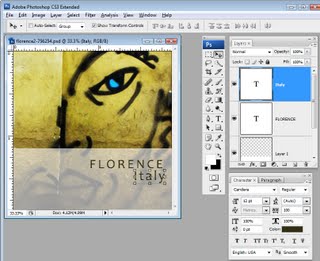
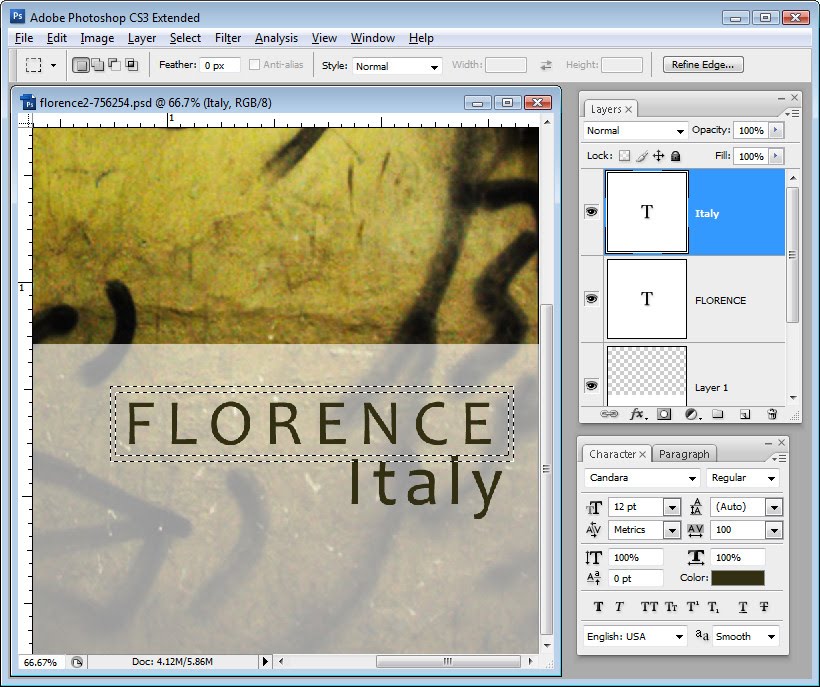
You’ll need two lines of text so you can position them to get the effect in the bottom right corner of the album cover. The second line of text is in lower case but the same font and it does not have so much tracking applied to it. Position the two lines of text in place.
Step 4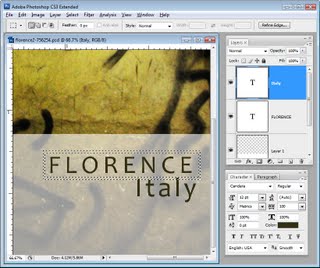
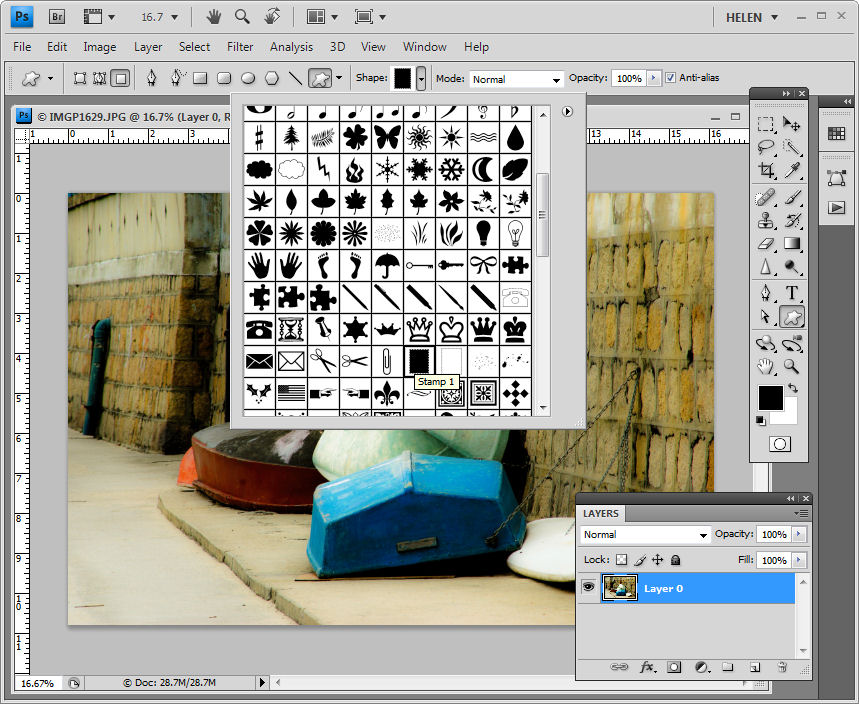
To create the cutout you need to make a hollow rectangular selection which sounds easier to do than it is. Start by selecting the Rectangular Marquee tool and select around the first piece of text on the outer edge of what will become your final selection. Save this selection by choosing Select > Save Selection, type a name for the selection and click Ok. Choose Select > Modify > Contract and contract the selection by ten (or more) pixels depending on the size of your image.
Invert the selection by choosing Select > Inverse.
Choose Select > Load Selection, click the Intersect with Selection option, choose the channel that you just saved and click Ok.
This will select a small hollow rectangular shape on the image.
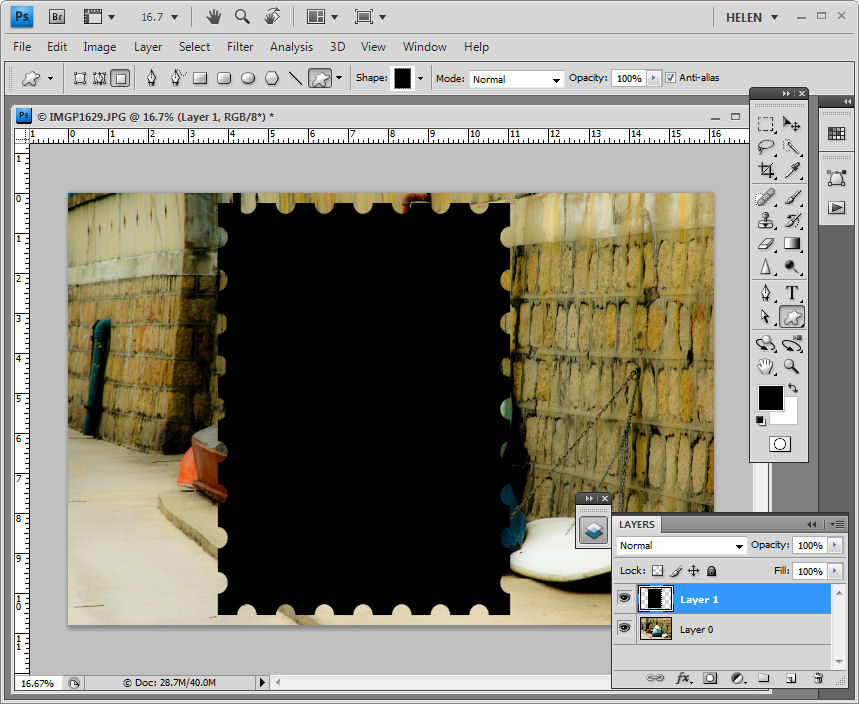
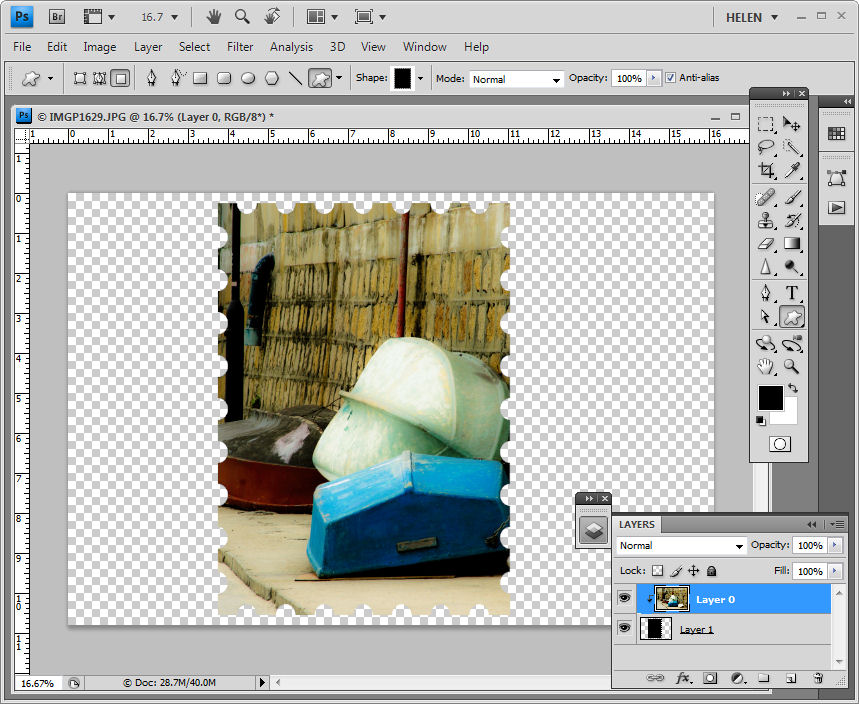
Step 5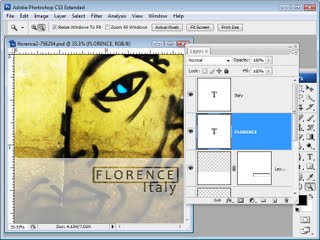
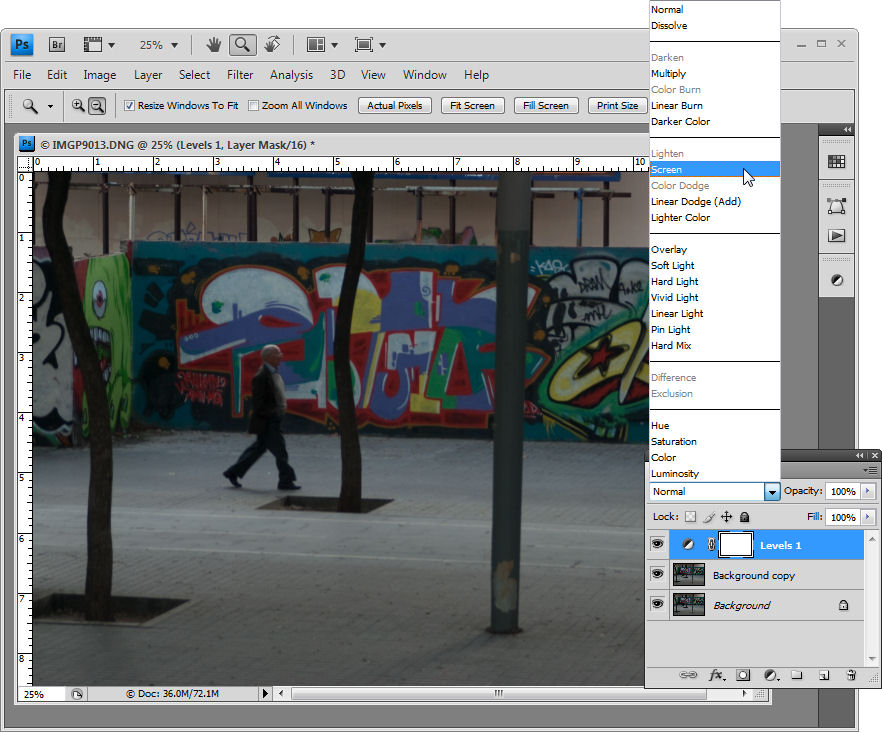
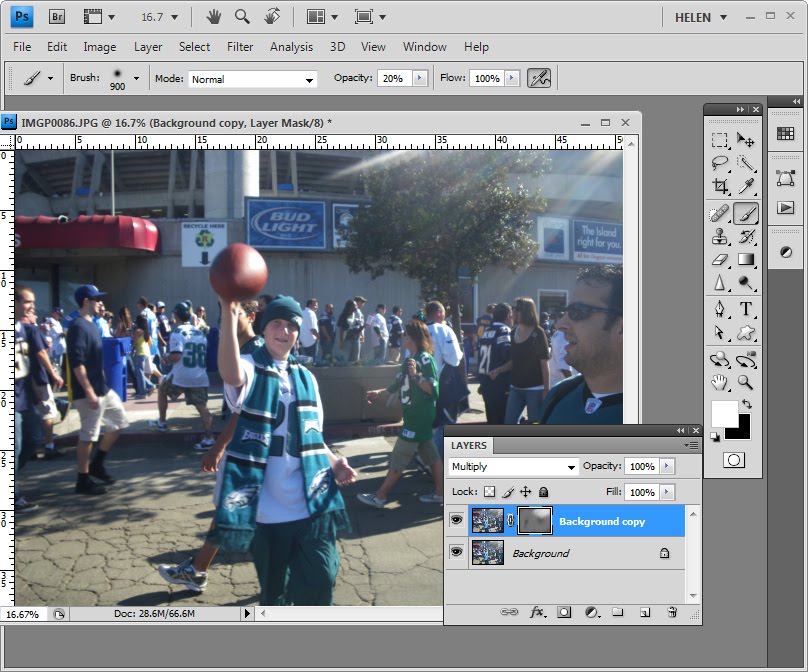
Click on the white layer in the layer palette to select it. Hold the Alt key (Option on the Mac) as you click on the Add Layer Mask icon at the foot of the layer palette to add a layer mask to the white layer. This shows a portion of the image through the white overlay.
Step 6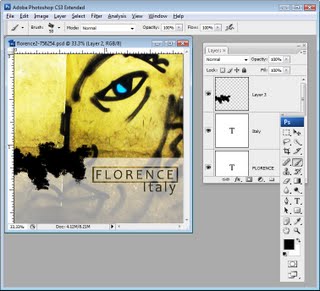
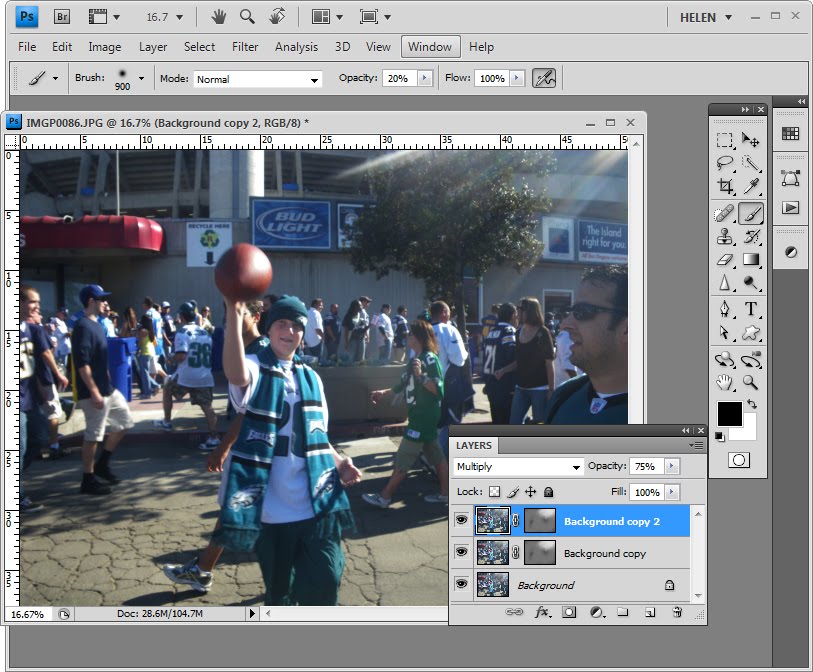
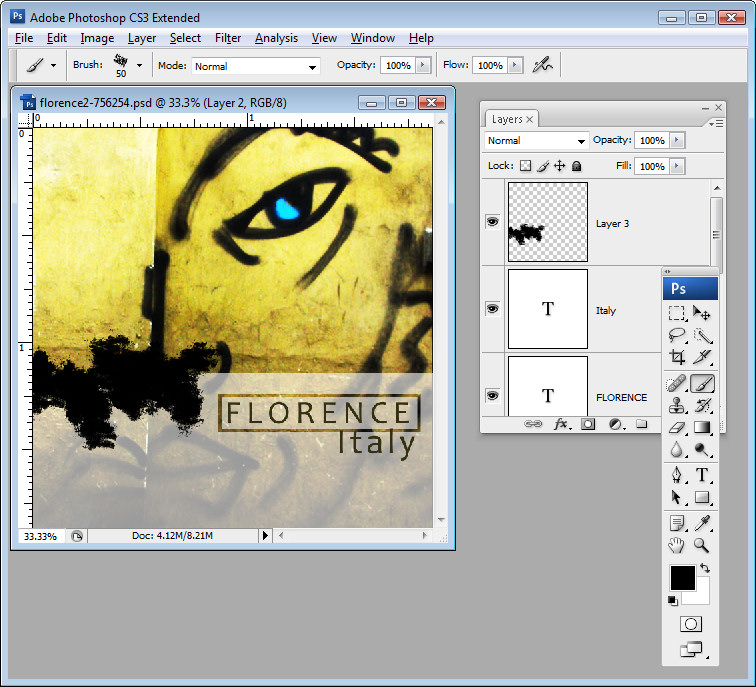
Add a new layer and make sure it is selected. Select the Brush tool and select an interesting shaped brush such as the Heavy Smear Wax Crayon brush in the dry media brushes collection. With black paint, paint over the top left edge of the white overlay.
Step 7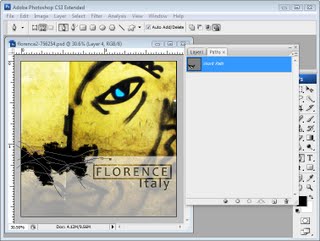
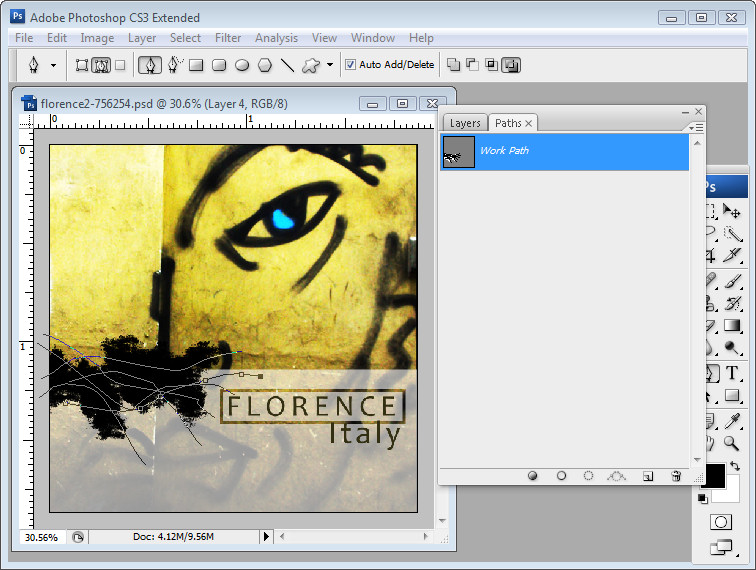
Add a new layer and select the Pen tool. Make sure that Paths is selected on the toolbar. Draw a few lines through your paintwork. Start by clicking and dragging the first point and then click and drag multiple times to create an organic curved line. Press Enter to finish the first line. Click on the Work Path in the Paths palette to select it and then draw a second line. Continue to draw all the lines you need.
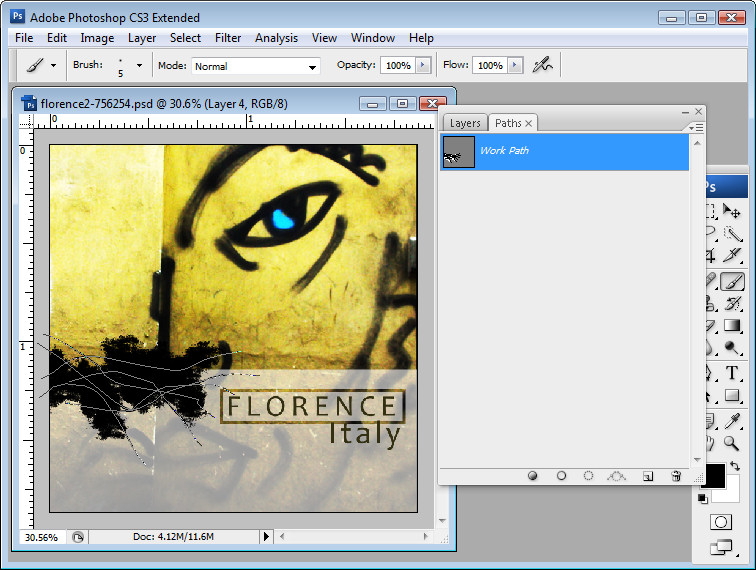
Step 8
View the Paths palette and make sure that you have a small hard-edged brush selected such as a 5-pixel brush and black paint. Click the Work Path to select it and click the Stroke Path with Brush icon at the foot of the Paths palette.
Because you are painting with black, this will give you some black lines through the painted shape.
Delete the path.
Step 9
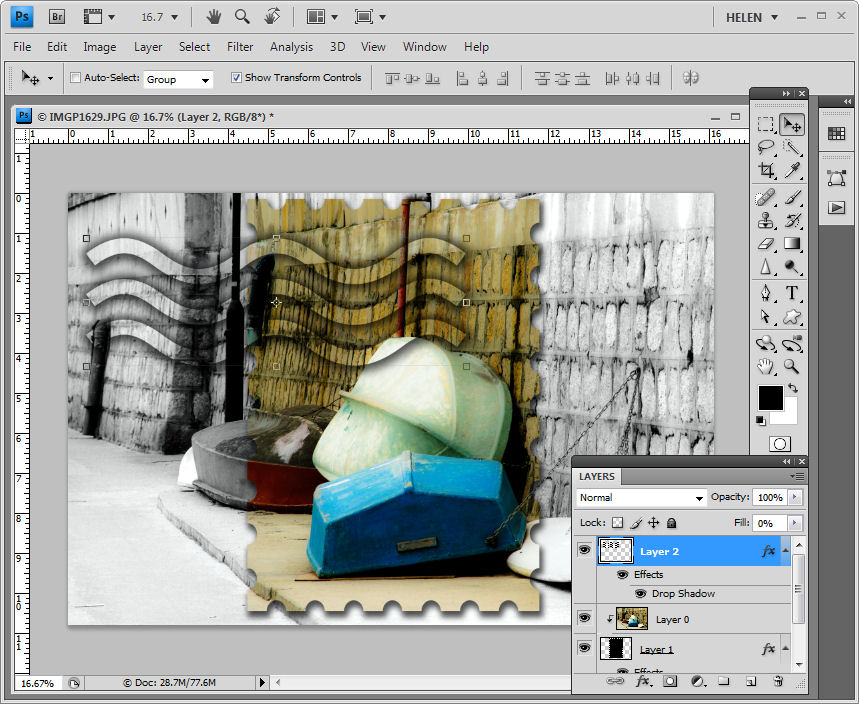
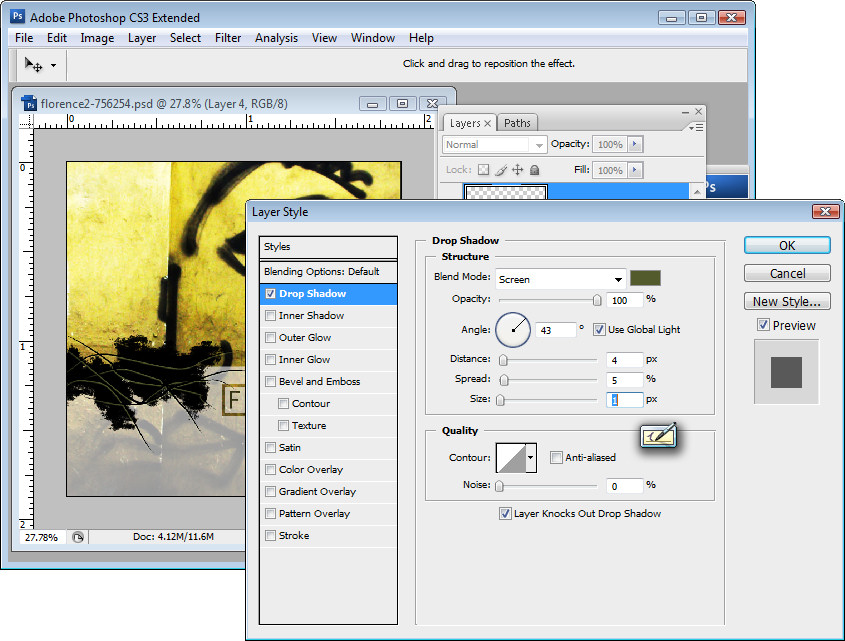
Add a small drop shadow to this layer by clicking the Add a Layer Style icon at the foot of the layer palette and choose Drop Shadow. You can choose a lighter color for the shadow but make sure to change the blend mode to Screen if you do so.
Right-click the Drop Shadow layer style and choose Create layer. This converts the shadow into a layer of its own that you can then select the shadow layer and remove some of the drop shadow by erasing over it with a ragged shaped and partially transparent brush.
Step 10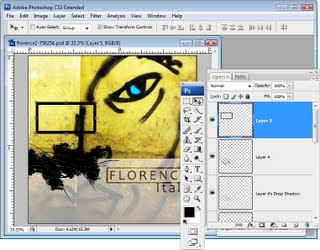
To create a heavy black box, add a new layer and drag to create the outer edge of the box using the Rectangular Marquee tool. Fill the selection with black.
Choose Select > Modify > Contract and contract the shape by the number of pixels that you need to create the inner edge of the black border. Press the Delete key to remove the black fill from this selection.
Step 11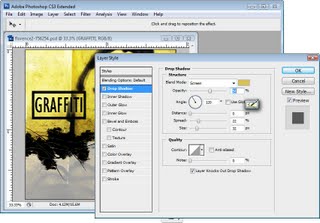
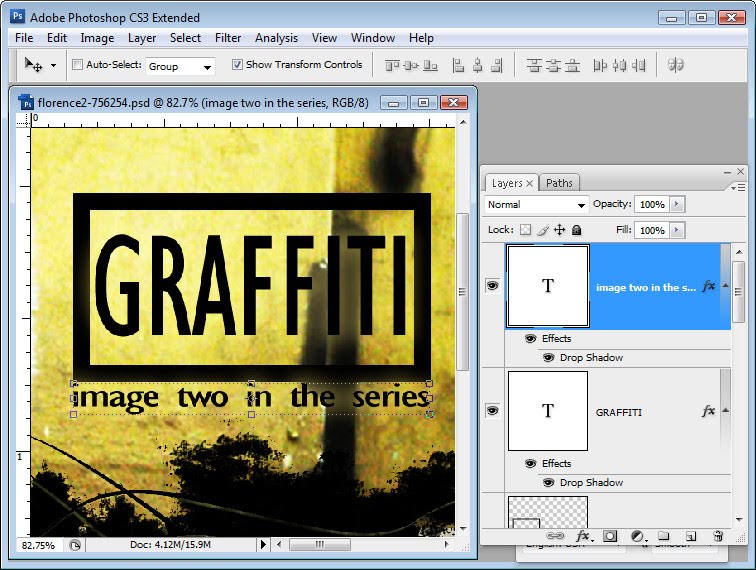
Use the Text tool to add text inside the box. For this text I used Gil Sans MT Condensed as it is a good thick black font which can show a lot of text in a small space.
Because the text was placed on a very dark element in the background I’ve used a drop shadow set to a lighter color sampled from the image with its blend mode set to Screen. By setting the Distance to zero, and using comparatively large values for Size and Spread, the text can be more easily read.
Step 12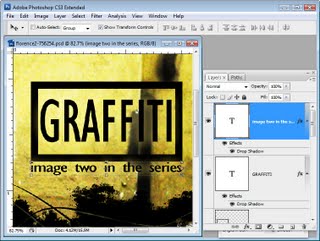
Another line of text just below this box and stretched the full width of the box finishes the image. It has the same layer style applied to it as the previous layer so that it can be easily read. Instead of recreating the drop shadow layer style, right click the first text layer and choose Copy Layer Style and then right click the target layer and choose Paste Layer Style.
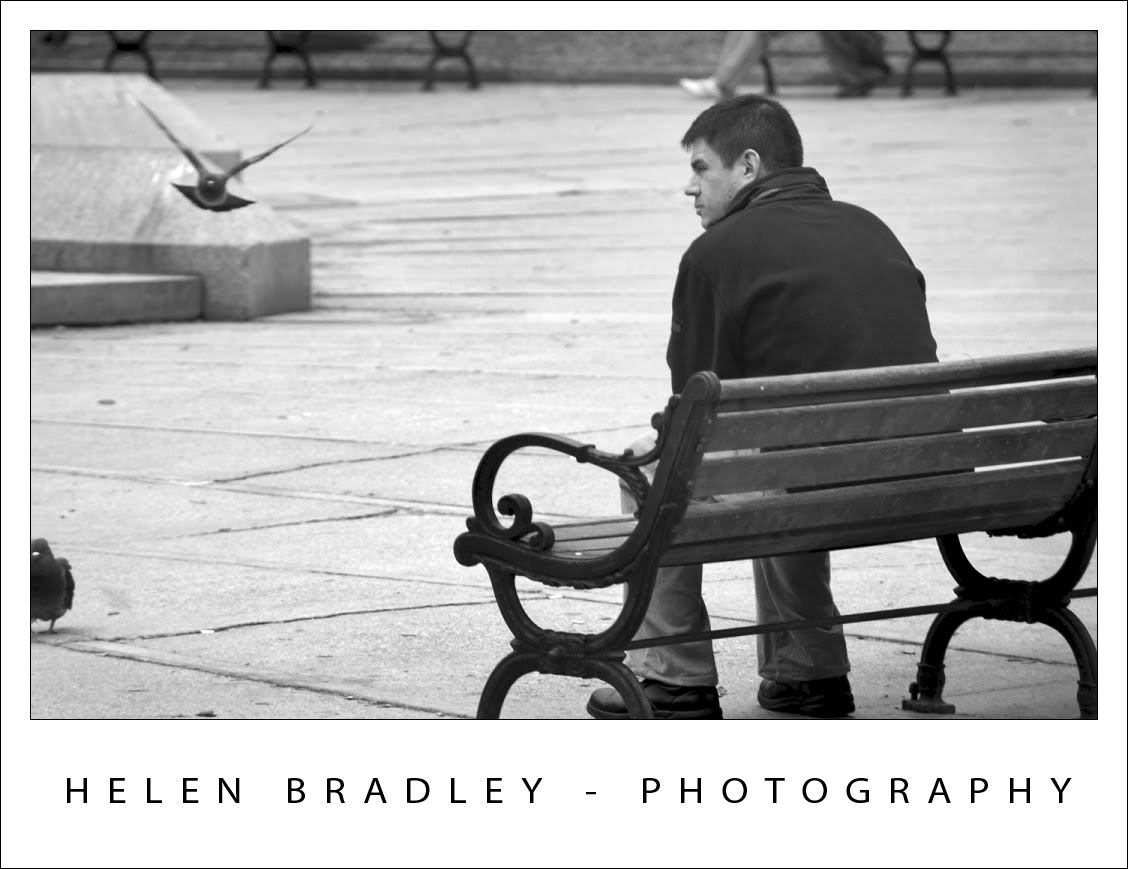
Reproducing interesting graphics that you see whether on album covers, in advertisements and other places is a great way to develop and polish your Photoshop skills.
Helen Bradley


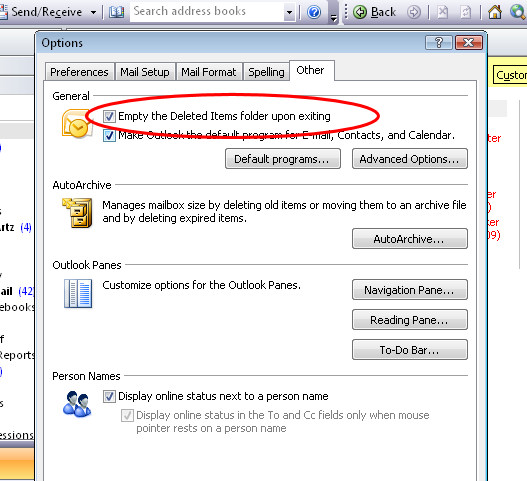 If you find you are always emptying your Deleted Items folder in Outlook 2007 before you exit the program, you can have Outlook do this automatically for you.